
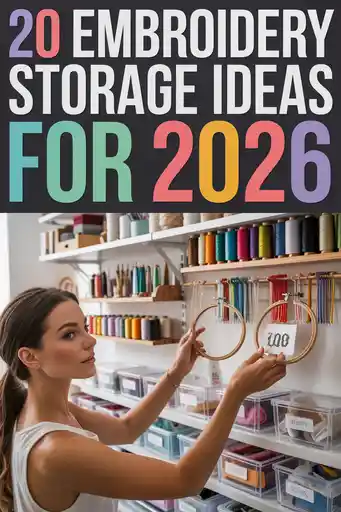
20 Embroidery Storage Ideas
If you’ve ever opened your embroidery supplies and found a tangled mess of threads, I completely understand how frustrating that can feel because it usually happens when storage is not structured properly. What starts as a neat collection slowly turns into knots and confusion over time, making every project feel harder than it should. The issue is rarely your stitching skills, but more about how the floss is organized.
Once I started using proper storage systems instead of random boxes, everything in my embroidery workflow became noticeably easier and more enjoyable. I could find colors faster, avoid tangles completely, and spend more time actually stitching instead of fixing storage problems. This simple change completely improved my crafting experience.
In this guide, I’ll share practical embroidery storage ideas that help keep your threads organized, visible, and easy to access no matter how large your collection becomes. These solutions are simple, realistic, and designed for everyday use in small or large craft spaces.
Pro Tip Always organize embroidery floss by color families before choosing any storage system.
Key Takeaways
Proper embroidery storage starts with dividing threads into structured color groups so every shade is easy to find and nothing gets mixed or lost inside containers, which instantly reduces frustration during stitching sessions. This simple step creates long-term organization and saves time.
Using tools like bobbins, labeled drawers, and compartment boxes ensures that every thread has a fixed place, which prevents clutter from building up even when your collection grows over time. This structure makes your system reliable and easy to maintain.
Vertical storage systems such as pegboards and wall displays help maximize space in small craft areas while keeping everything visible and accessible, which improves both efficiency and creativity during embroidery work. It also reduces desk clutter significantly.
Pro Tip Start with one storage method first and expand gradually instead of organizing everything at once.
How Can You Store Embroidery Floss Without Tangling?
Embroidery floss usually becomes tangled when loose strands are left moving freely inside containers where they constantly rub against each other, and over time this creates knots that are difficult to undo. I’ve experienced this many times, and even a slightly unorganized box can quickly become a problem.
The most effective way to prevent tangling is to wrap each thread on a bobbin so it stays tight, controlled, and completely separated from other colors at all times. This stops movement between threads and keeps everything clean and structured during storage.
You can also use divided boxes, labeled bags, or compartment trays to give each color its own space, which further reduces contact between threads and maintains order. Once each floss has a dedicated spot, tangling becomes rare and management becomes simple.
Pro Tip Keep frequently used colors in the most accessible area of your storage system for faster workflow.
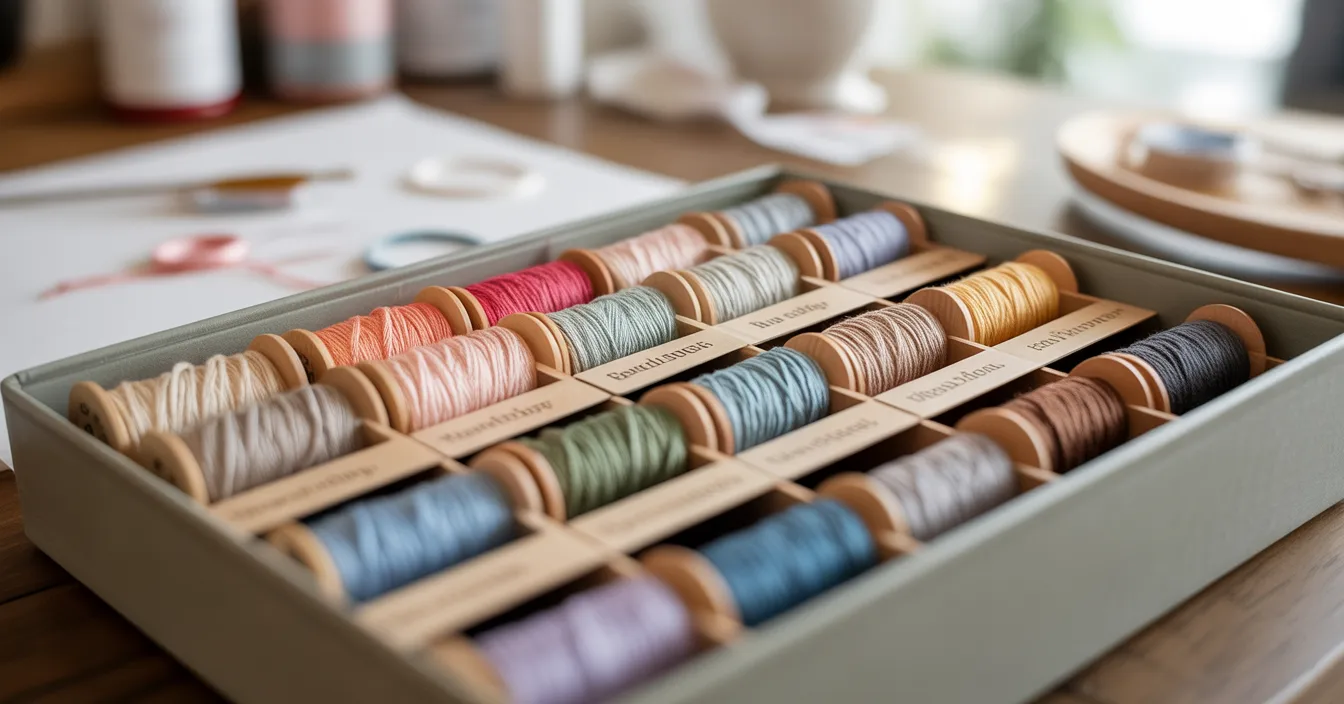
Bobbin Boxes
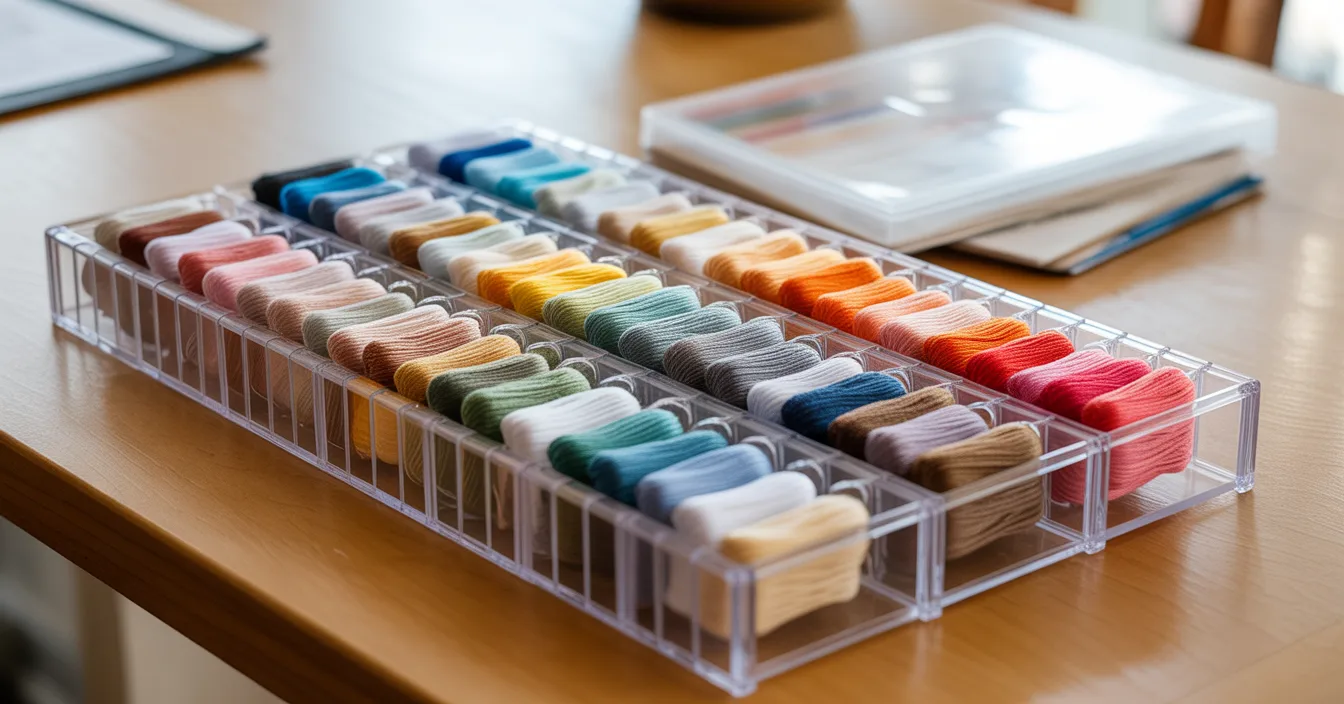
Bobbin boxes are one of the most reliable embroidery storage solutions because they keep every thread individually wrapped and separated inside compartments that prevent mixing or tangling over time. I’ve personally found them very effective for medium and large collections.
When floss is wrapped onto bobbins and placed into divided boxes, it becomes much easier to sort everything by color or shade, which speeds up selection during embroidery projects. This system removes confusion and keeps everything structured.
Most bobbin boxes also come with transparent lids, which allow you to see your entire collection at once without opening multiple containers, saving time and improving convenience during daily use.
Pro Tip Arrange bobbins in gradient order so you can visually locate shades faster.
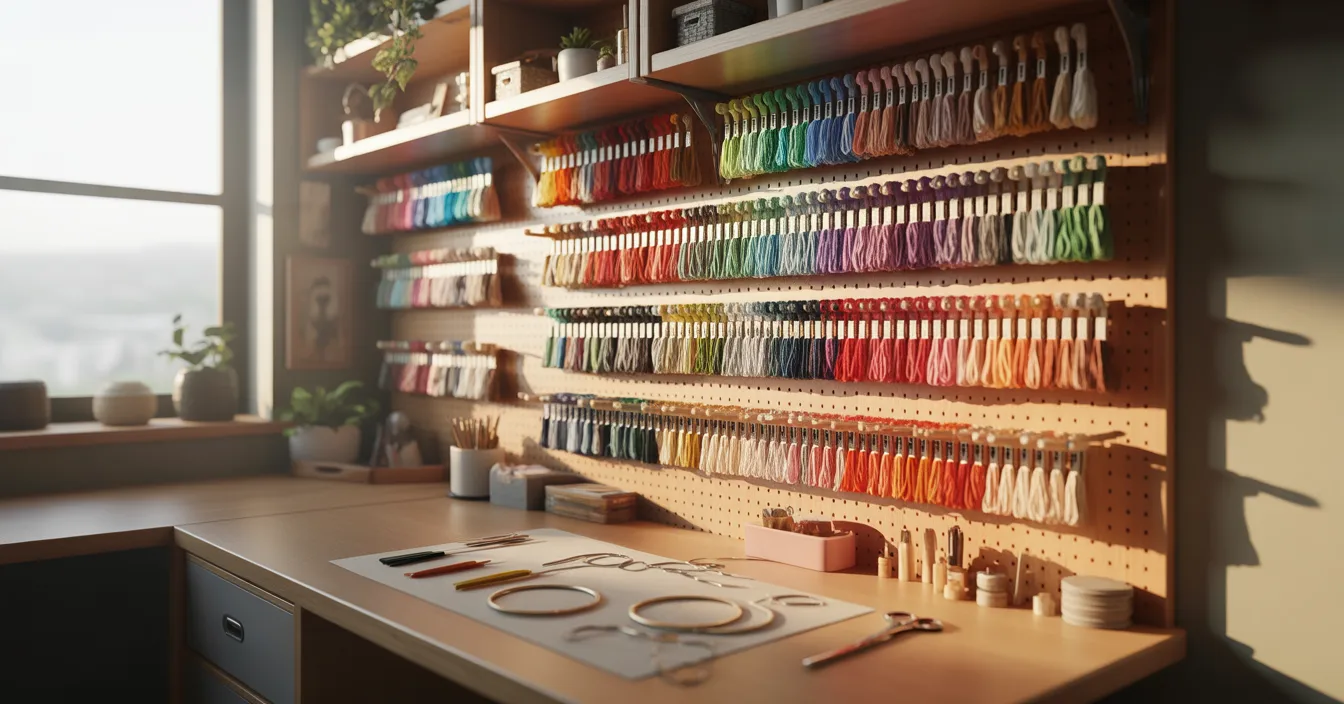
Pegboard Wall
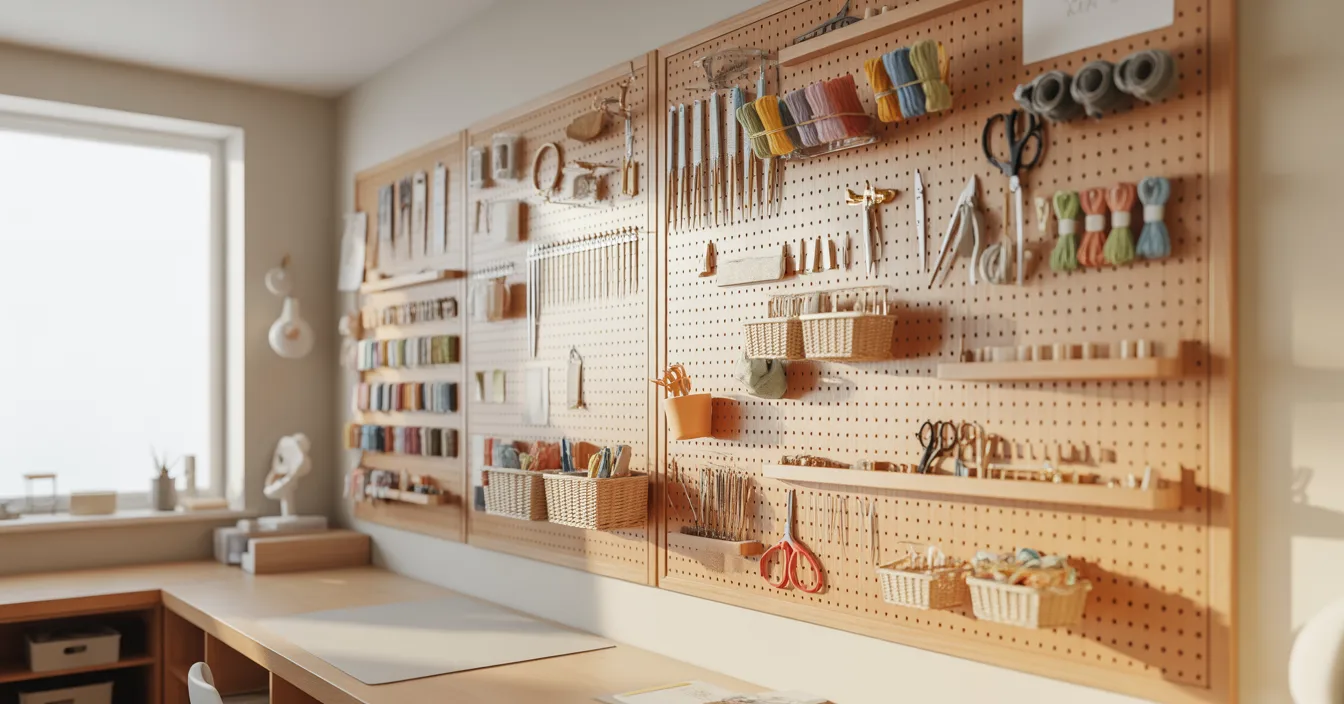
A pegboard wall turns an empty wall into a fully flexible embroidery storage system where hooks, baskets, and shelves can be rearranged anytime depending on your needs. I like how adaptable this setup feels in real use.
You can hang floss, scissors, ribbons, and tools in one visible place, which keeps your workspace clean and reduces clutter on your desk. Everything stays accessible and easy to manage during stitching. This system works best above a crafting table where tools need to stay within reach, making your workflow smoother and more efficient without unnecessary searching.
Pro Tip Place heavier items on lower sections for better balance and safety.
Drawer Cabinet
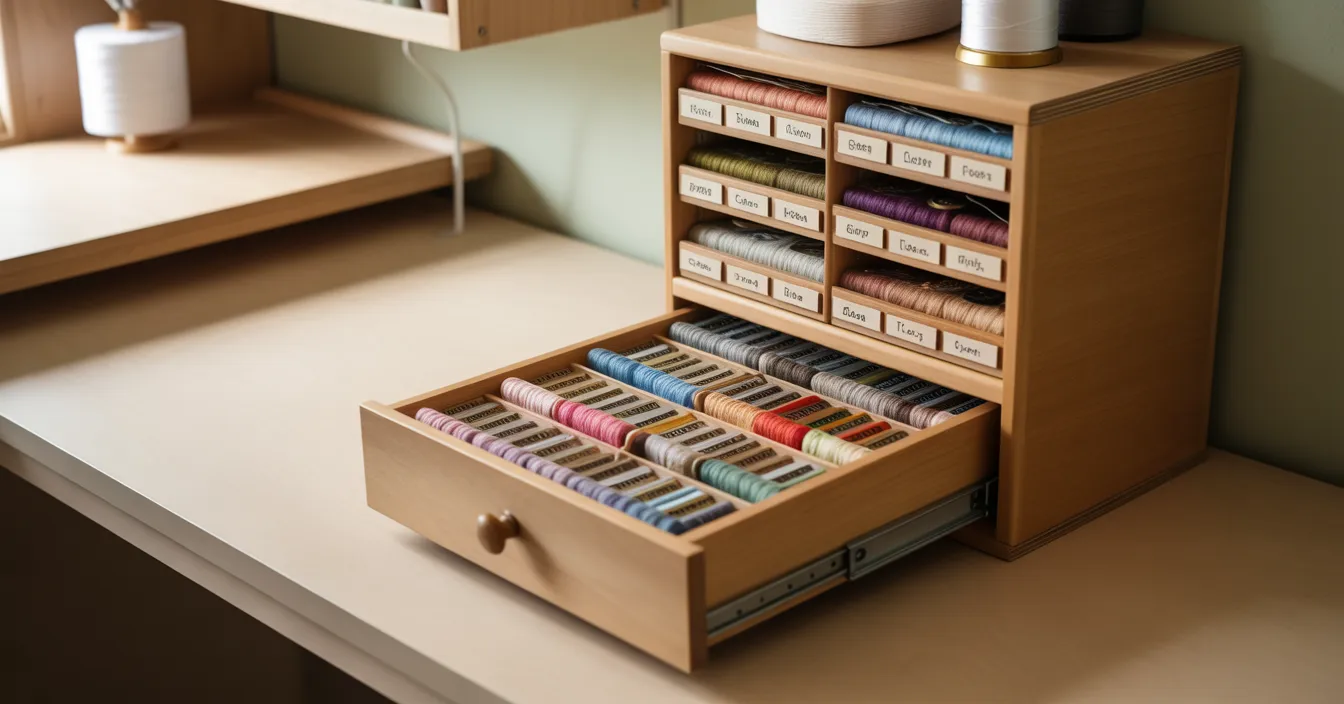
A drawer cabinet creates structured embroidery storage by assigning each color or category its own drawer, which removes confusion and keeps large collections organized long-term. I’ve found this method very stable for regular use.
When floss is wrapped on bobbins and stored in shallow drawers, it stays flat, separated, and tangle-free even after long storage periods. Sorting by color families or numbers improves speed and accuracy. This setup works best in dedicated craft rooms where you want a clean, minimal look while keeping everything accessible and organized.
Pro Tip Label every drawer clearly to maintain long-term consistency.
Stitch Board
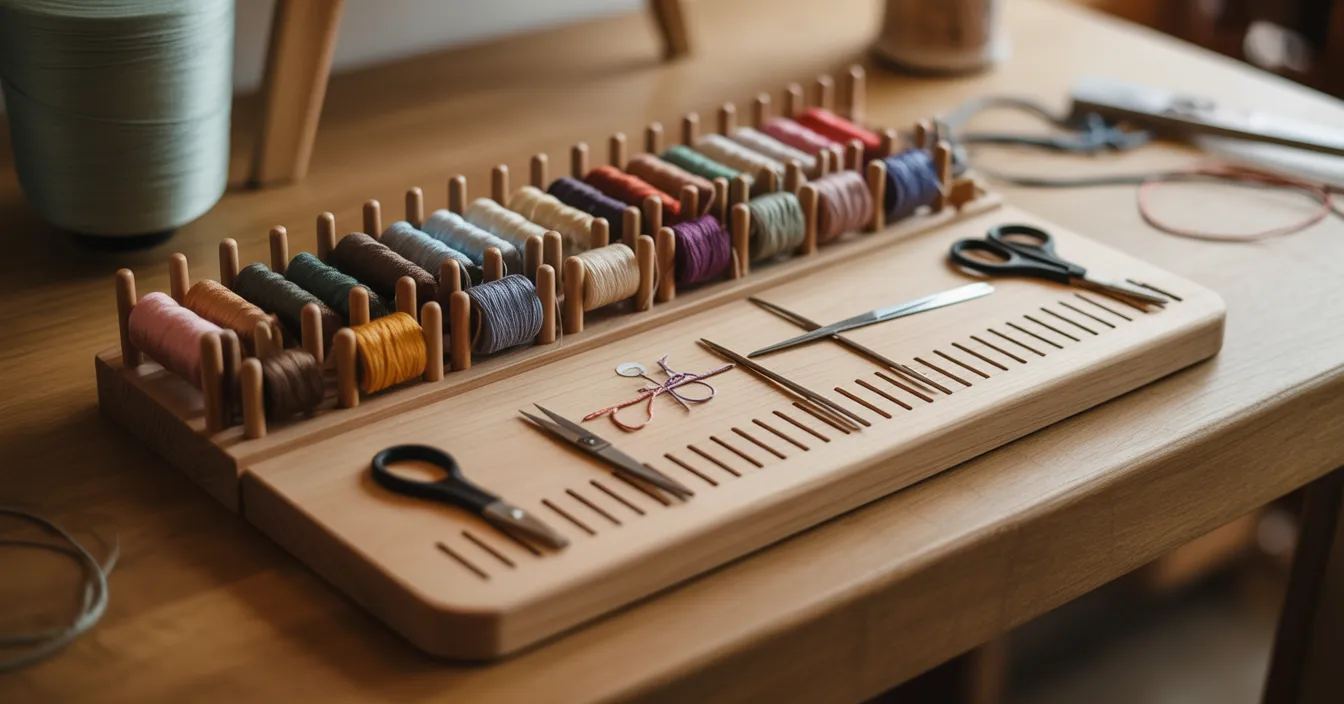
A stitch board keeps all materials for a single embroidery project in one organized space so threads, tools, and accessories don’t spread across different surfaces while working. I like how focused this setup feels.
Each bobbin fits into a secure slot that keeps floss from moving or tangling, while grooves hold scissors and needles in place so nothing gets lost. It improves focus and reduces interruptions.
This system works especially well in small workspaces where keeping everything contained improves efficiency and comfort during stitching sessions.
Pro Tip Use one stitch board per project to avoid mixing materials.
Drawer Grid
A drawer grid system divides storage into multiple compartments so every thread color has its own space, which prevents mixing and keeps large collections easy to manage. I’ve seen how effective this becomes over time.
Sorting floss into color groups inside drawers makes it easy to find exact shades quickly without searching through clutter. This structure improves both speed and accuracy.
It works best in craft rooms where large inventories need structured but accessible organization.
Pro Tip Keep grouping rules consistent across all drawers.
Floss Display
A floss display keeps embroidery threads visible instead of hidden in boxes, which makes color selection faster and more enjoyable during creative work. I really like how inspiring this system feels.
Threads are hung neatly on hooks or pegs, which prevents tangling and keeps everything aligned while also making labels easy to read. It combines storage and visibility.
This setup works best in creative spaces where inspiration matters as much as organization.
Pro Tip Arrange colors in smooth gradients for better visual flow.
Clothespin Rack
A clothespin rack turns embroidery floss into a structured wall display where each bundle is separated and easy to access. I’ve found it both practical and visually appealing. Each clothespin holds floss securely, preventing slipping or tangling, while rows create a clean and organized layout. It also makes color planning easier.
This system works well for inspiration because all colors are visible at once.
Pro Tip Organize from light to dark for a balanced visual effect.
Project Cases
Project cases keep embroidery materials portable by storing everything in one compact container, which makes it easy to move between locations without losing anything. I use this often for flexibility.
Each case separates floss, tools, and accessories, while clear covers help you see everything instantly without opening it. This keeps things organized and efficient. It’s ideal for multiple ongoing projects or travel stitching.
Pro Tip Assign one case per project for clean separation.
Color Wall
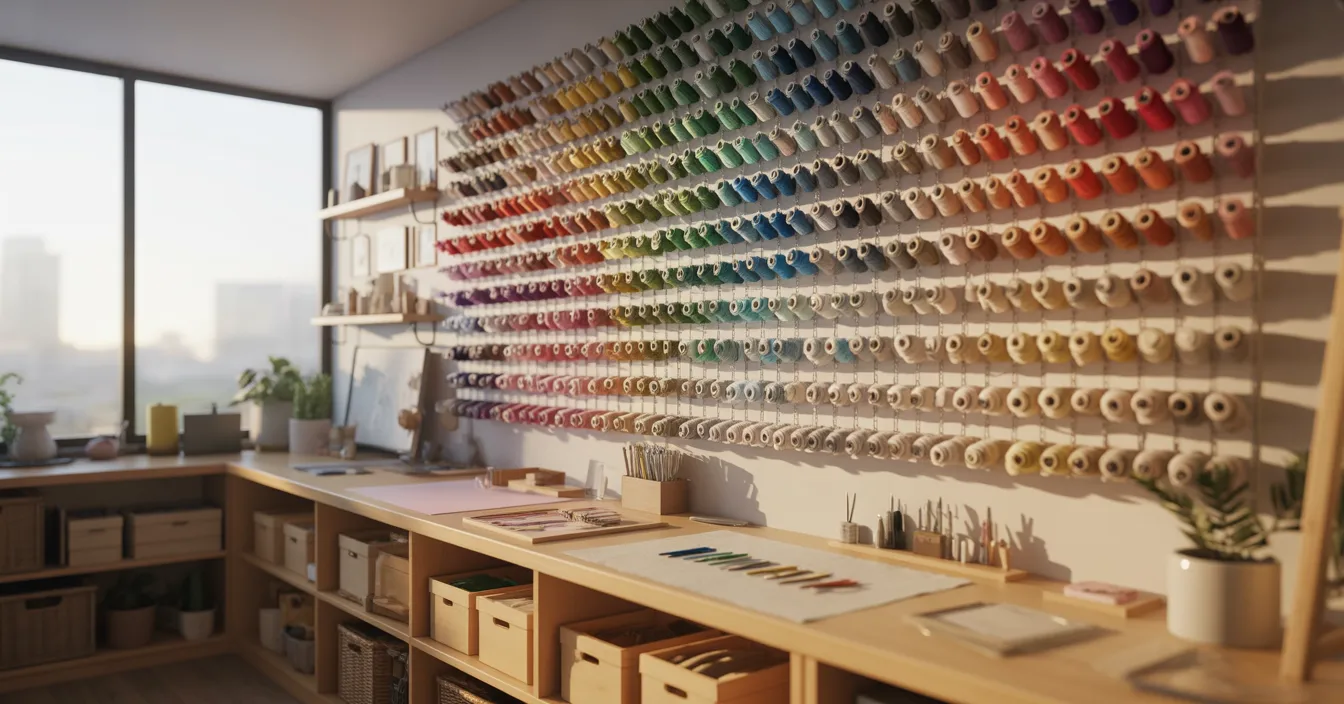
A color wall transforms embroidery floss into a decorative storage display where threads are arranged in gradients across a wall, making it both functional and visually inspiring. I’ve seen how effective this looks in craft rooms.
Each color is placed in order so you can quickly find exact shades while also enjoying a visually structured rainbow effect. It improves both function and creativity. This works best in larger craft spaces with wall storage availability.
Pro Tip Keep spacing consistent for a clean visual appearance.
FAQs
Is it better to store embroidery floss on bobbins or keep it in skeins?
Both methods work depending on your needs, but bobbins are generally better for long-term storage because they keep threads organized, separated, and tangle-free. This makes large collections easier to manage.
How do you organize embroidery floss by color efficiently?
Start by grouping threads into main color families such as reds, blues, greens, and neutrals, then sort each group from light to dark for better structure. This makes selection faster.
Conclusion
Proper embroidery storage makes a huge difference in how smoothly and efficiently you work on your projects because everything becomes easier to find and manage. Once your threads are organized, stitching becomes far more enjoyable.
From bobbin boxes to wall systems, each method helps reduce tangling and improve visibility so you can focus more on creativity instead of fixing storage issues. The key is consistency. With the right system in place, even large embroidery collections can stay neat and manageable for years.