


An hourly planner is a simple yet powerful tool that helps you organize your day with clarity. By breaking your schedule into hourly blocks, you can manage tasks more efficiently and stay focused throughout the day.
It allows you to see exactly what needs to be done and when, reducing stress and improving productivity. With a structured layout, you can avoid missed tasks and make better use of your time.
Let’s explore how you can use it effectively.
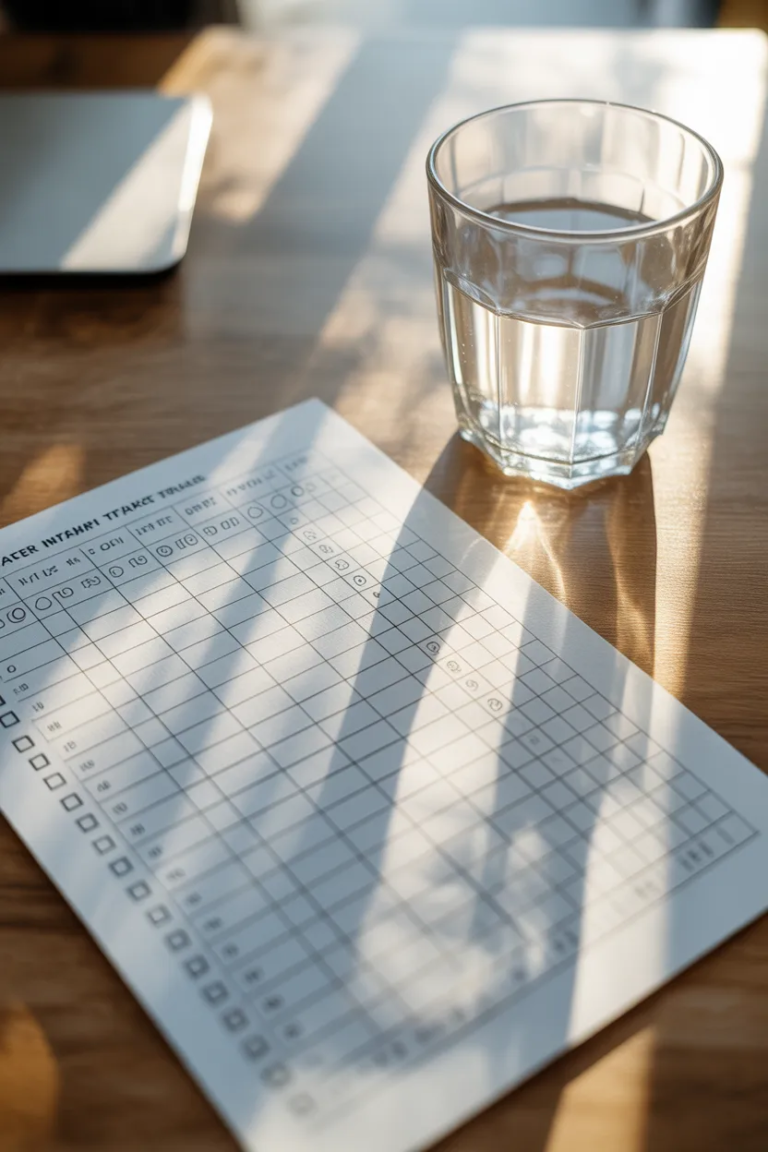
Time Tracker One

This hourly planner is designed with a clean and minimal layout, making it easy to use without distractions. It helps you track your daily activities in a simple and organized way.
At the top, you can write the year, making the planner reusable for any time. Below that, there’s a section to list key activities or priorities for the day.
The main section is divided into hourly blocks from 1 AM to 12 PM, giving you a clear overview of your entire day. This structure makes it easier to stay on schedule and manage your time effectively.
At the bottom, a notes section allows you to add reminders, thoughts, or anything that doesn’t fit into the hourly slots.
Pro Tip: Use different colors for tasks like work, personal time, and breaks to make your planner easier to scan.
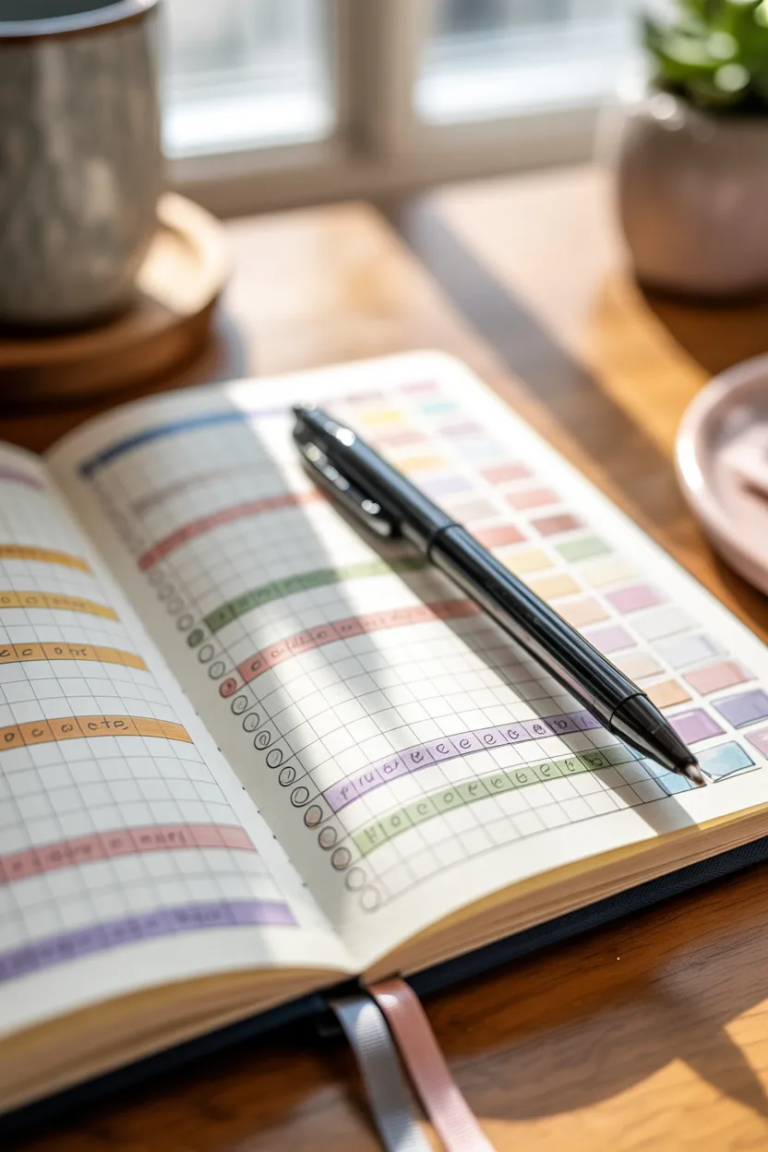
Hourly Planner Two
This version offers a more detailed planning experience, perfect for those who want extra organization. It includes hourly blocks similar to the first planner but adds more helpful sections.
A dedicated to-do list lets you write down all your daily tasks in one place. This ensures nothing gets forgotten and helps you prioritize your work.
There is also a notes section for additional thoughts or reminders. One unique feature is the mood tracker, which helps you monitor how you feel throughout the week.
At the top, a weekly overview (MTWTFSS) gives you a quick snapshot of your entire week for better planning.
Pro Tip: Review your mood tracker weekly to identify patterns and improve your daily routine.
How to Use an Hourly Planner
Step 1 – Set Up Your Planner

Start by writing the date at the top of your planner. Choose the time range you want to plan, depending on your daily routine. Most people plan from morning to evening, but you can customize it to fit your schedule.
Pro Tip: Keep your planner visible on your desk to stay consistent.
Step 2 – Identify Key Activities

List all the important tasks you need to complete during the day. Use the to-do section to organize them and highlight the most important ones.
This helps you focus on what truly matters instead of getting distracted by less important tasks.
Pro Tip: Limit your priority tasks to 3–5 to stay realistic and productive.
Step 3 – Schedule Your Day
Assign each task a specific time slot in your planner. For example, block out time for meetings, work, meals, and personal activities.
This gives your day a clear structure and helps you stay on track without confusion.
Pro Tip: Always add a little extra time to tasks to avoid rushing.
Step 4 – Include Breaks and Buffer Time
Don’t forget to schedule short breaks between tasks to recharge your energy. Adding buffer time helps you handle unexpected delays or extra work.
Breaks improve focus and prevent burnout during busy days.
Pro Tip: Use the 50/10 rule—50 minutes of work followed by a 10-minute break.
Step 5 – Review and Adjust
At the start of your day, review your schedule to stay clear on your goals. Throughout the day, adjust your planner if things change.
Flexibility is key to maintaining a realistic and effective schedule.
Pro Tip: Move unfinished tasks instead of deleting them to stay consistent.
Step 6 – Use the Notes Section
The notes section is perfect for writing reminders, ideas, or reflections. At the end of the day, review what you accomplished and what can be improved.
This habit helps you become more productive over time.
Pro Tip: Spend 5 minutes at night reviewing your day for better planning tomorrow.