
Packing lunch should be simple, but it often turns into a frustrating mess. Crushed snacks, leaking sauces, and soggy fruit can make even the best meal feel unappealing before lunchtime arrives.
In many cases, the issue isn’t the food itself. The real problem is using containers that don’t fit your lunch-packing routine. The right system keeps foods separated, maximizes space, and makes mornings much easier.
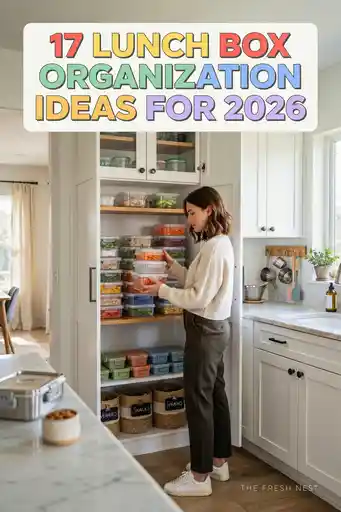
These lunch box organization ideas will help you create a practical setup that stays organized, saves time, and works for everyday life in 2026.
Key Takeaways
- Choose containers that fit your lunch box properly.
- Use divided compartments to keep foods separated.
- Organize containers by size for quicker access.
- Store lids vertically to reduce clutter.
- Create repeatable lunch-packing systems.
- Use color coding to simplify meal prep.
- Assign storage zones for lunch accessories.
- Keep only the containers you regularly use.
What Are the Best Containers for Lunch Box Organization?
The best lunch containers prevent leaks, maximize storage space, and make packing more efficient. Containers that seal securely keep foods fresh, while practical shapes help utilize every inch of available space. When your containers match your eating habits and lunch-packing style, staying organized becomes much easier and more consistent.
Pro Tip: Choose containers that fit your lunch bag first, then focus on features like compartments and leak resistance.
Built-In Meal Zones
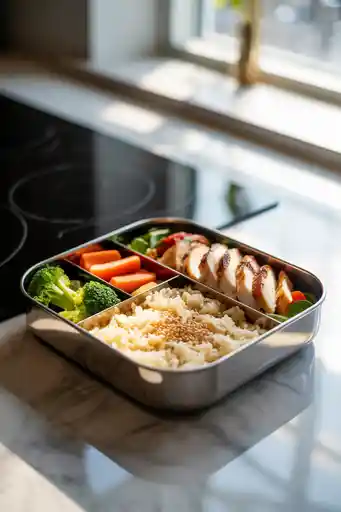
Containers with built-in compartments are ideal for keeping meals organized without extra accessories. They work especially well for rice dishes, pasta, hot lunches, and meals with sauces because each section keeps ingredients separate while maintaining portion control throughout the day.
Pro Tip: Select containers with permanent compartments instead of removable dividers for better leak protection.
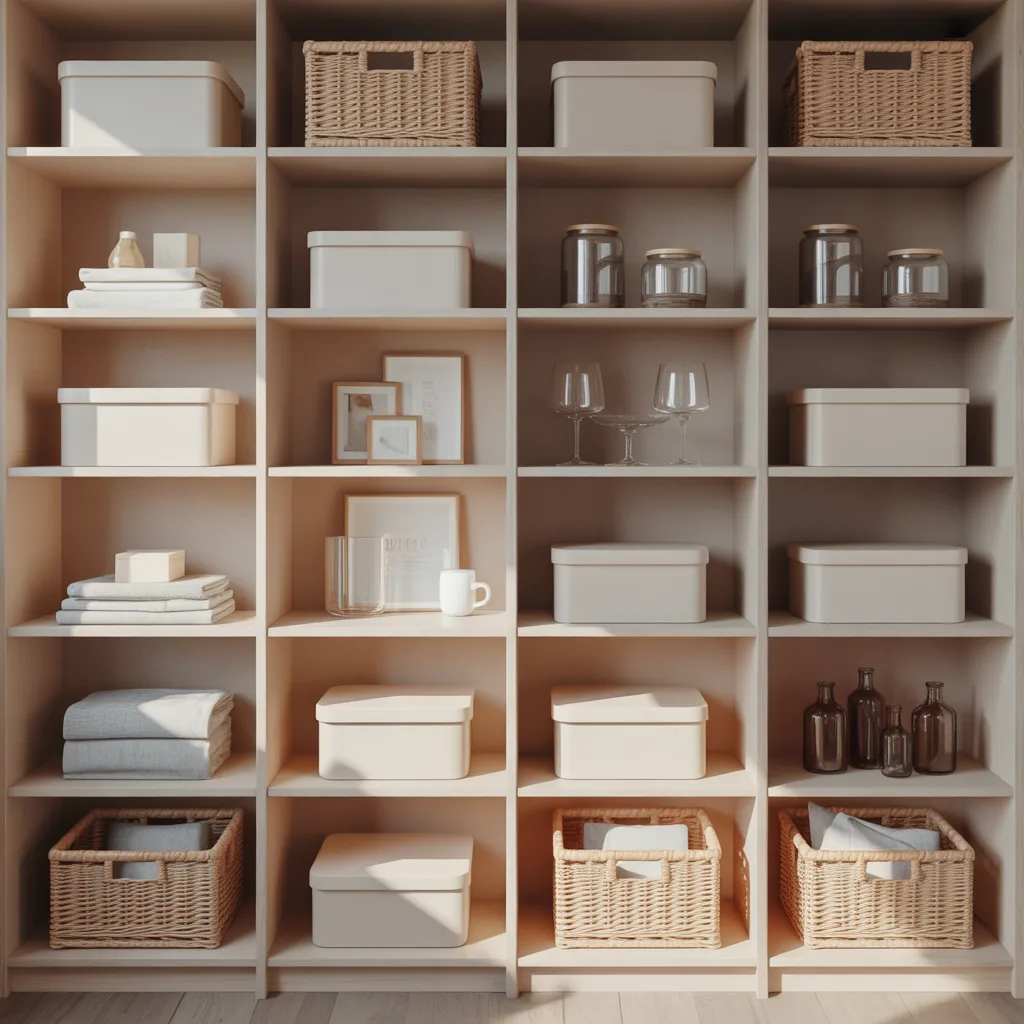
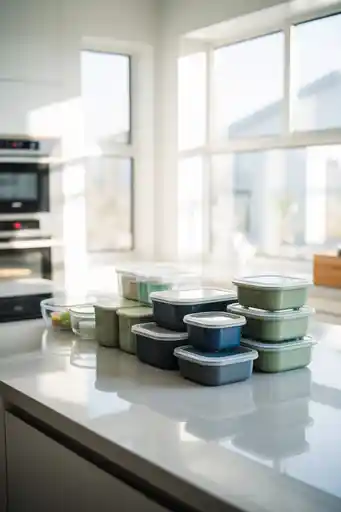
Size-Sorted Storage

Organizing containers by size eliminates unnecessary searching during busy mornings. Keeping similar-sized containers together and storing matching lids nearby creates a more efficient system that saves time and keeps kitchen cabinets neat and functional.
Pro Tip: Use drawer organizers or bins to separate small, medium, and large containers.
Modular Snack Layers
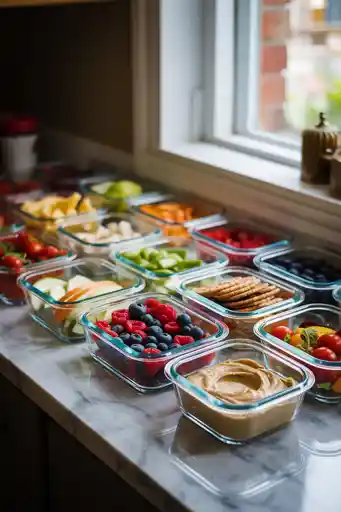
Modular containers provide flexibility when packing different snacks and meal combinations. Small stackable containers allow you to separate dips, fruits, vegetables, and treats while creating customized lunch combinations that can change daily without disrupting your system.
Pro Tip: Choose stackable square containers to maximize storage space and reduce wasted room.
Color-Coded Sections
Color coding helps create a visual system that makes lunch packing quicker and more organized. Assigning specific food categories to designated compartments helps children and adults quickly identify where each item belongs while maintaining balanced meals.
Pro Tip: Use consistent color patterns to make meal preparation faster every day.
Mini Cup Control
Small snacks and side items stay organized when placed in dedicated mini cups within larger containers. This approach works particularly well for separating berries, nuts, crackers, dips, and treats while preventing foods from mixing together.
Pro Tip: Silicone cups add flexibility and can fit inside most lunch box compartments.
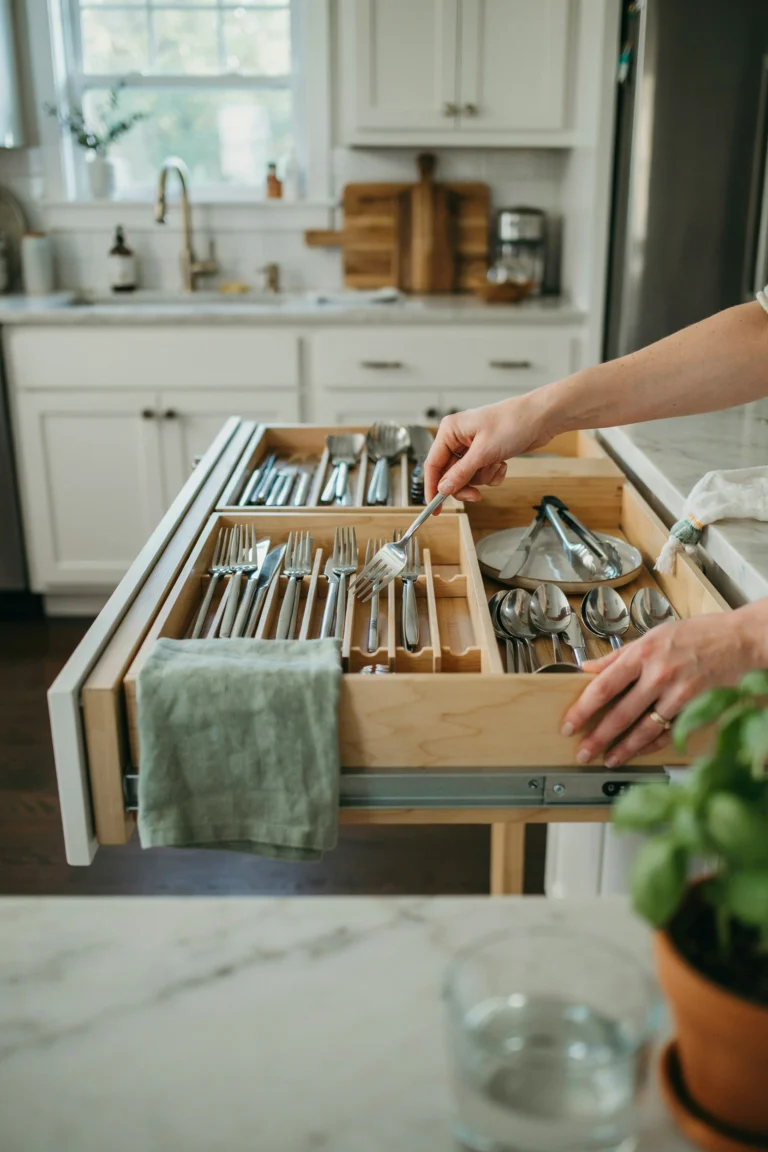
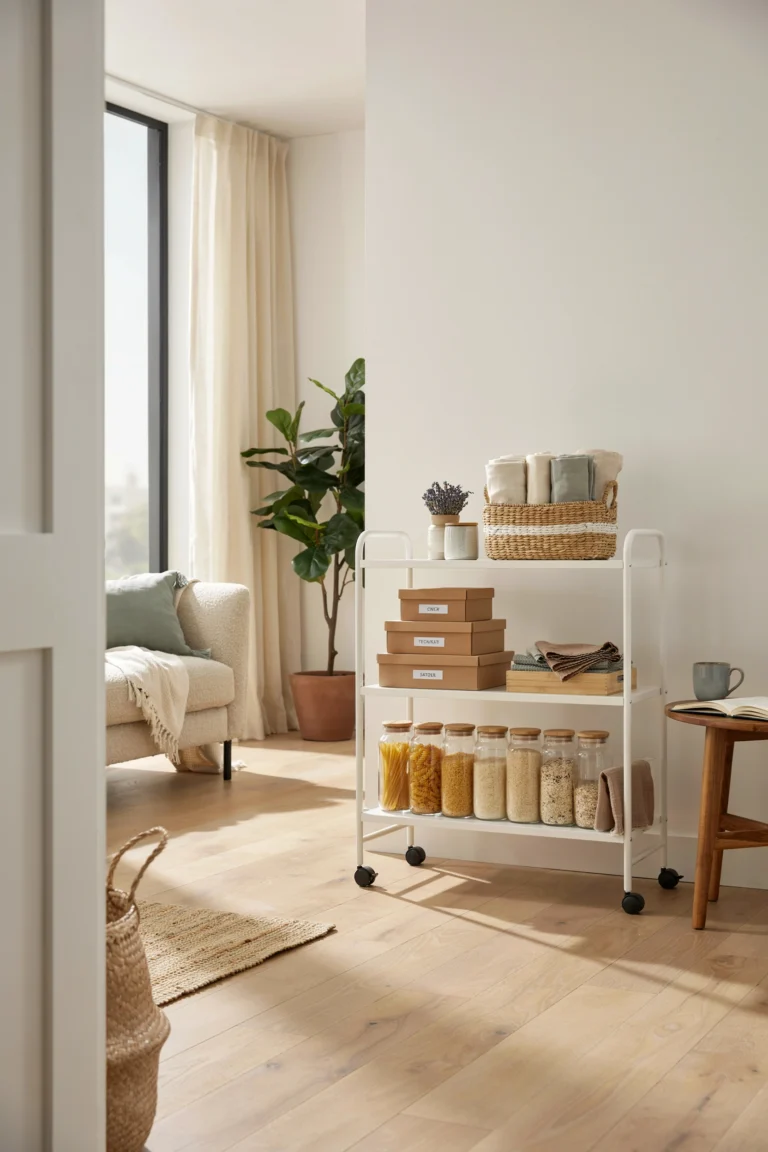
Grab-And-Go Drawer
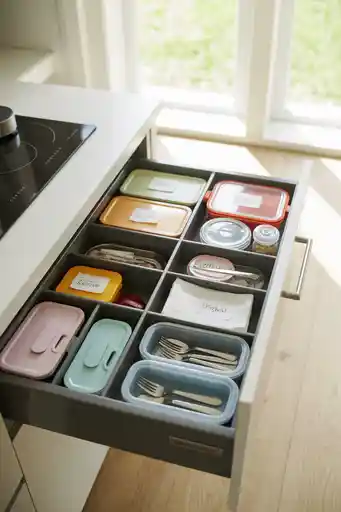
A dedicated lunch-packing drawer keeps everything needed in one convenient location. Storing containers, utensils, napkins, snack bags, and accessories together helps reduce morning stress and allows anyone in the household to pack lunch quickly.
Pro Tip: Divide the drawer into categories so every item has a designated home.
One-Box Balance
Using a single container with multiple compartments simplifies meal planning and reduces cleanup. This setup creates balanced lunches by providing space for main dishes, fruits, vegetables, and snacks without requiring multiple containers.
Pro Tip: Look for designs that include one large compartment and several smaller sections.
Mix-And-Match System
A flexible lunch system allows you to adapt containers based on changing meal plans. Combining a primary lunch box with interchangeable inserts creates versatility while maintaining organization across different types of meals.
Pro Tip: Use accessories that fit multiple containers to increase flexibility without adding clutter.
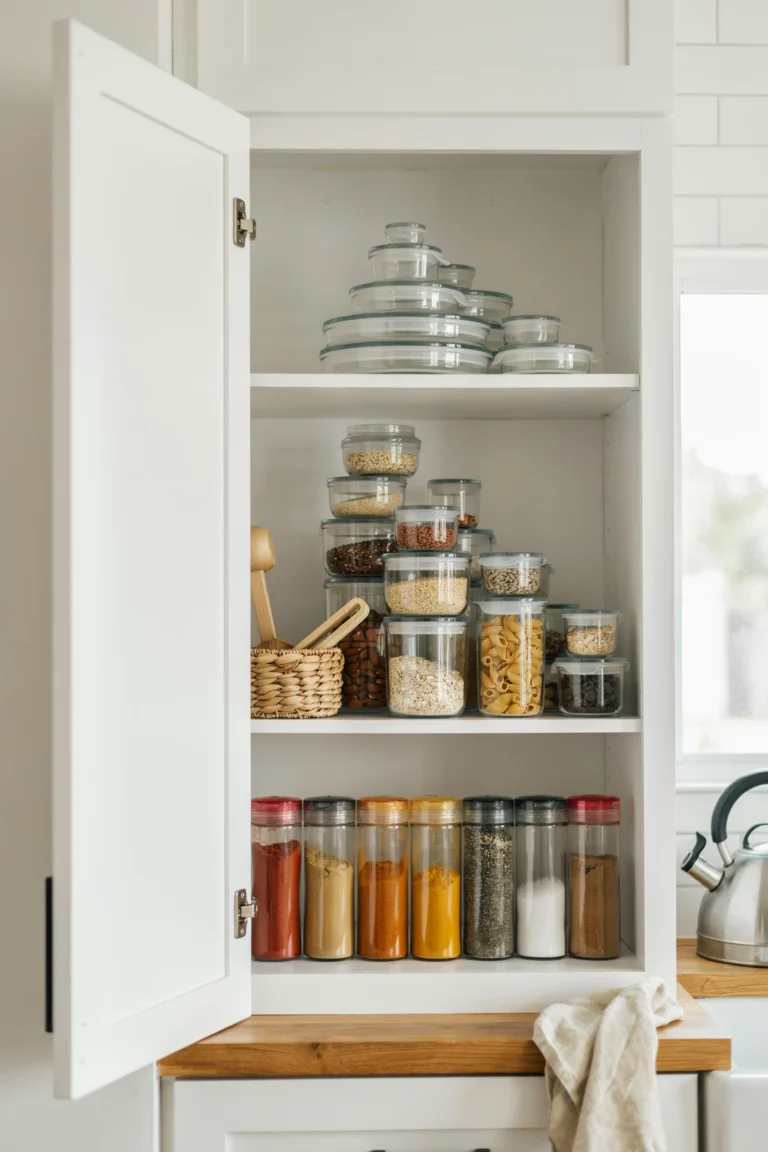
Shelf-Based Grouping
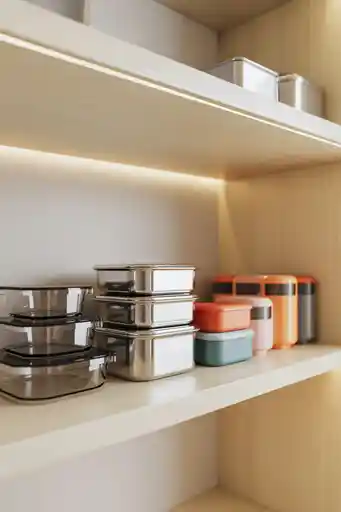
Organizing containers by category on dedicated shelves makes storage more efficient and visually appealing. Grouping similar items together prevents random stacking and allows quick access when preparing meals.
Pro Tip: Store lids on top of matching containers to reduce searching and mismatched pieces.
Stacked by Purpose
Assigning specific roles to different containers creates a streamlined packing process. Separate containers for daily lunches, travel meals, and special outings help reduce decision fatigue and keep storage areas organized.
Pro Tip: Label storage zones to maintain consistency throughout the week.
Vertical Lid Control
Lids are often the most difficult part of container organization. Storing them vertically makes every size visible and accessible while preventing piles of lids from becoming disorganized and difficult to manage.
Pro Tip: Plate racks and file organizers work surprisingly well for lid storage.
Repeatable Lunch Formula

Creating a consistent lunch-packing structure saves time and simplifies daily decisions. Using identical containers with designated food sections allows you to maintain variety while following the same efficient layout every day.
Pro Tip: Keep the layout consistent and simply rotate the foods inside each compartment.
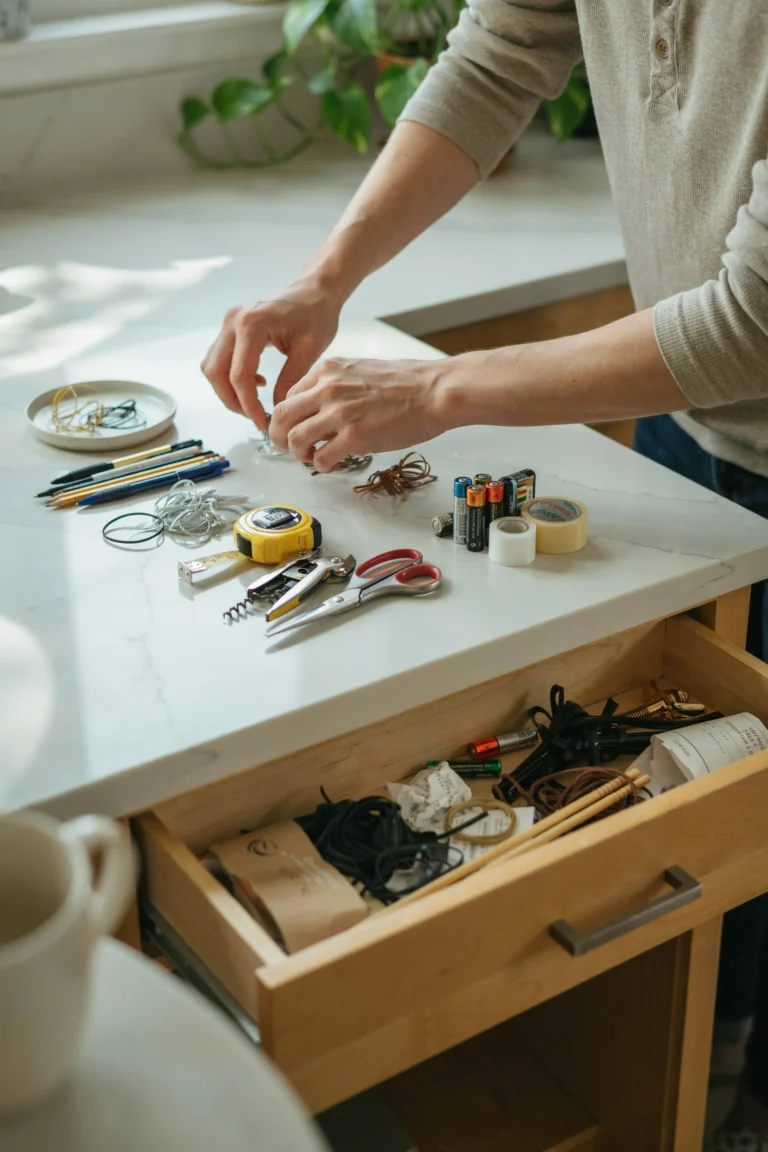
Accessory Sorting
Lunch accessories can quickly create clutter when not properly organized. Sorting picks, cutters, molds, and snack cups by category keeps preparation areas tidy and makes specialty tools easier to find.
Pro Tip: Use shallow drawer dividers to separate accessories into clearly defined sections.
Brand-Based Stacks
If you own multiple lunch box brands, organizing them separately helps avoid mismatched parts and confusion. Keeping each brand together ensures inserts, lids, and accessories remain compatible and easy to locate.
Pro Tip: Dedicate one storage area to each lunch box system you use regularly.
Portion-Smart Layout
A thoughtful compartment layout helps create balanced meals while preventing overpacking. Larger sections can hold proteins or main dishes, while smaller compartments provide space for fruits, vegetables, and snacks.
Pro Tip: Fill compartments completely to prevent food from shifting during transport.
Pre-Packaged Pairing
Combining homemade foods with convenient packaged snacks can make lunch preparation more manageable on busy mornings. This approach balances efficiency with nutrition while helping maintain organized meal portions.
Pro Tip: Reserve one compartment specifically for grab-and-go packaged items when time is limited.
Balanced Bento Routine
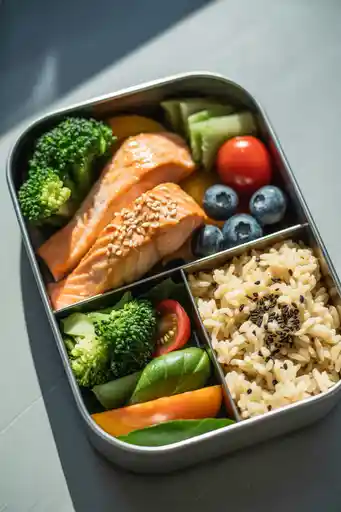
A consistent bento-style routine creates structure and ensures lunches remain visually appealing and nutritionally balanced. Assigning a purpose to every compartment makes packing faster and keeps foods neatly separated until lunchtime.
Pro Tip: Follow the same meal-building formula daily to simplify planning and shopping.
FAQs
How Many Containers Do You Actually Need?
Most households function well with a small collection of dependable containers rather than dozens of mismatched options. A few versatile lunch boxes and several small inserts are usually enough for everyday meal packing while keeping storage areas organized.
Pro Tip: Regularly remove containers you rarely use to prevent unnecessary clutter.**
Should You Mix Container Brands or Stick to One System?
Using a single container system generally creates a cleaner and more efficient storage setup. While mixing brands can work, matching shapes and sizes helps prevent storage problems, lid confusion, and wasted cabinet space.
Pro Tip: If you mix brands, choose containers that stack and nest together easily.