
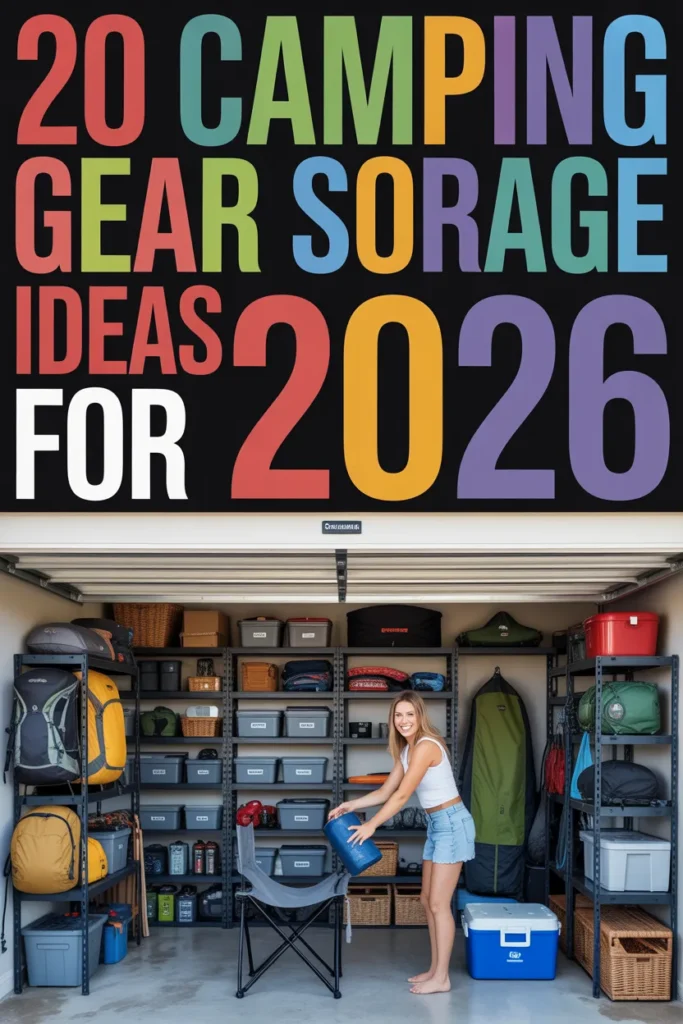
Camping is amazing in the great outdoors, but back at home, storing all that gear can feel like a nightmare. Tents, sleeping bags, backpacks, and folding chairs often spill into every corner, creating clutter and frustration. In this article, I’ll share 20 practical camping gear storage ideas that keep your space organized, make gear easy to access, and save you time during trip prep. These tips work for garages, closets, sheds, or any storage area where your bulky outdoor gear lives.
Key Takeaways
- Group gear by type: cooking, sleeping, climbing, and apparel.
- Use vertical space with hooks, pegboards, and tall shelves.
- Clear bins and labeled containers keep small items visible and accessible.
- Dedicated zones for each gear type speed up packing and unpacking.
- Overhead or wall-mounted racks free up floor space and reduce clutter.
Which Smart Storage Solutions Work Best for Bulky Camping Gear?
When large camping gear piles up, it can quickly overwhelm your space. Tents, sleeping bags, folding chairs, and coolers need their own designated spots, or your garage or closet will become chaotic. I recommend using stackable bins for soft items and wall hooks for bulky gear. Overhead racks are also perfect for seasonal items you don’t access daily. Once every item has a home, packing for trips becomes a breeze.
Pro Tip: Invest in wall-mounted racks and stackable bins—these are the unsung heroes of clutter-free camping storage.
Gear Wall
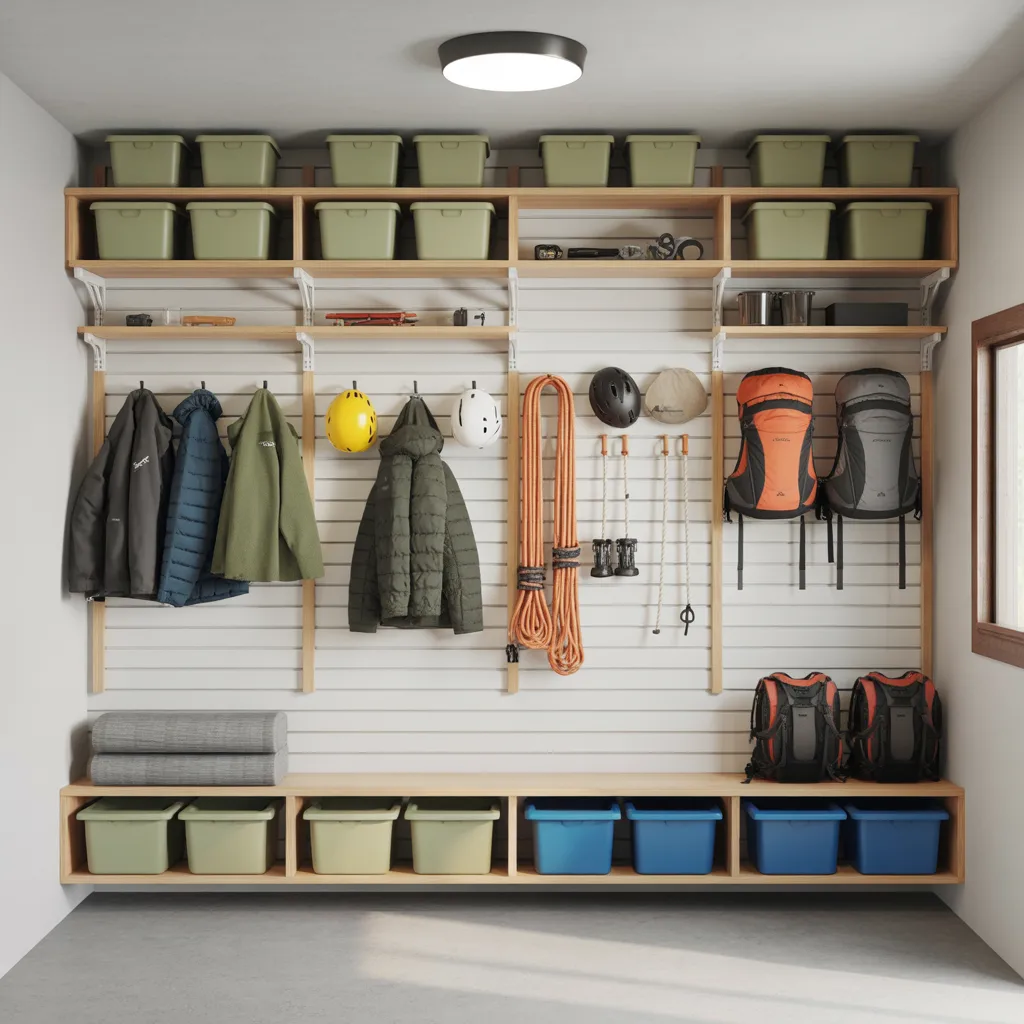
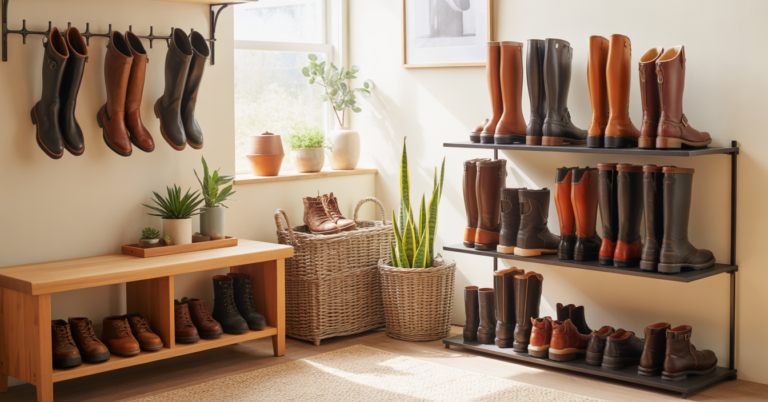
Mounting a wall specifically for your gear instantly reduces floor clutter. Jackets, helmets, ropes, and backpacks hang neatly and are easy to grab. Add shelves above hooks for smaller tools, helmets, or items you reach for frequently. Lower shelves work great for boots, shoes, or rolled-up sleeping mats. This setup keeps your gear visible and prevents messy piles.
Pro Tip: Use a combination of hooks and open shelves to make your gear accessible and breathable.
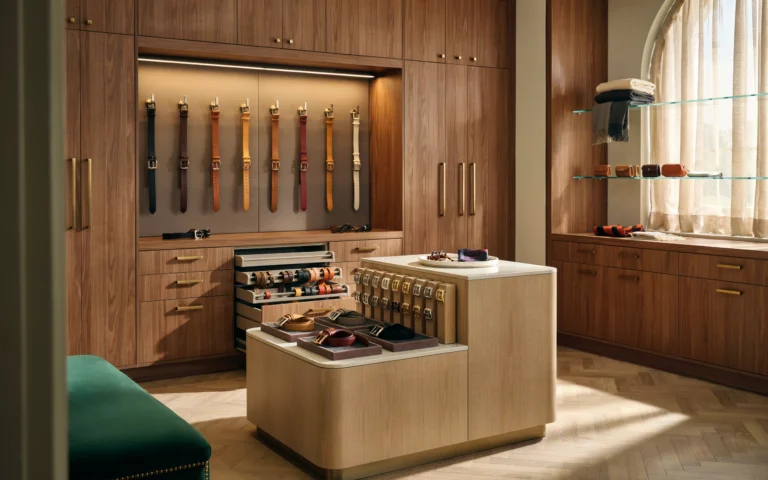
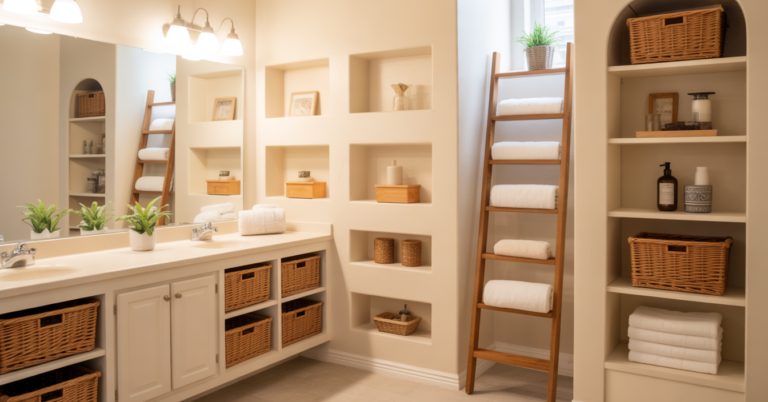
Closet Station

Transform a spare closet into a mini basecamp. Strong hooks on the hanging rod hold jackets and packs, while a small shelf above stores tents or mats. Cubby shelves below keep boots, helmets, and water bottles organized. This setup is perfect for entryway closets or spare rooms, making morning trip prep seamless.
Pro Tip: Even a small closet can feel spacious if you dedicate every section to a specific gear type.
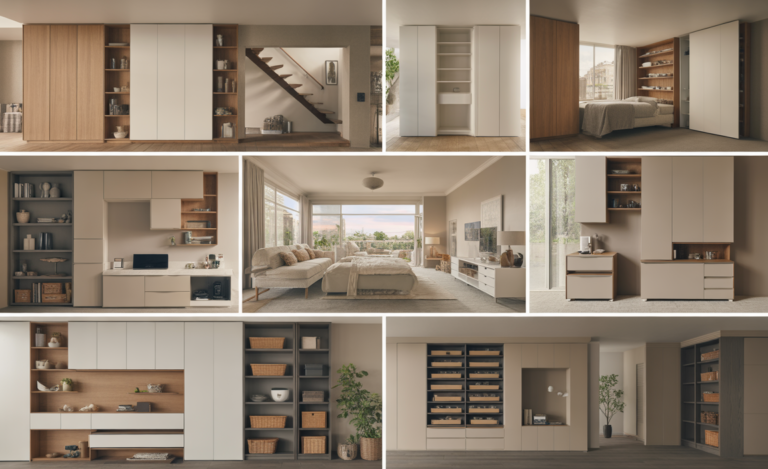
Gear Shelving
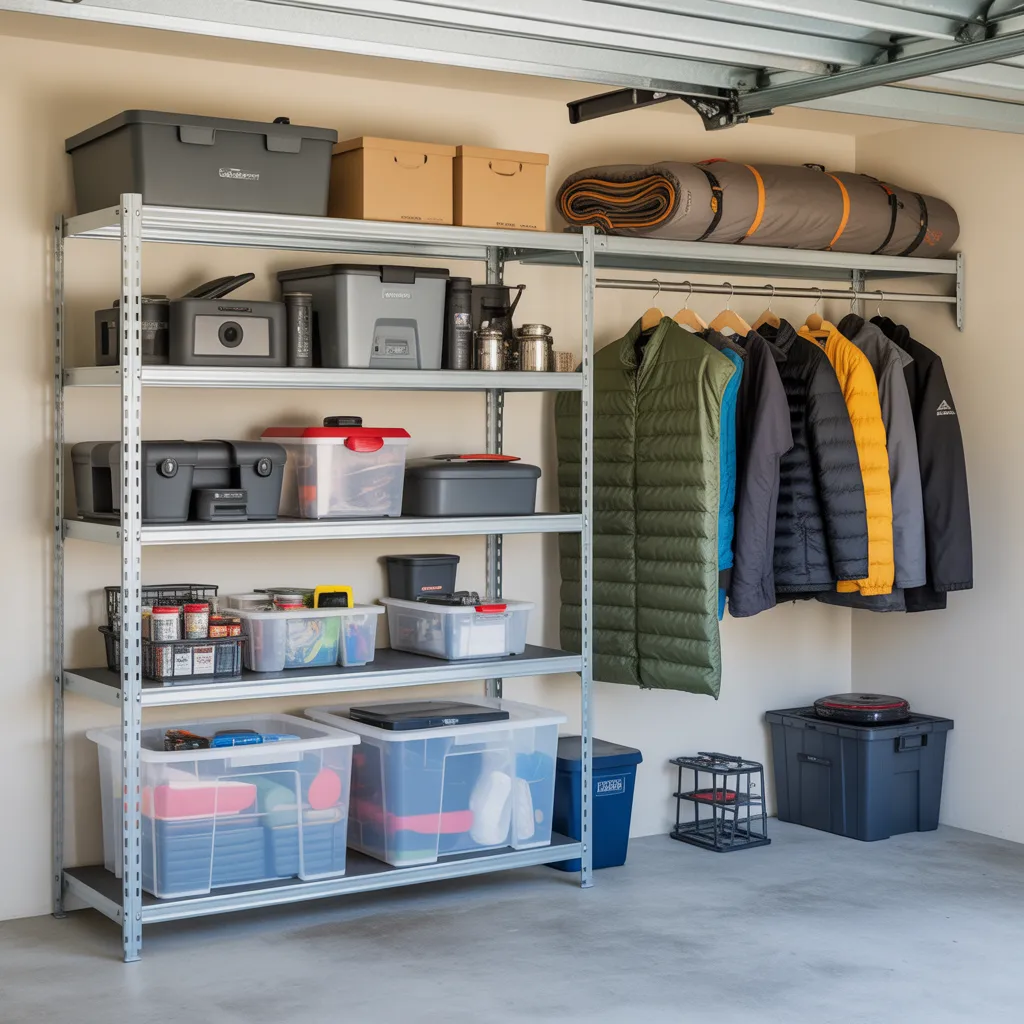
Open shelving brings order to bulky gear. Place large plastic bins on shelves for smaller items like cooking utensils or repair kits. Sleeping pads and tents go on the middle shelves, while hanging rods store sleeping bags and insulated jackets to preserve their loft. Strong metal shelves and clear bins make gear easy to find and maintain.
Pro Tip: Keep frequently used items at eye level to reduce time spent searching for them.
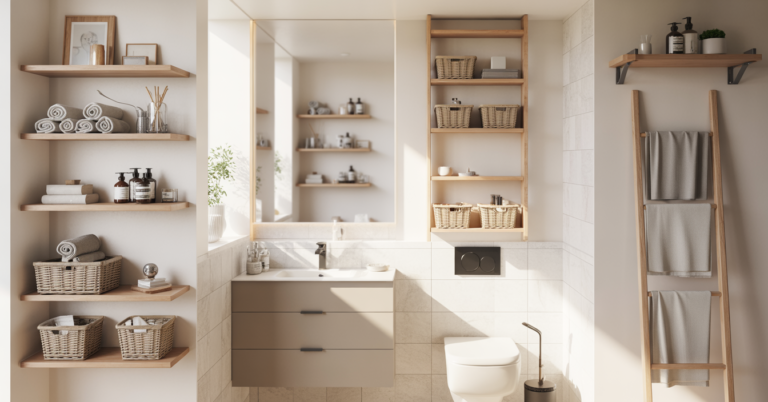
Camp Pantry
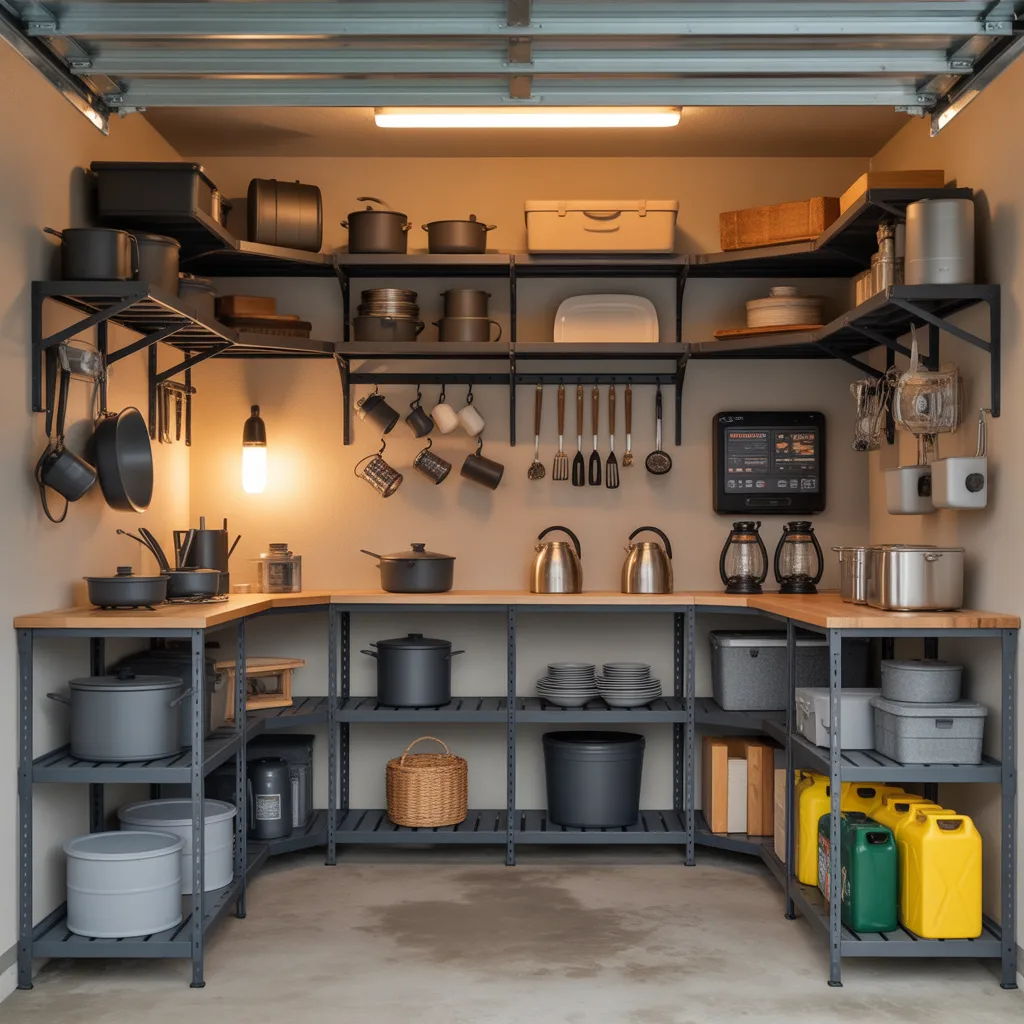
A central station for cooking gear saves headaches. Heavy items like stoves, kettles, and cookware go on metal shelves, while a rail with hooks keeps utensils, mugs, and small items accessible. Side shelves store fuel, dishes, and cooking kits. This setup is ideal for garages or utility rooms, letting meal prep at camp be faster and less stressful.
Pro Tip: Group cooking items together so meal prep feels effortless, even at home.
Gear Hub
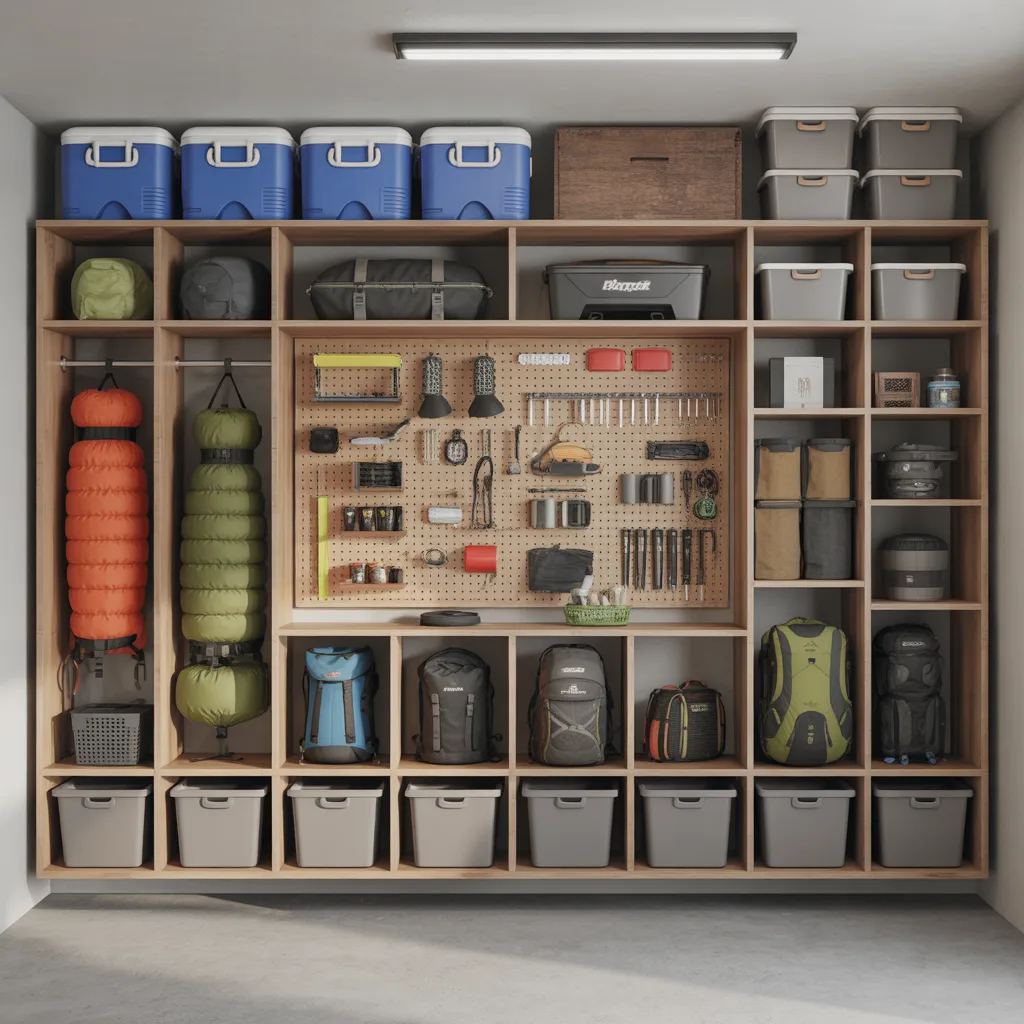
A dedicated wall system makes bulky gear manageable. Large cubby shelves hold sleeping mats, backpacks, and storage bins, while a pegboard keeps smaller items like headlamps and cups in sight. Top shelves are perfect for rarely used coolers or containers, keeping them out of the way. This system works well in garages, basements, or spare gear rooms.
Pro Tip: Treat your gear hub like a mini showroom—everything should be visible and ready to grab.
Gear Closet
Using a garment rack keeps jackets and sleeping bags in better condition than cramming them into bags. Backpacks line up neatly next to the rack, and clear storage boxes below hold gloves, tools, or repair kits. Open shelves with labeled baskets separate socks, first aid, and food kits. A pegboard on the opposite wall is perfect for climbing gear.
Pro Tip: Free-hanging clothing and gear prevents damage while improving accessibility.
Climb Rack
Climbing gear stays organized when mounted on horizontal bars. Ropes, carabiners, belay devices, and quickdraws remain visible and easy to grab. Helmets and shoes go on top and bottom cubbies, keeping muddy gear contained. Basic wooden cubbies with mounted rods can recreate this setup in garages, basements, or dedicated gear rooms.
Pro Tip: Group similar gear together to streamline climbing and camping prep.
Grid Panels
Metal grid panels turn wall space into versatile storage. Hooks hold backpacks, snowshoes, and helmets, while top shelves store sleeping pads and tents. Adjustable hooks allow you to customize storage as your gear changes. This works best in garages where vertical space is abundant.
Pro Tip: Grid panels let you adapt your storage system as your gear collection grows.
Pegboard Display
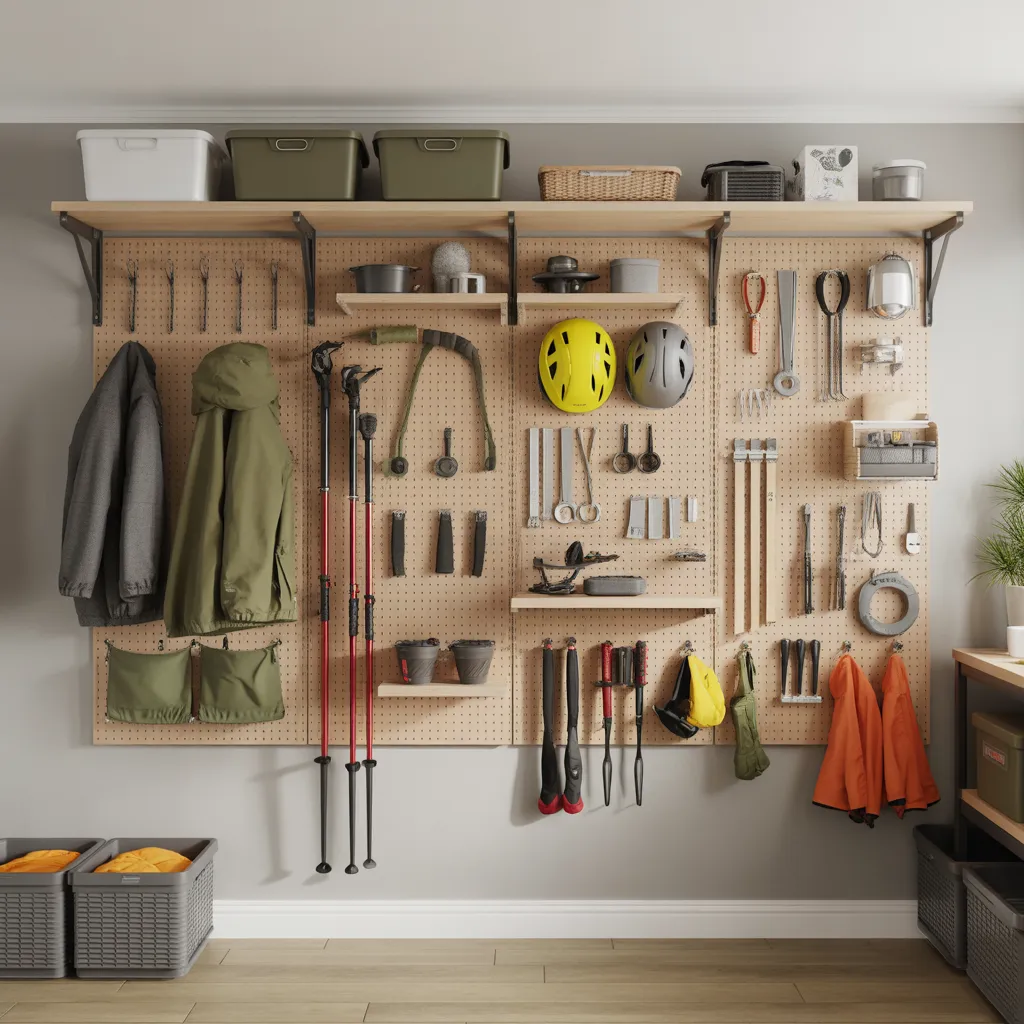
A pegboard keeps all your gear visible. Jackets, poles, helmets, and tools hang where you can see them, and small shelves hold headlamps or cooking tools. Seasonal items can sit on the top ledge. With hooks and brackets, you can rearrange as needed without rebuilding the system.
Pro Tip: Use pegboards for gear that changes frequently—it’s flexible and keeps items in plain sight.
Utility Rack
Heavy-duty metal racks handle large gear efficiently. Top shelves store coolers and cooking kits, middle shelves hold folded tents and sleeping pads, and lower levels accommodate storage boxes or firewood. This keeps gear organized and off the floor.
Pro Tip: Allocate space by item weight to prevent accidents and maintain stability.
Gear Board
A pegboard works perfectly for climbing and small camping gear. Hooks hold carabiners, cams, and belay devices in line, while ropes, helmets, and shoes hang nearby. Small shelves can store cameras, headlamps, or other frequently used items.
Pro Tip: Dedicated small-gear boards prevent loss and tangling.
Rope Wall
Thick wooden panels with hooks keep ropes untangled and visible. They hang by length or purpose, while carabiners and anchors line up next to them. Floating shelves store helmets or other small items, making everything easy to inspect before trips.
Pro Tip: Always dry and organize ropes separately to extend their lifespan.
Shed Shelves
Open wooden shelving in sheds keeps gear off the floor. Tents, folding tables, and camp stoves sit neatly on shelves, while bins store smaller accessories. Upper shelves hold light items, and lower shelves accommodate heavier containers.
Pro Tip: Maximize vertical space in sheds for a compact and tidy storage system.
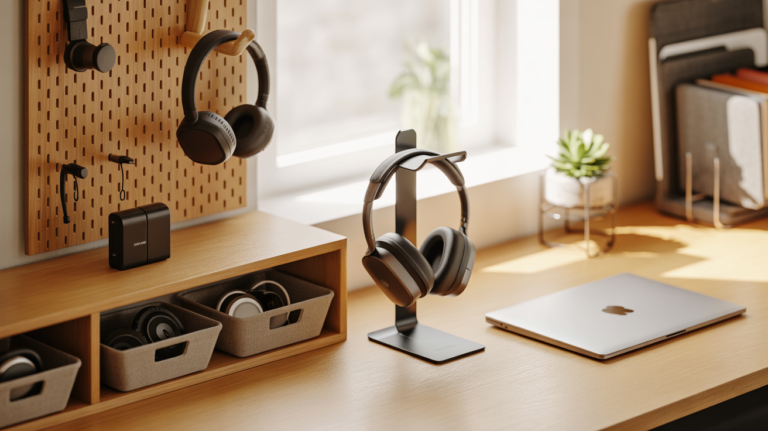
Gear Studio
A full pegboard wall in your workspace organizes gear effectively. Backpacks hang high, small kitchenware and lanterns sit on hooks below, and heavy items like power stations go on lower shelves. Hooks, baskets, and small shelves make everything visible and easy to reach.
Pro Tip: Incorporate your gear station into your workspace to save time and floor space.
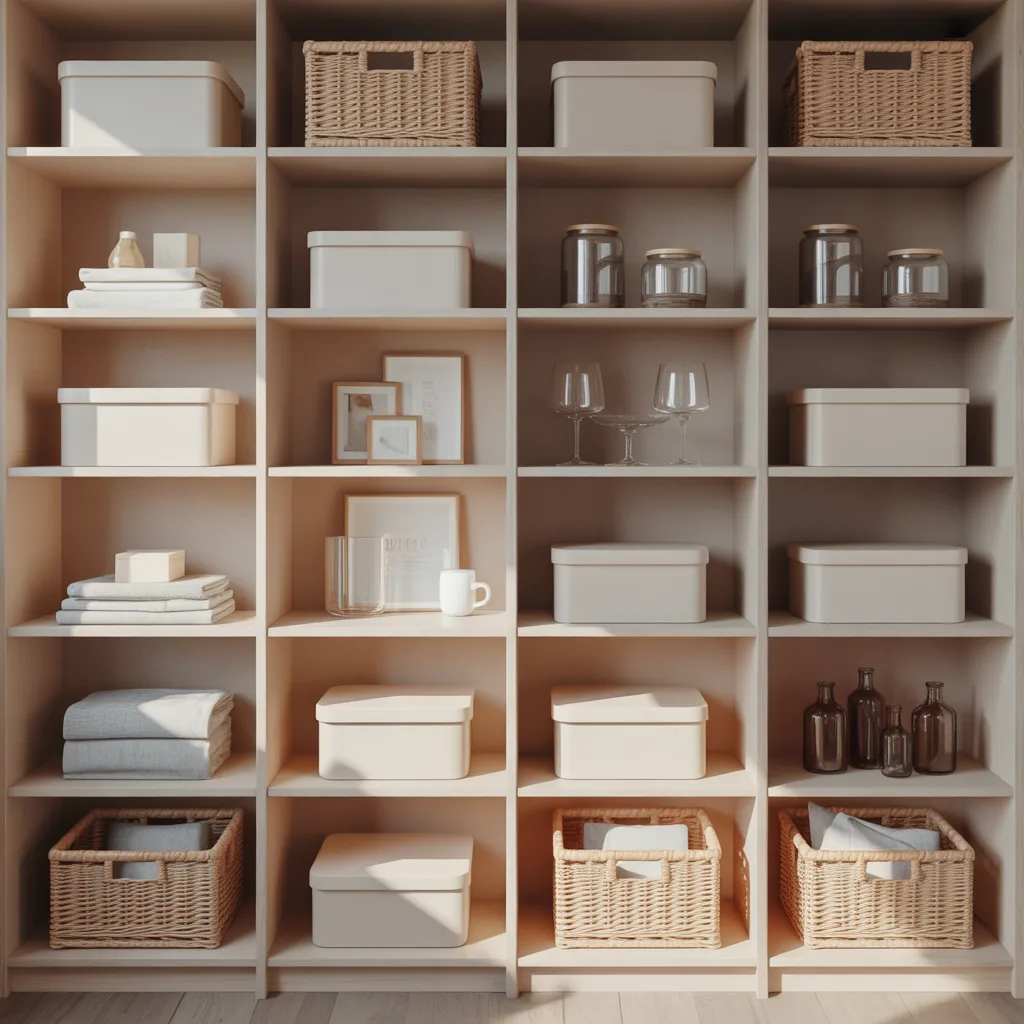
Labeled Bins
Clear bins with labels prevent small items from getting lost. Store cooking supplies, lighting gear, repair kits, and clothing layers in separate containers. Shelving keeps them stacked neatly, with room below for boots or other bulky items.
Pro Tip: Clear, labeled bins speed up packing and help maintain long-term organization.
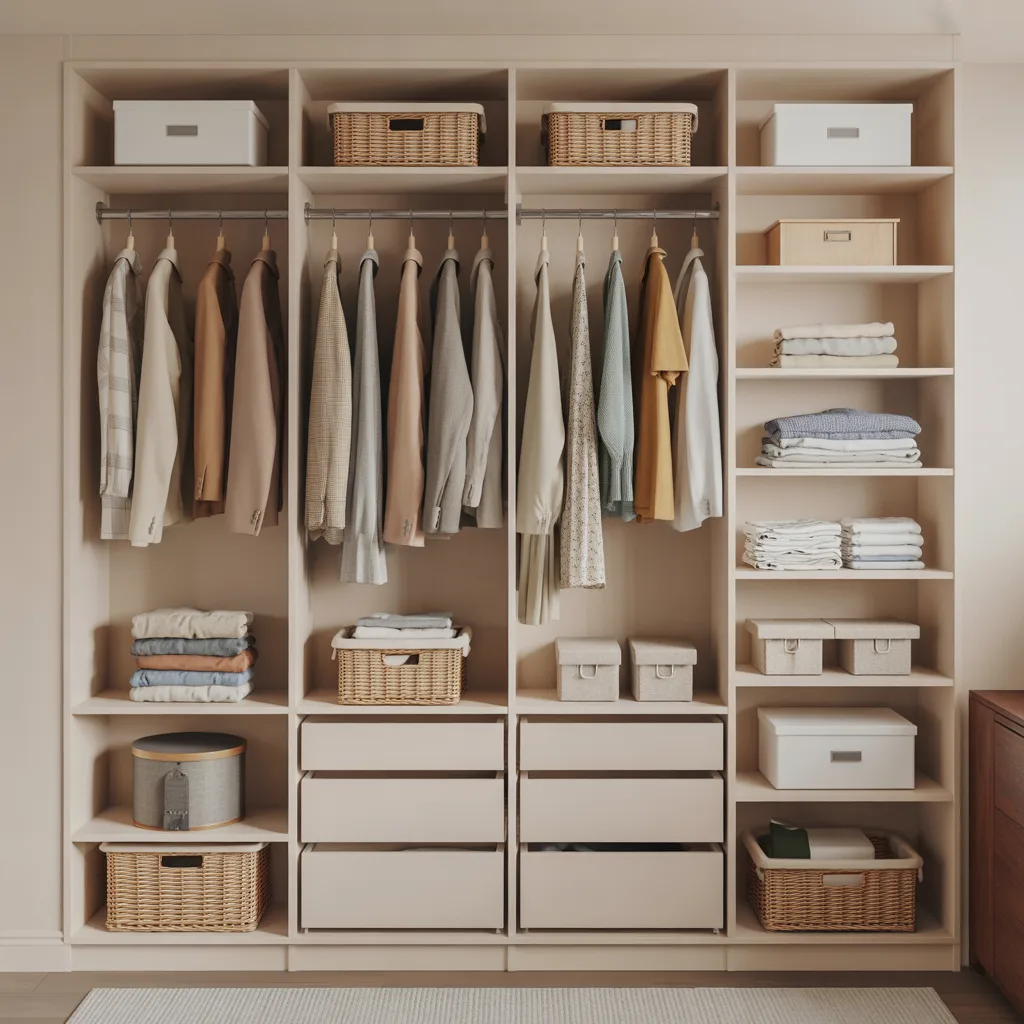
Gear Wardrobe
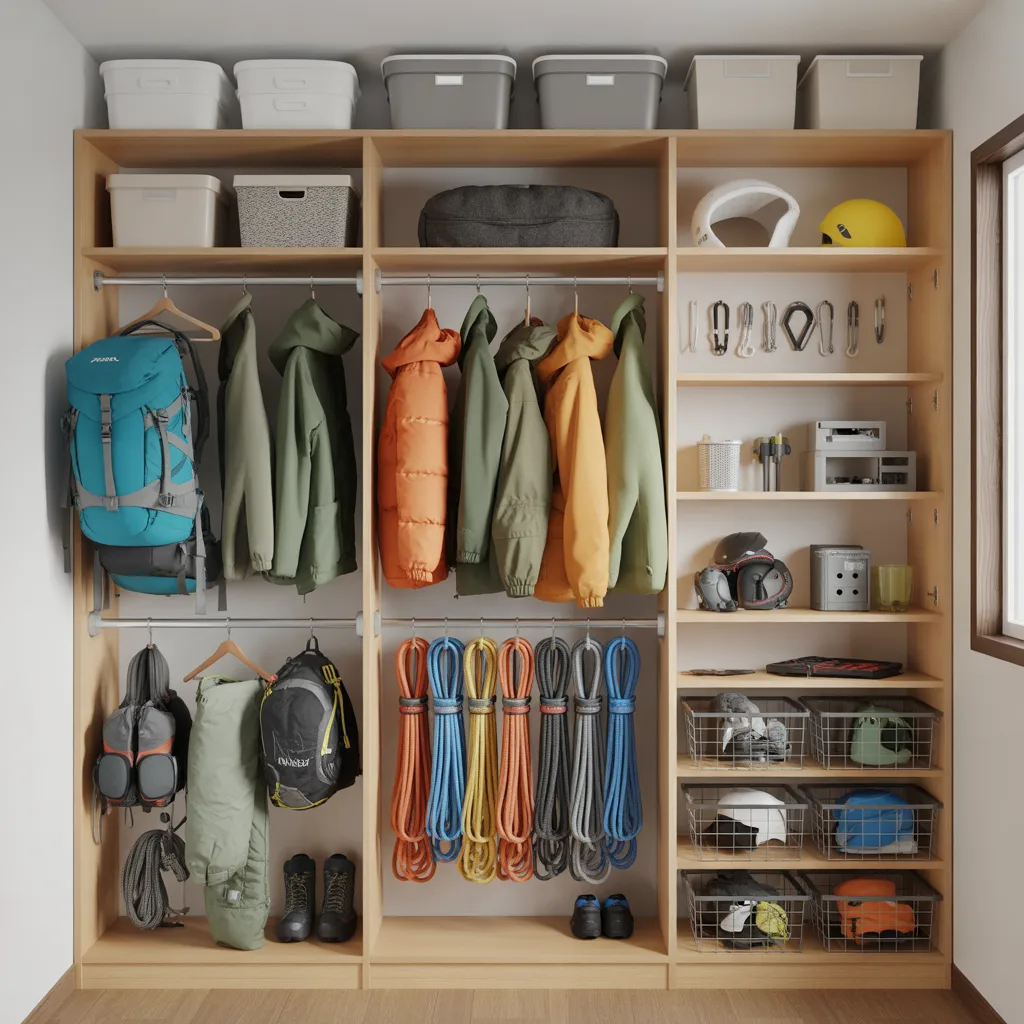
Transform a closet into an outdoor wardrobe. Hang backpacks and jackets, line up ropes and harnesses below, and use open shelves for climbing gear. Wire drawers keep gloves, hats, and small items organized. This turns unused storage into an efficient gear hub.
Pro Tip: Dedicated wardrobe sections maintain gear condition and make trips easier.
Camp Wall
Pegboards for small gear make a huge difference. Hooks hold cups, stoves, and headlamps, while lightweight bags sit lower for easy access. Narrow shelves stack mugs or coffee tools, keeping frequently used items within reach.
Pro Tip: Keep frequently used items at eye level to reduce prep time.
Gear Corner
Even a small corner can hold an entire setup. Pegboards store cookware, lights, and tools. Backpacks hang on side walls, and clear drawers organize clothing and small items. Soft items like sleeping bags sit on top, easy to grab.
Pro Tip: Use vertical storage in corners to maximize small spaces.
Camp Workshop
A wall can double as a gear station and workspace. Hooks hold lanterns, mugs, pots, and small tools. Floating shelves store frequently used gear, while larger items like backpacks sit on the edges. Sturdy pegboards, shelves, and hooks recreate this efficient layout.
Pro Tip: Combine workspace and gear storage to save space and stay organized.
Cabin Shelves
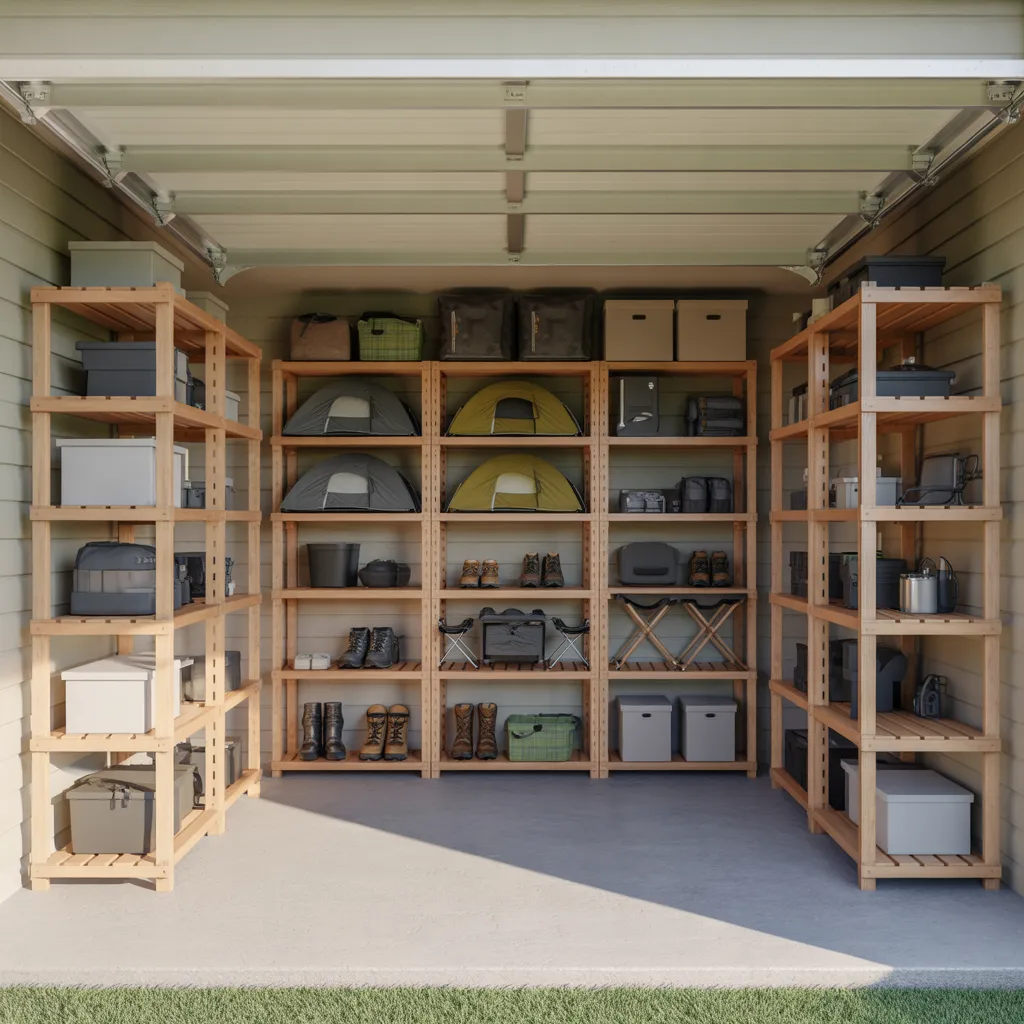
Sturdy wooden shelves keep gear off the floor. Wide shelves hold tents, chairs, and tables, while side shelves store shoes. Storage boxes and gear bags sit safely on lower shelves. This setup works well in garages or sheds.
Pro Tip: Wide, open shelving lets you see everything at a glance, preventing clutter.
FAQs
- How do you store bulky camping gear without taking up too much space?
Use vertical storage instead of the floor. Stack or hang large items on wall racks, pegboards, and tall shelves. Assign dedicated areas for sleeping gear, cooking gear, and tools to make packing faster. - What is the best way to organize camping gear for quick trip preparation?
Group items by function: cooking, sleeping, and hiking. Keep backpacks and jackets hanging, and store small items in labeled bins. This grab-and-go method saves time and ensures nothing is overlooked.
Conclusion
Keeping camping gear organized doesn’t have to be overwhelming. By using vertical storage, labeled bins, pegboards, and dedicated zones, you can maintain a clutter-free home while making trip prep quick and stress-free. Whether you have a garage, closet, shed, or workspace, these strategies turn bulky outdoor gear into an orderly, accessible collection ready for adventure.