
I still remember the first floating shelf I tried installing in my apartment. I bought a cheap kit online thinking it would take twenty minutes, but halfway through I realized the wall studs were not where I expected, the shelf leaned forward, and the included screws were terrible quality. After fixing enough crooked shelves over the years, I finally found a process that actually works without making the project feel complicated.
The good news is that building a floating shelf is much easier once you understand the basics. You do not need expensive woodworking tools or professional experience. With careful measuring, solid brackets, and a little patience, you can build a shelf that looks clean, modern, and sturdy enough for everyday use.
Whether you want extra storage in a bathroom, a display shelf in the living room, or a simple kitchen organizer, this guide walks through the exact steps that helped me get reliable results without frustration.
Quick Summary & Key Takeaways
- Floating shelves work best when at least one bracket connects to a wall stud
- Always use a level before drilling any holes
- Thicker wood boards reduce sagging over time
- Heavy-duty anchors help when studs are unavailable
- Sanding and pre-finishing the shelf saves time later
- Most shelf problems come from poor measuring, weak anchors, or rushing installation
- Leaving open space while styling makes shelves look cleaner and more modern
Why Most Floating Shelf Guides Don’t Work
Most tutorials make floating shelves look easier than they actually are. They usually show perfectly straight walls, ideal stud placement, and pre-cut materials. Real homes are rarely that cooperative.
One thing I noticed while installing shelves in older houses is that walls can be uneven by more than half an inch. If a guide ignores that detail, your shelf may end up tilted even when the bracket itself is level.
Another common problem is vague instructions about weight support. Many people install shelves with basic drywall screws and later wonder why the shelf starts sagging. The hidden hardware matters just as much as the wood itself.
I also think many guides skip practical troubleshooting. They explain the “perfect scenario” but never mention what to do when the stud is missing or the bracket shifts during installation.
Pro Tip: Spend more money on brackets than on decorative finishes because the bracket determines how strong the shelf will actually be.
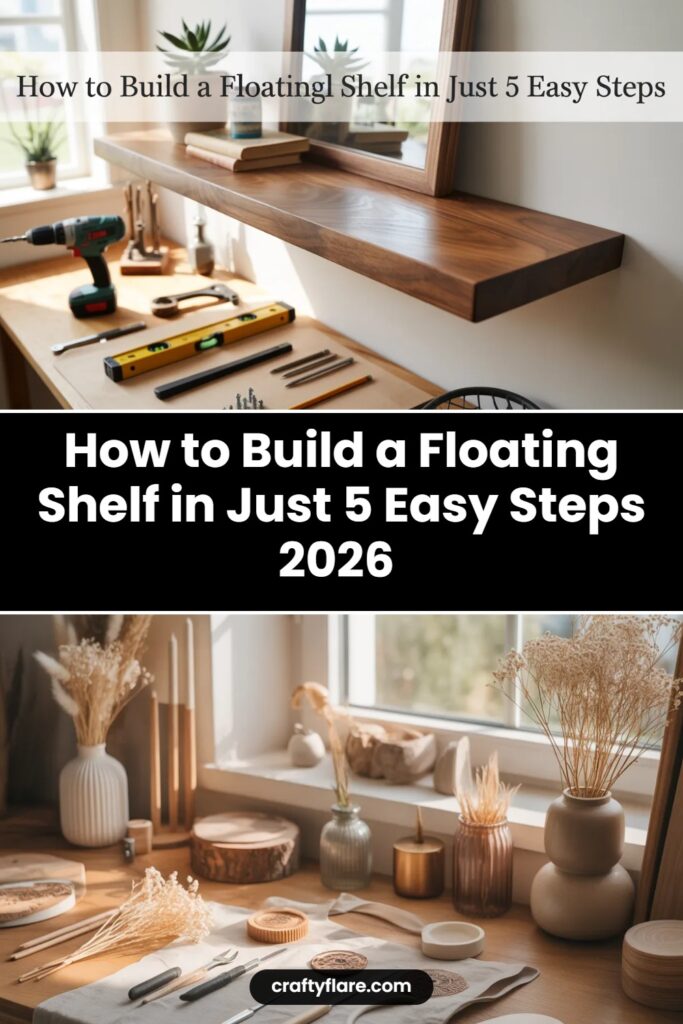
What You Need (Tools & Materials)
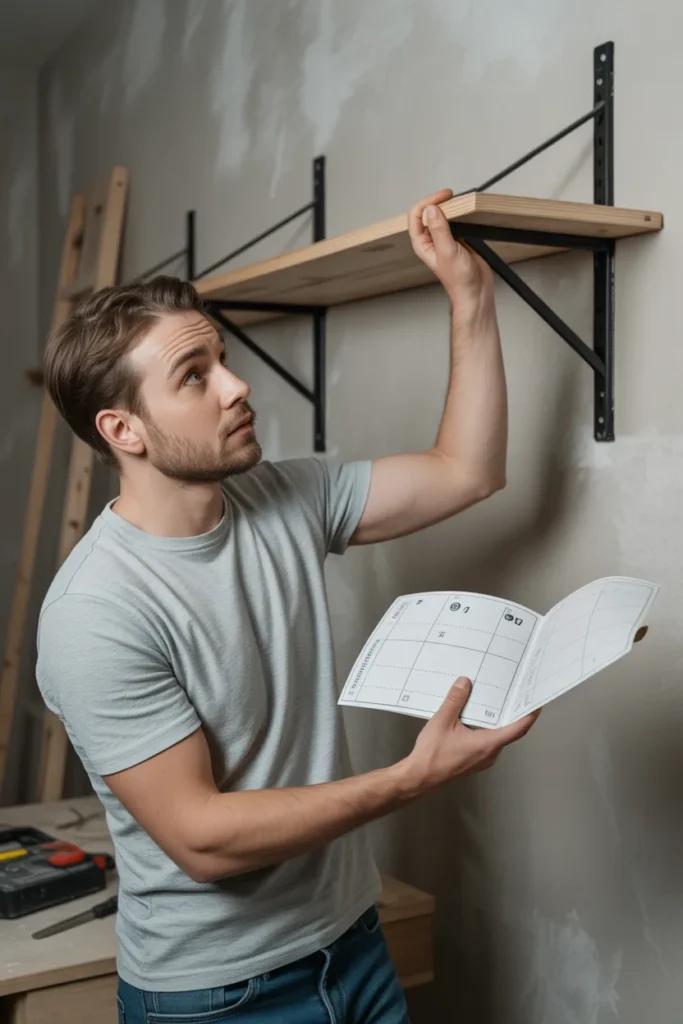
Before starting, I like laying every tool on the floor so I do not stop midway searching for missing parts.
Here is what you need for a basic DIY floating shelf project:
Tools
- Drill
- Tape measure
- Pencil
- Level
- Stud finder
- Sandpaper or sanding block
- Saw or pre-cut wood board
- Screwdriver
Materials
- Wood shelf board
- Floating shelf brackets
- Screws
- Heavy-duty drywall anchors
- Wood filler
- Paint or wood stain
- Clear protective finish (optional)
If you are planning to place heavy items like books or kitchen appliances on the shelf, choose thicker wood. Thin MDF shelves may look nice at first but can bend over time.
I personally prefer solid pine or oak because they hold screws better and stay straighter for years.
Step-by-Step: Building Your Floating Shelf
Step 1: Measure and Mark
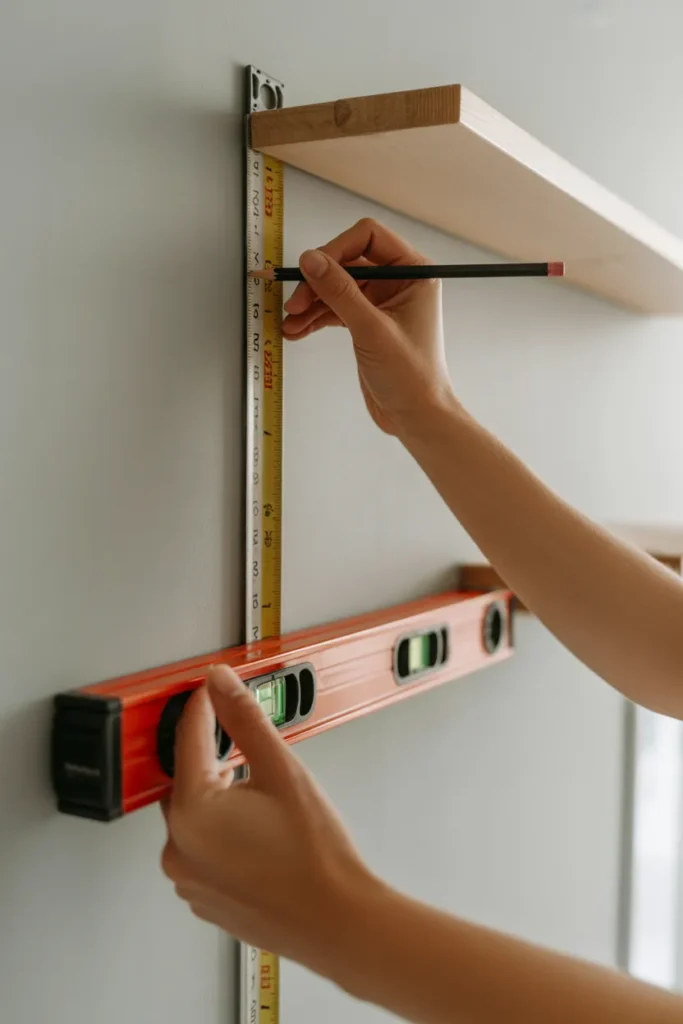
This is the step where most mistakes begin. I always double-check measurements before drilling because patching holes later is annoying and time-consuming.
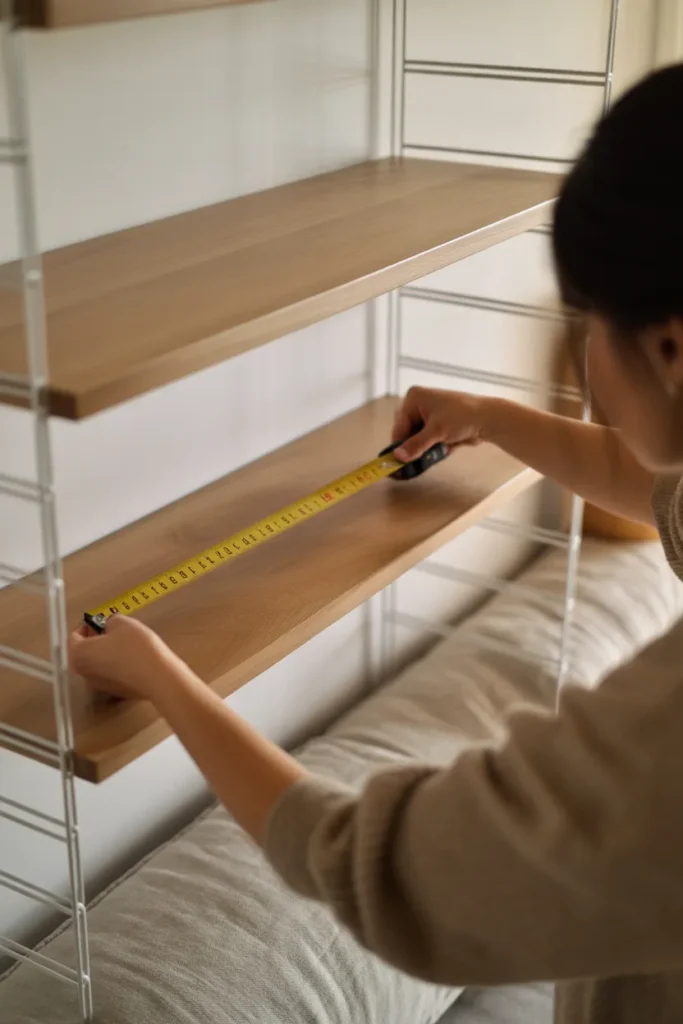
Use a tape measure to decide the exact shelf position. Mark the desired height lightly with a pencil. Then use a stud finder to locate wall studs.
Once you find the studs, draw a straight horizontal line using a level. This line keeps the shelf aligned during installation.
If you are installing multiple shelves, measure the spacing carefully. Uneven spacing becomes very noticeable once the shelves are decorated.
Common Mistake: Eyeballing shelf placement instead of using a level usually leads to crooked shelves.
Step 2: Cut and Prep the Shelf
Cut the wood board to your preferred size. If you do not own a saw, many hardware stores will cut the wood for free or for a small fee.
After cutting, sand every edge thoroughly. I learned the hard way that rough edges become much more noticeable after staining.
Once sanding is complete, apply paint or stain before mounting the shelf. It is much easier to finish the wood while it is sitting flat on a table instead of attached to the wall.
Allow the shelf to dry completely before installation.
Pro Tip: Slightly round the front corners with sandpaper for a smoother, more professional look.
Step 3: Install the Bracket
Hold the bracket against the wall and line it up with the level mark. Ideally, at least one side of the bracket should attach directly into a stud.
Mark the screw locations carefully before drilling pilot holes. Pilot holes help prevent wood splitting and make installation smoother.
If no stud is available, install heavy-duty anchors rated for the shelf weight. Cheap plastic anchors often fail under pressure, especially in bathrooms and kitchens where humidity affects drywall.
Tighten the bracket firmly and test it by pulling gently before moving to the next step.
Step 4: Mount the Shelf
Slide the shelf onto the hidden bracket rods or place it onto the support arms depending on your bracket style.
Once positioned correctly, secure the shelf using screws underneath or behind the board. I usually check alignment one more time before tightening everything completely.
Press lightly on different areas of the shelf to test stability. A properly installed floating shelf should feel solid without shifting forward.
If the shelf rocks slightly, loosen the screws and reposition before continuing.
Step 5: Check and Finish
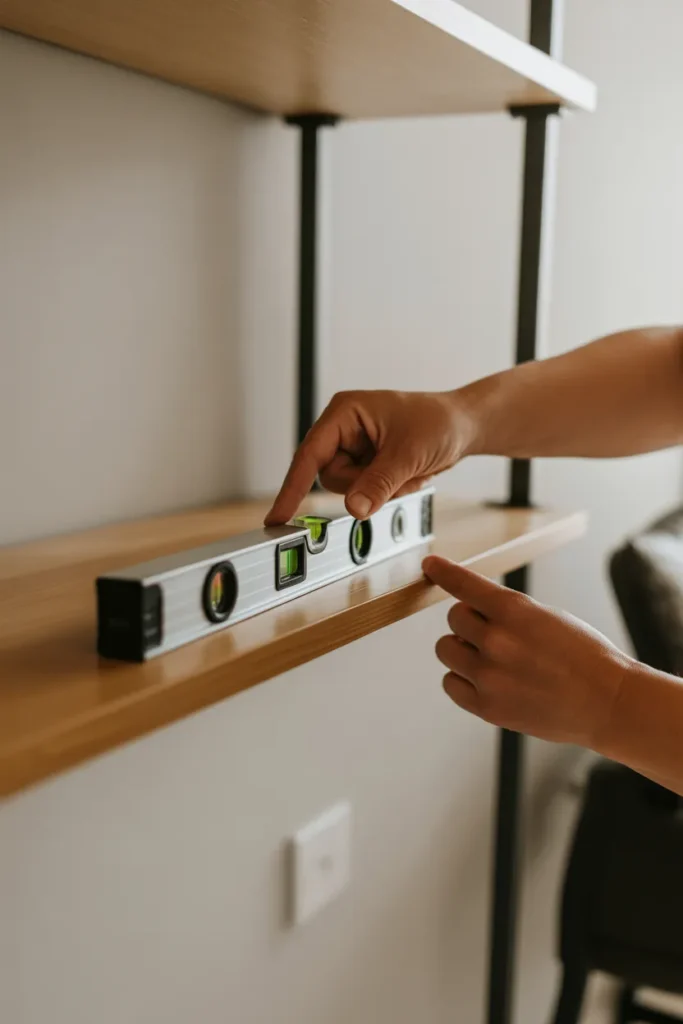
Place the level on top of the shelf for a final check. Even a small tilt becomes obvious after adding decor items.
Fill visible screw holes using wood filler. Once dry, lightly sand the area and apply matching paint or stain.
Finally, wipe away dust and inspect the shelf from different angles. This step helps catch tiny alignment issues before decorating.
I also recommend waiting a few hours before placing heavy objects on a newly installed shelf.
Pro Tip: Test weight gradually instead of loading the shelf all at once.
Common Issue During DIY Floating Shelf
1) Can’t Find Studs
Some walls make stud finding frustrating, especially in older homes. When this happens, I use toggle bolts or heavy-duty anchors designed for shelving.
For long shelves, adding additional brackets helps distribute weight more evenly.
2) Shelf Leveling Issues
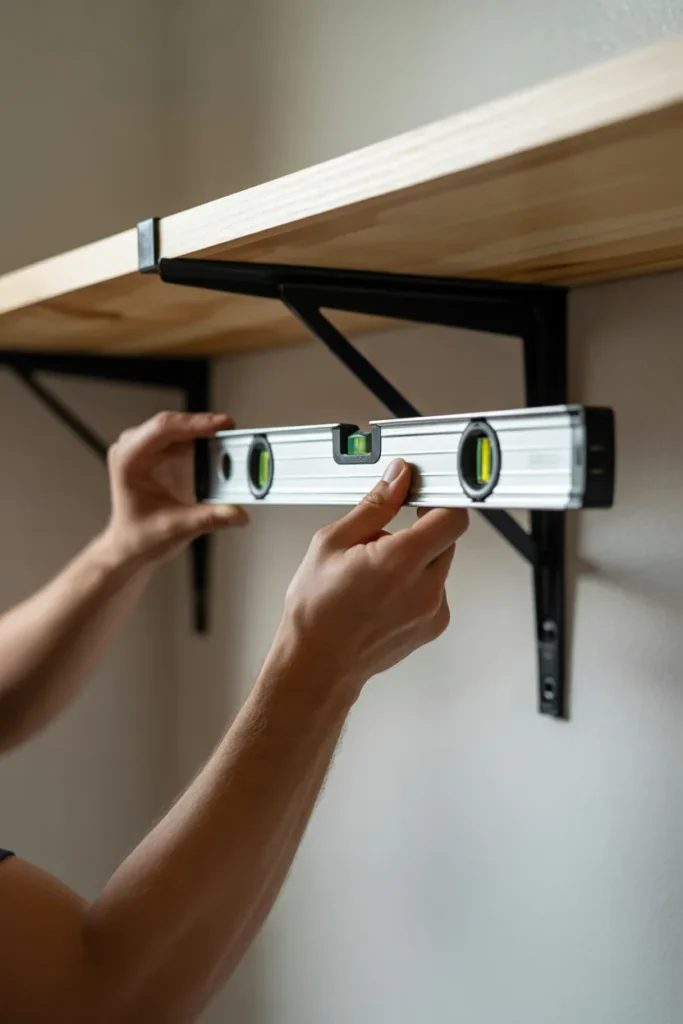
If your shelf looks uneven after mounting, loosen the screws slightly and adjust the bracket position.
Small wall imperfections can also create tilting. Thin shims behind the bracket usually fix the problem quickly.
3) Loose Shelf
A loose shelf usually means the screws are not gripping properly.
Check whether the anchors are spinning inside the drywall or whether the screws are too short. Replacing them with longer screws often solves the issue immediately.
4) Gape Between Wall & Shelf
Tiny wall gaps are very common, especially in older houses with textured walls.
I normally use paintable caulk for small spaces because it creates a cleaner finished appearance.
5) How to Hide Visible Screw Holes
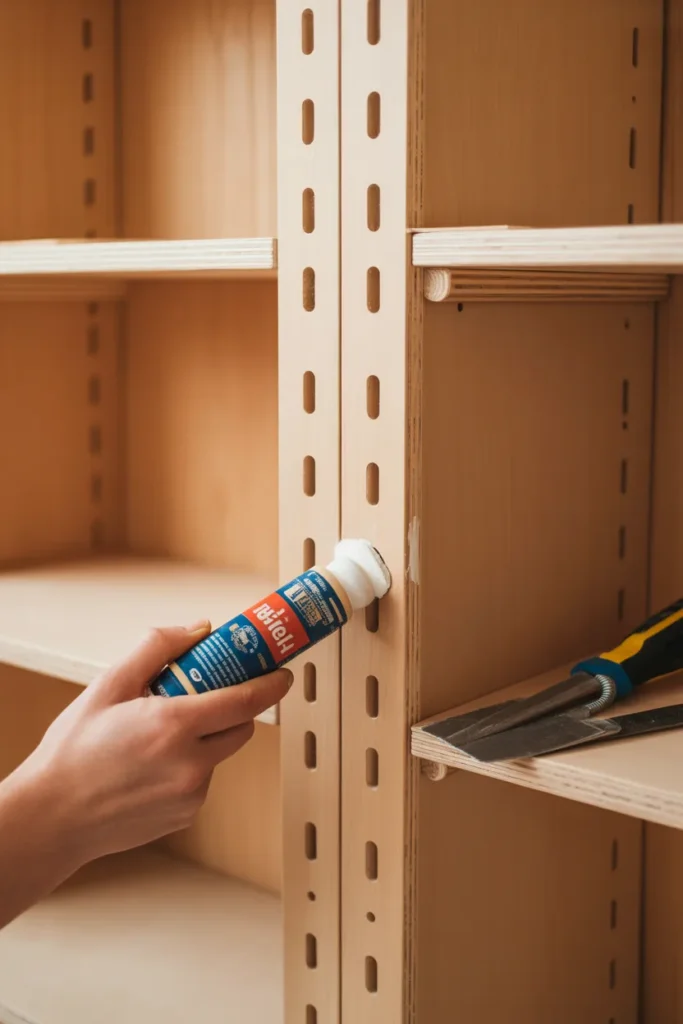
Wood filler works best for small holes. After sanding and painting, the holes become nearly invisible.
For darker stains, stainable wood filler gives much better results than standard filler.
6) How Many Brackets
A short decorative shelf may only need two brackets, but longer shelves need center support.
I usually add an extra bracket once a shelf exceeds around 36 inches. This helps prevent sagging later.
Styling and Maintenance Tips
Once the shelf is installed, styling makes the biggest difference visually.
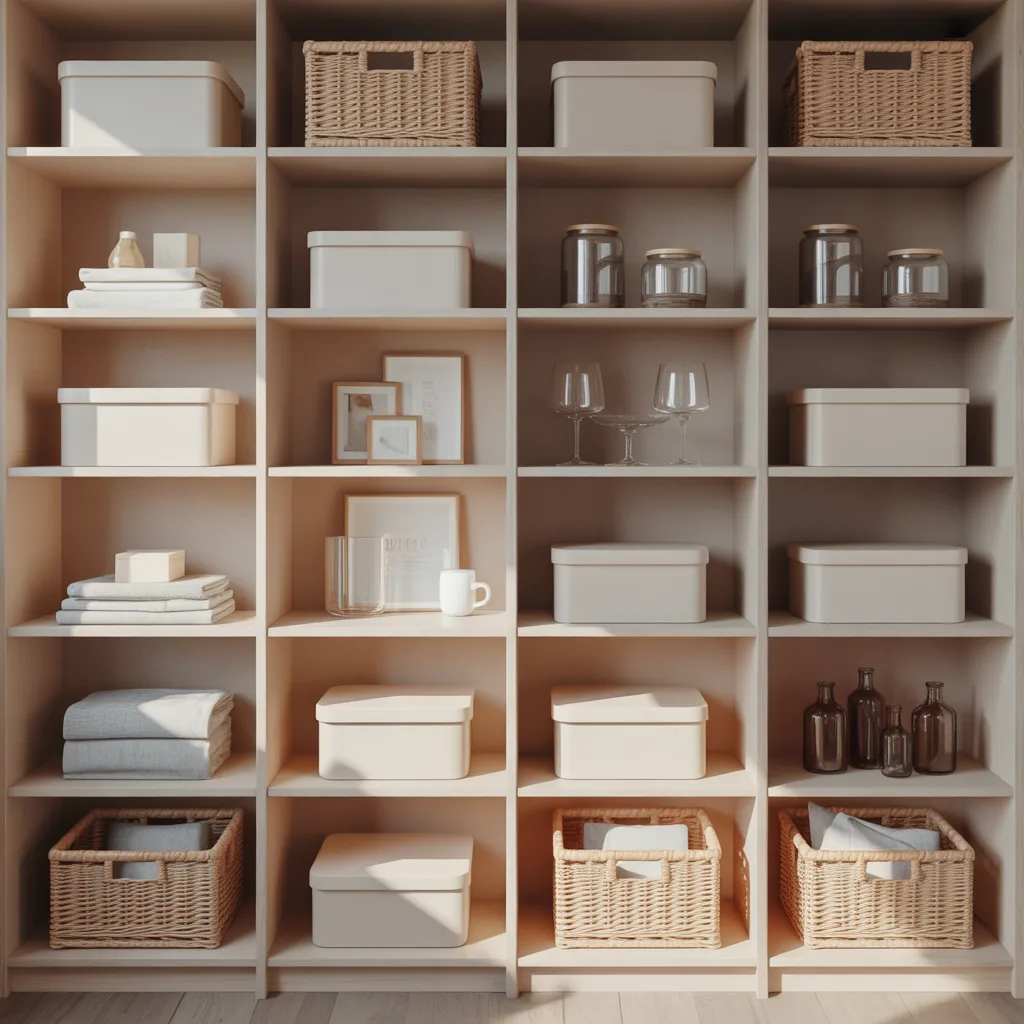
I prefer mixing practical items with decorative pieces instead of overcrowding everything. A few books, a small plant, and one framed photo usually look cleaner than filling every inch.
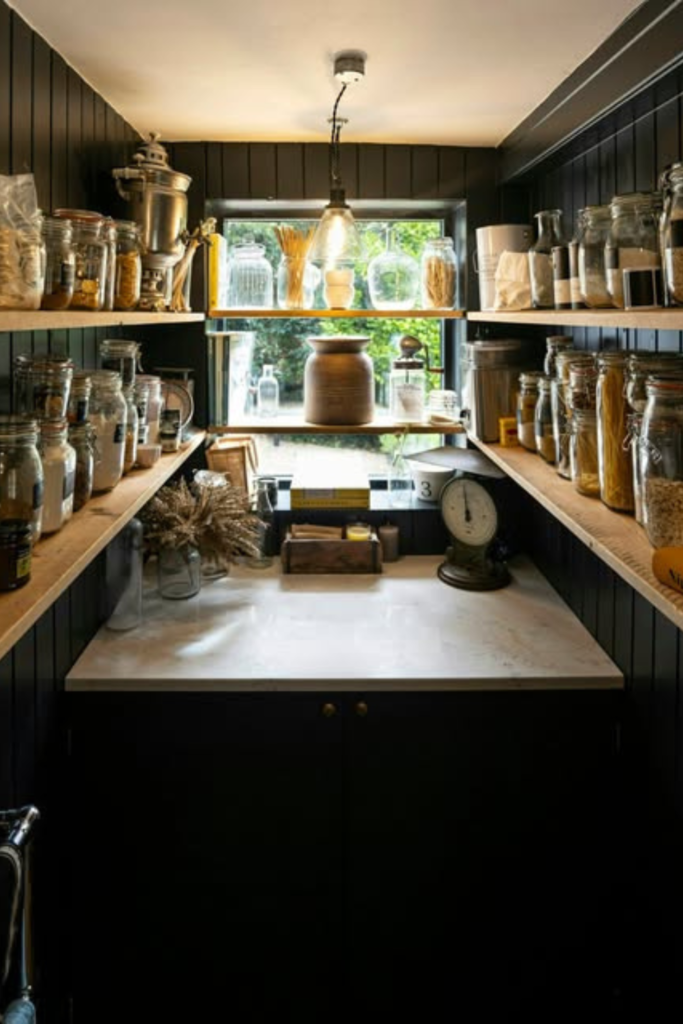
Keeping similar colors together also helps shelves feel more organized. In kitchens, matching jars and containers create a tidy appearance without much effort.
For maintenance, dust shelves regularly using a soft cloth. Avoid soaking wood with water because moisture slowly weakens finishes and may cause warping.
Every few months, inspect the brackets and screws to make sure nothing has loosened over time.
Pro Tip: Leave at least 30% empty space on the shelf so decorations stand out better.
Conclusion
Building a floating shelf became much less intimidating once I stopped overcomplicating the process. Most successful installations come down to careful measuring, solid support, and taking your time during setup.
The biggest lesson I learned is that strong brackets and accurate leveling matter far more than fancy materials. Even a simple wood board can look custom and expensive when installed properly.
If you follow these five steps carefully and avoid rushing the measurements, you can build a floating shelf that looks clean, stays sturdy, and fits your space perfectly for years.
FAQs
How much weight can a floating shelf hold?
It depends on the bracket quality, wall type, and whether the shelf is attached to studs. In my experience, a properly installed floating shelf connected to studs can easily hold 30–50 pounds or more.
Can I install a floating shelf without studs?
Yes, but you need strong drywall anchors or toggle bolts rated for heavy weight. I would avoid placing very heavy items on shelves that are only supported by drywall anchors.
What is the best wood for floating shelves?
Solid wood like pine, oak, or maple works best because it stays sturdy and holds screws securely. I usually avoid thin MDF boards for heavy storage since they can sag over time.
How deep should a floating shelf be?
Most floating shelves are between 8 and 12 inches deep. For decor and small storage, 8 inches usually feels balanced without sticking too far out from the wall.
Why is my floating shelf sagging?
Sagging often happens because the shelf is too long, the wood is too thin, or the brackets are spaced too far apart. Adding a center bracket usually fixes the problem.
Should I paint or stain the shelf before installing it?
Yes, I always recommend finishing the wood before mounting the shelf. It is faster, cleaner, and much easier than trying to paint around the wall afterward.
Are floating shelves hard for beginners?
Not really. Once you learn how to measure correctly and use a level, the project becomes very beginner-friendly. Most first-time mistakes happen from rushing measurements.
How far apart should floating shelf brackets be?
For most shelves, brackets should sit around 16 to 24 inches apart. Longer shelves usually need extra center support to prevent bending.
Can floating shelves work in bathrooms?
Yes, but moisture-resistant wood and strong wall anchors are important. I also recommend sealing the wood to help protect it from humidity.
How do I make floating shelves look expensive?
Using thicker wood, hidden brackets, smooth finishes, and simple styling makes a huge difference. Leaving some empty space on the shelf also creates a cleaner, more modern look.