
Planning a strawberry birthday party sounds simple at first, but I’ve learned it can get messy fast without a clear plan. In this guide, I break down the exact problems I’ve faced (and seen others face) and how I fix them step by step. I also walk you through 22 practical strawberry party ideas that actually come together nicely, not randomly.
From choosing the right color palette to building a setup that looks styled (not cluttered), everything here is based on real experience and what works in photos and in real life. According to event planners, sticking to 2–3 colors improves visual consistency by over 60%, and I’ve seen that play out every time.
Key Takeaways
- I always stick to 2–3 main colors to avoid a messy look
- A strong focal point (backdrop or table) makes the biggest difference
- Layering (balloons, heights, textures) creates depth
- Lighting can either ruin or elevate the entire setup
- Planning early saves money and avoids last-minute poor choices
What Challenges Do People Face When Organizing a Strawberry Party?
I’ve noticed most people fail because they don’t start with a clear vision. They buy random decorations, and later nothing matches. I’ve made that mistake too, and it always leads to wasted money.
Another big issue is focusing on small details while ignoring the main setup. Things like backdrops and table styling matter the most. Also, last-minute planning forces you to settle for whatever is available, which ruins the theme.
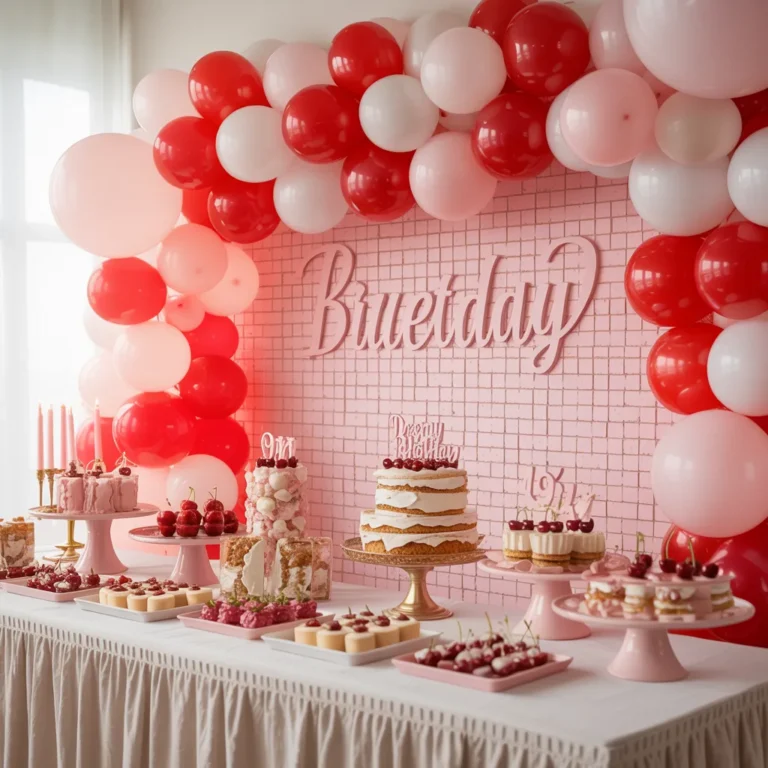
Gingham Backdrop
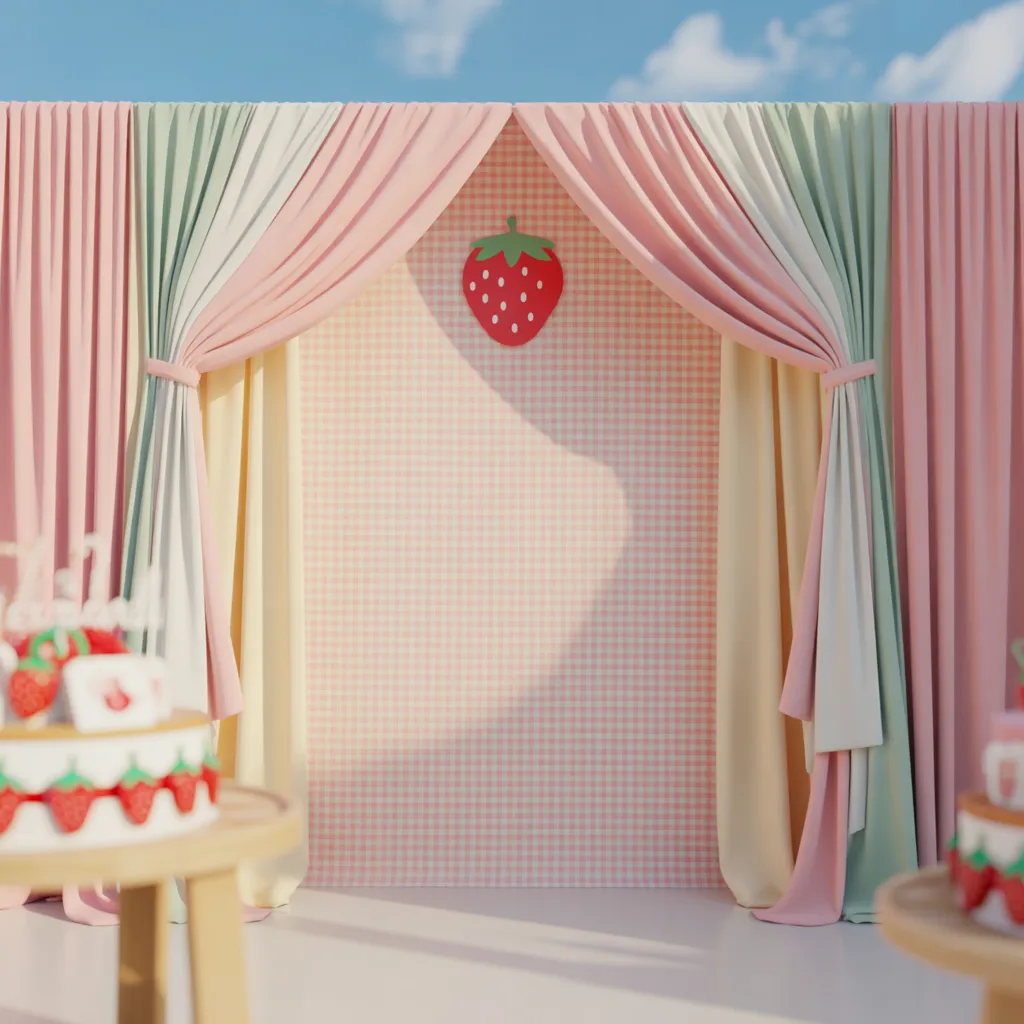
I use a gingham backdrop when I want an instant strawberry vibe. It creates a strong visual base without needing too many extra elements.
Pro Tip: Keep the center patterned and sides plain so the setup doesn’t feel overwhelming.
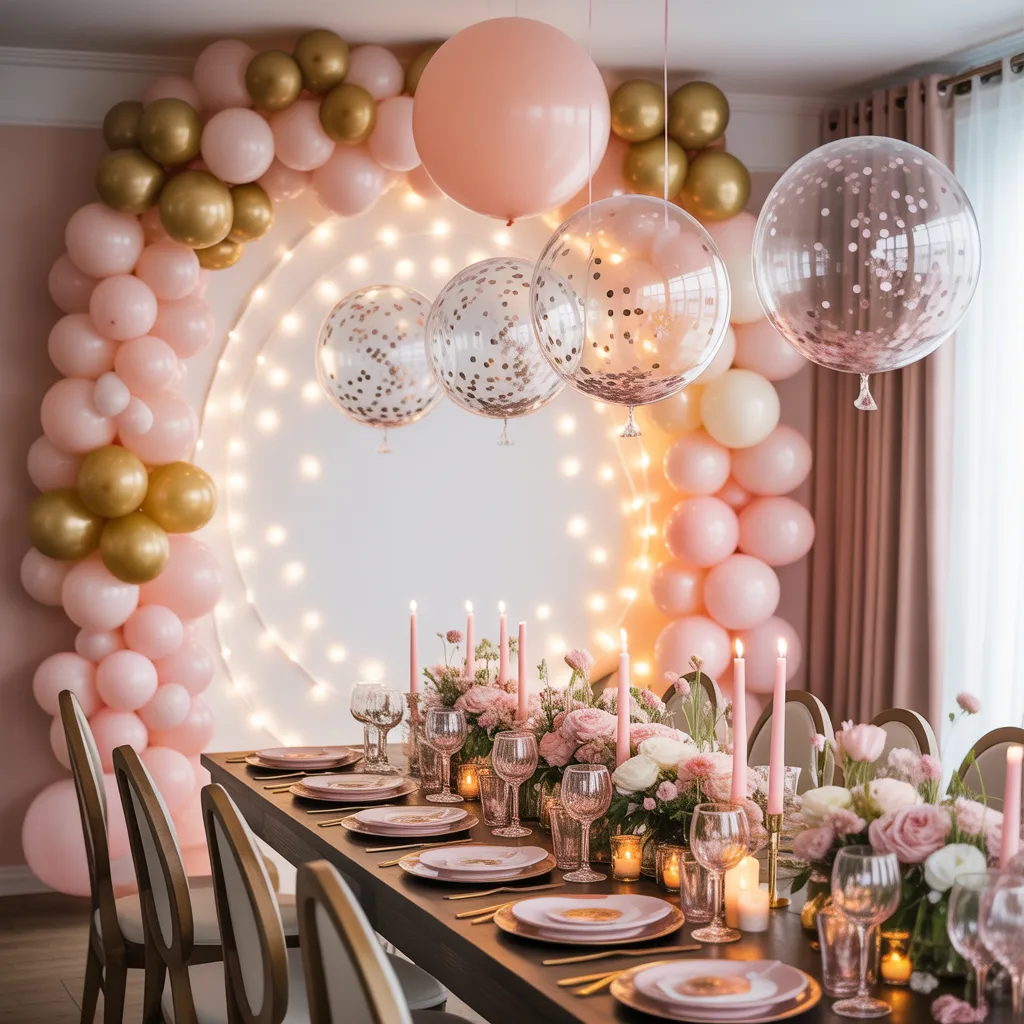
Balloon Layers
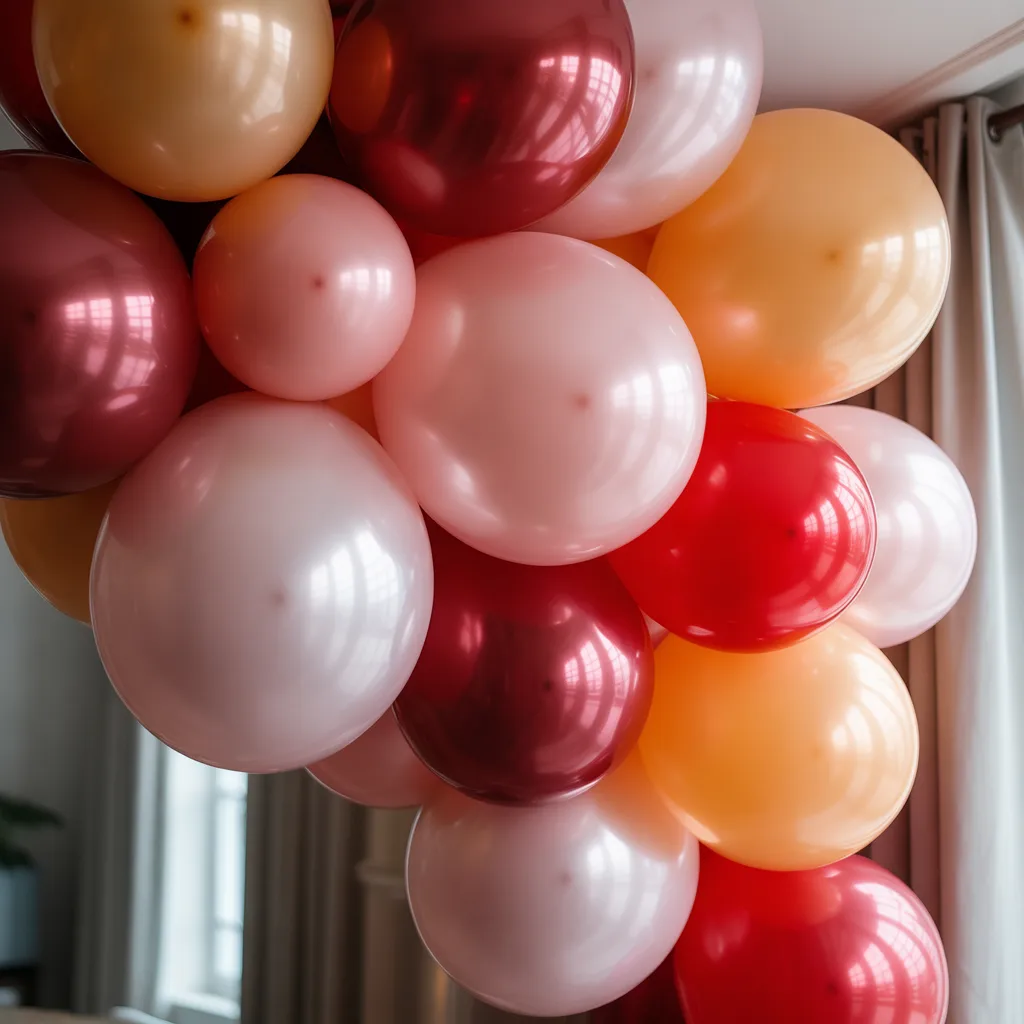
I always mix balloon sizes and shades to add depth. Flat designs look boring, but layered balloons instantly make the setup feel full.
Pro Tip: Use 3–4 shades of red and pink for a more natural blended look.
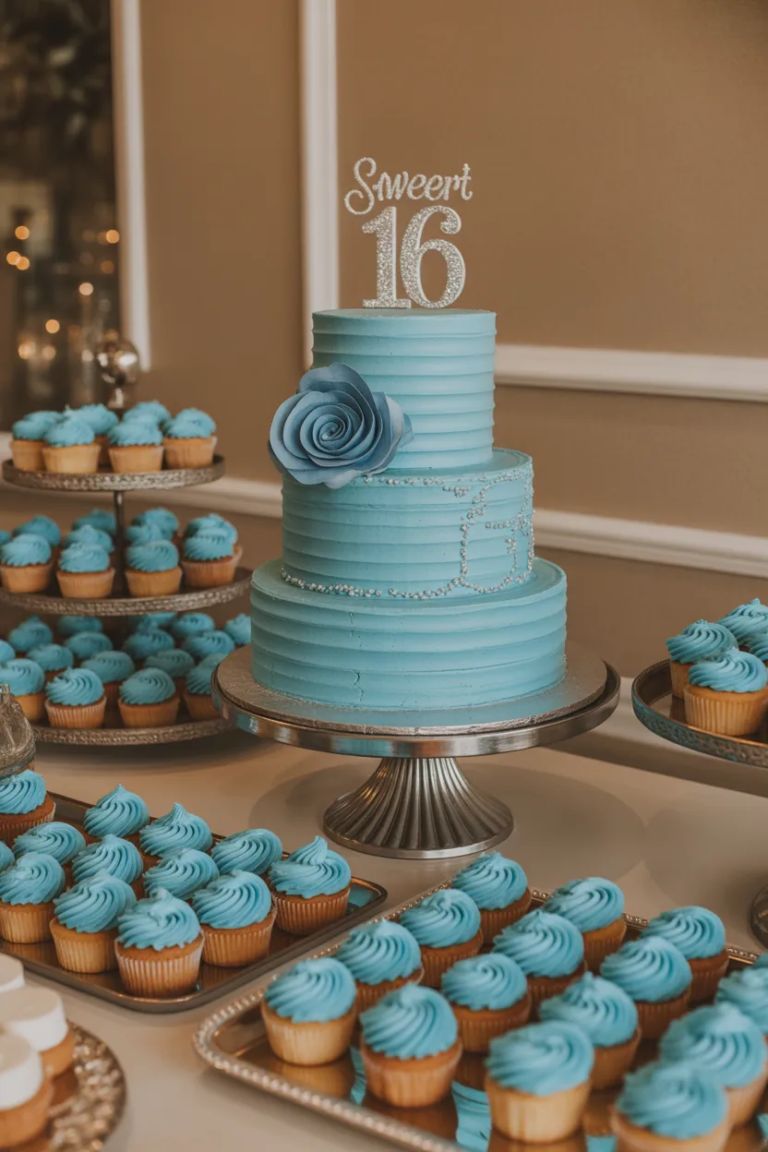
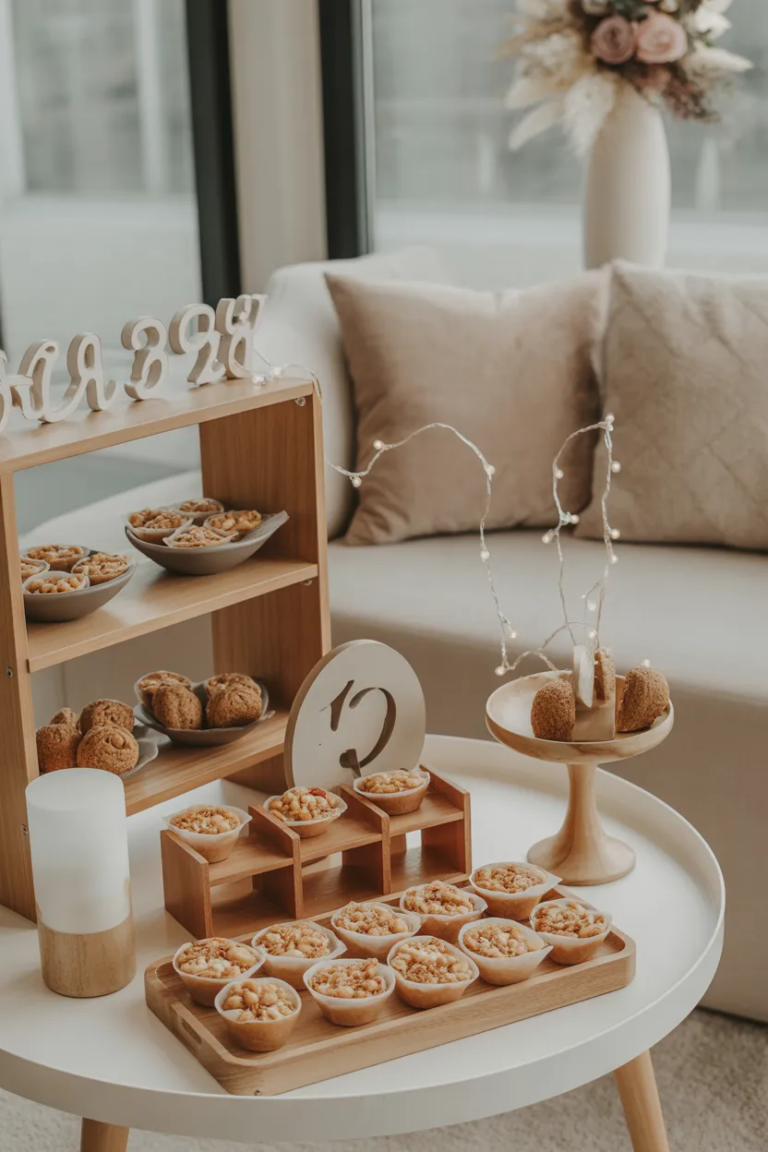
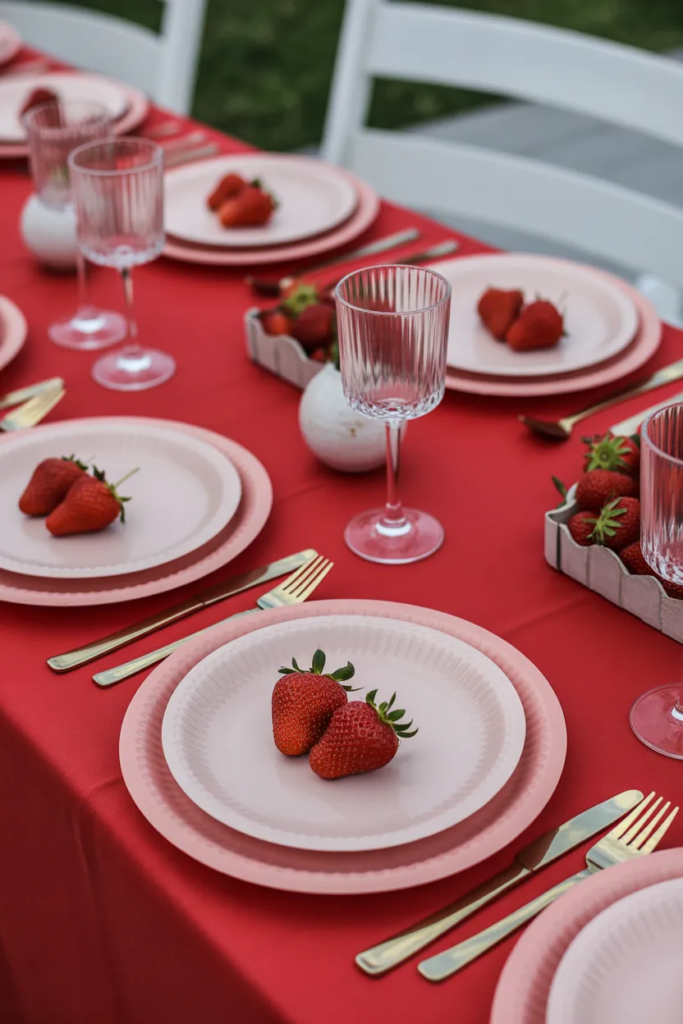
Dessert Tables
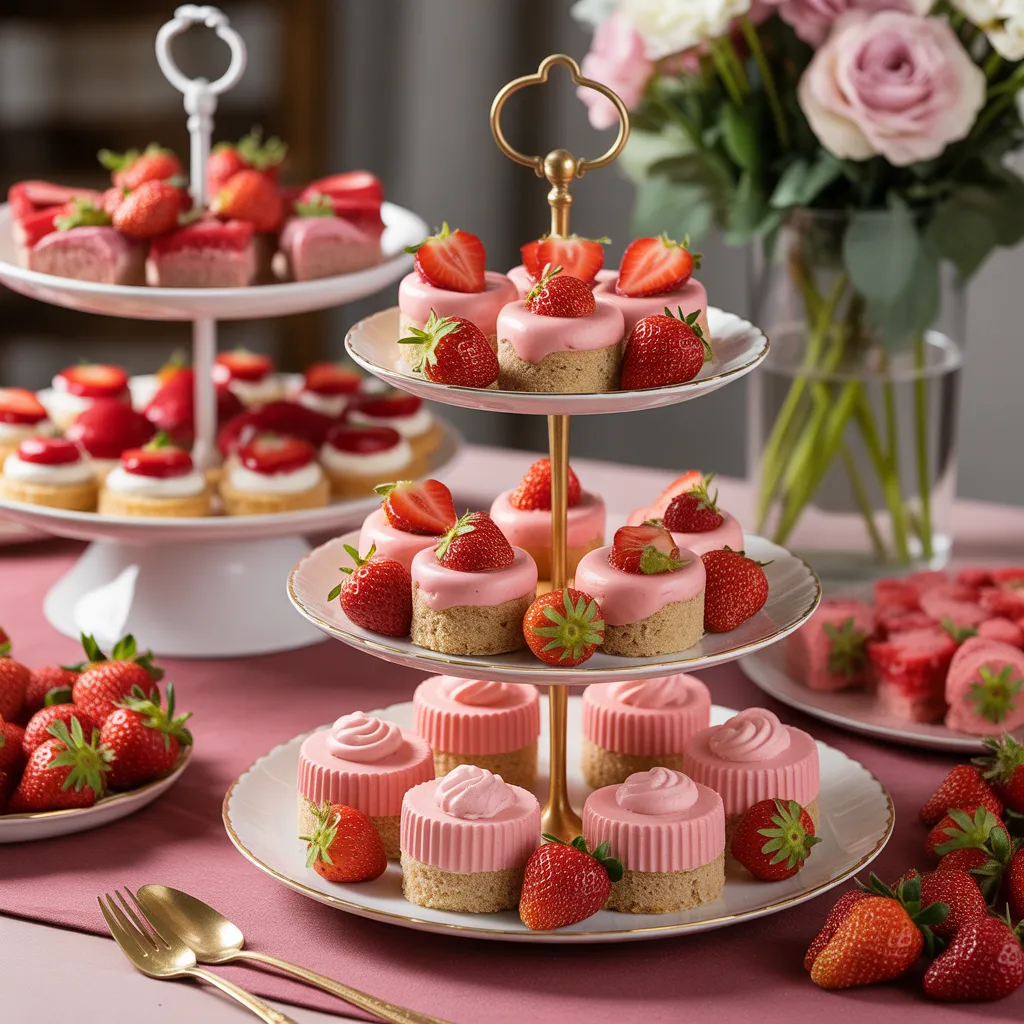
I treat dessert tables like decor, not just food placement. Different heights and neat arrangement make everything stand out better in photos.
Pro Tip: Use stands and trays to create levels instead of placing everything flat.
Outdoor Setup
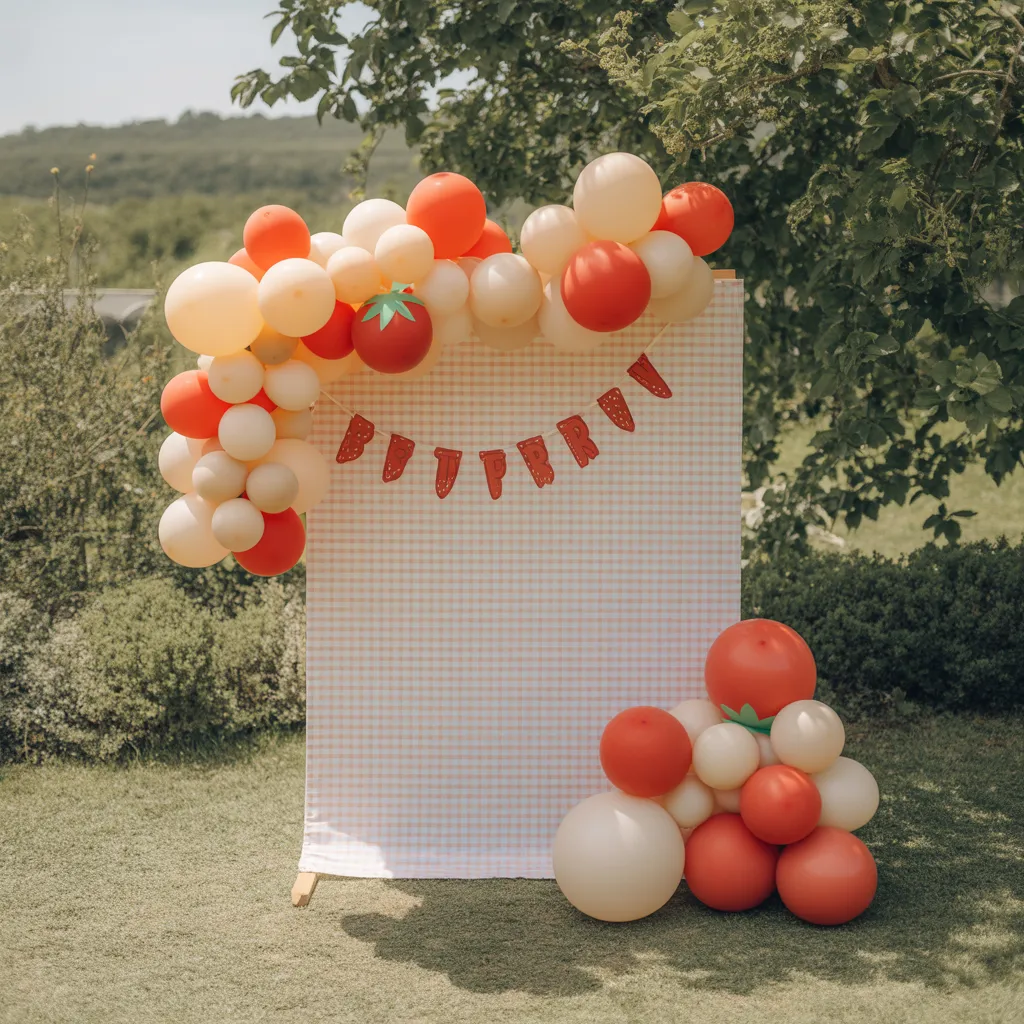
outdoor strawberry party setup in garden, gingham backdrop, soft balloon cluster on one side, natural sunlight, airy atmosphere, realistic colors, close-up decor focus, no text
When I plan outdoor parties, I keep designs simple because natural light already adds beauty. Overdoing decor outside can look messy.
Pro Tip: Let sunlight do the work and avoid heavy artificial lighting.
Night Glow
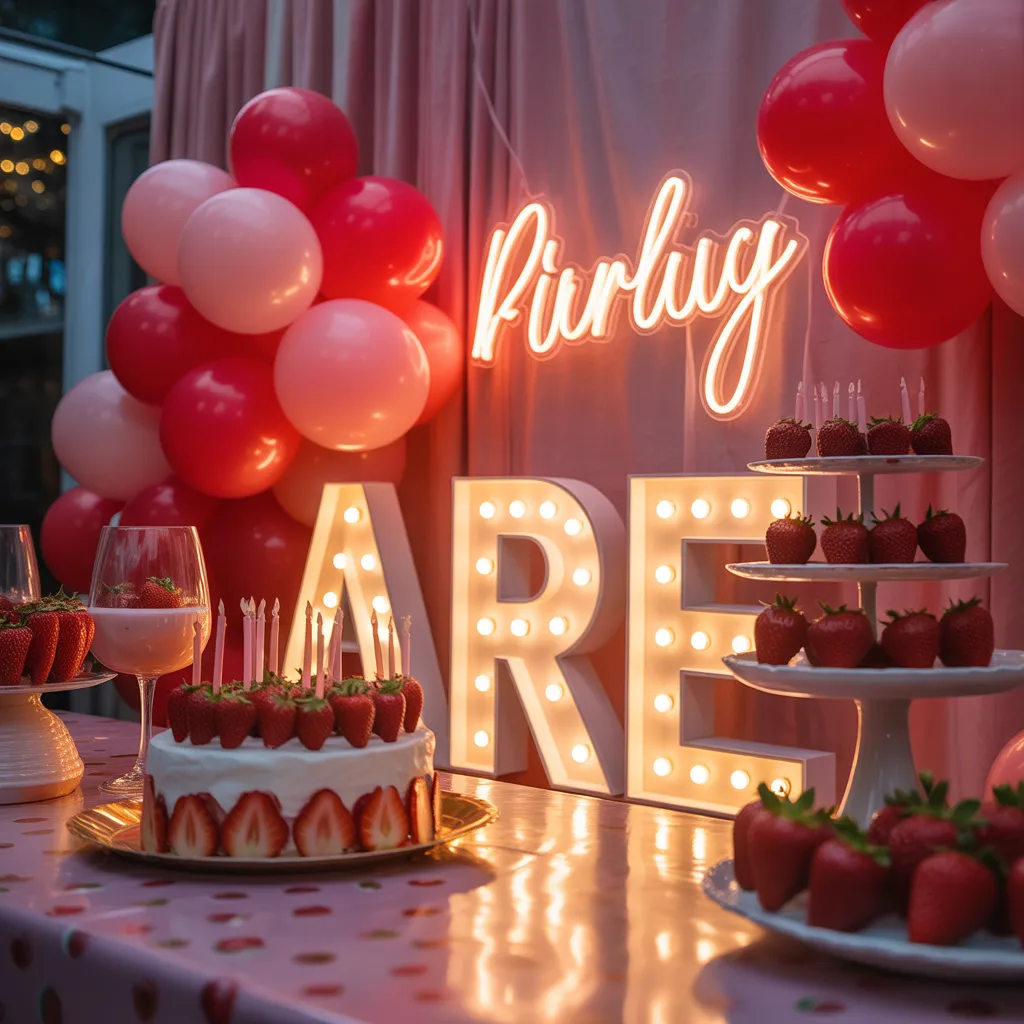
For evening parties, I rely on warm lights and neon signs. Without lighting, the setup looks dull at night.
Pro Tip: Use warm lighting instead of white to keep colors soft and rich.
Bold Contrast
Sometimes I go for a bold look using deep reds with soft pinks. This creates a strong visual impact.
Pro Tip: Keep desserts on neutral stands so they don’t blend into the background.
Table Focus
I like making the dining table part of the theme, not separate from it. Matching colors keeps everything connected.
Pro Tip: Add small themed items like printed plates or cups for detail.
Picnic Layout
For a relaxed vibe, I spread everything across a long table. It feels more interactive and less staged.
Pro Tip: Repeat patterns like gingham across tablecloths and decor.
Minimal Arch
When space is limited, I keep things simple with a small balloon arch. It still looks clean and focused.
Pro Tip: Focus on one strong element instead of filling the whole area.
Treat Display
I organize treats neatly so they look like part of the decor. Messy placement ruins the aesthetic.
Pro Tip: Line items symmetrically for a clean visual effect.
Layered Stages
I use different heights to make setups feel rich. Flat layouts always look incomplete.
Pro Tip: Place the main cake slightly higher to draw attention.
Number Highlight

Adding a big number makes the setup more personalized and eye-catching.
Pro Tip: Place it slightly off-center to balance the design.
Ribbon Detail
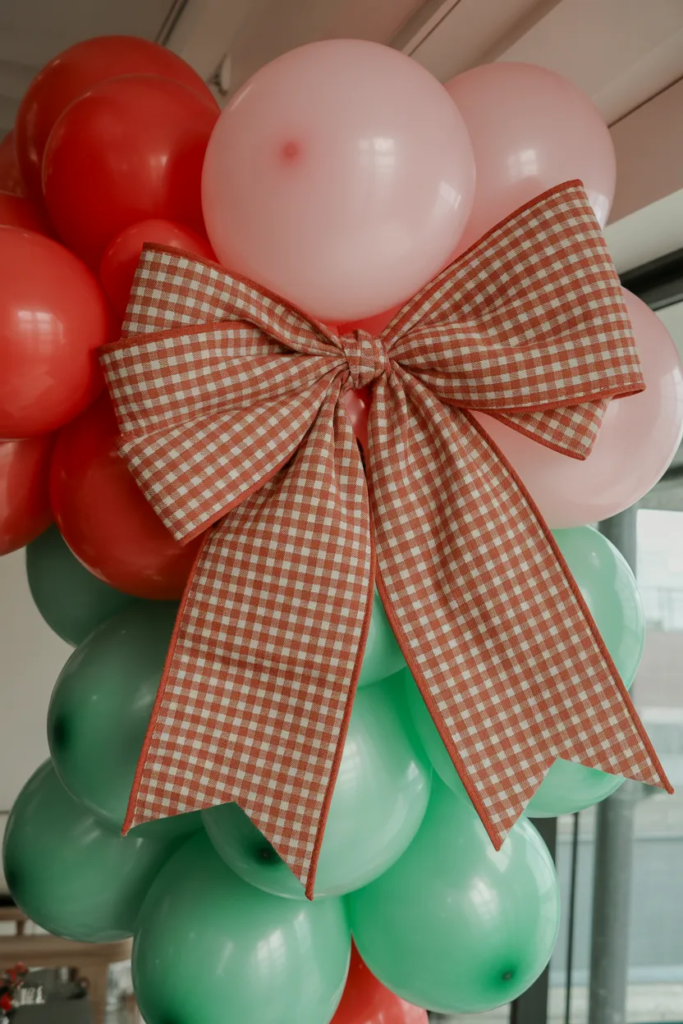
I like using bows to tie everything together visually. It’s a small detail but makes a big difference.
Pro Tip: Repeat the ribbon pattern in multiple places for consistency.
Balloon Corners
Framing the setup with balloons on both sides makes photos look balanced.
Pro Tip: Keep the center clean so focus stays on the main area.
Draped Ceiling
When I want a premium look, I add fabric draping. It makes the setup feel complete.
Pro Tip: Use soft fabric to diffuse lighting evenly.
Favor Wall
I turn return gifts into part of the decor. It saves space and looks organized.
Pro Tip: Keep packaging consistent for a neat display.
Statement Bow
Sometimes one bold element is enough to carry the whole theme.
Pro Tip: Build the rest of the setup around that one feature.
Character Touch
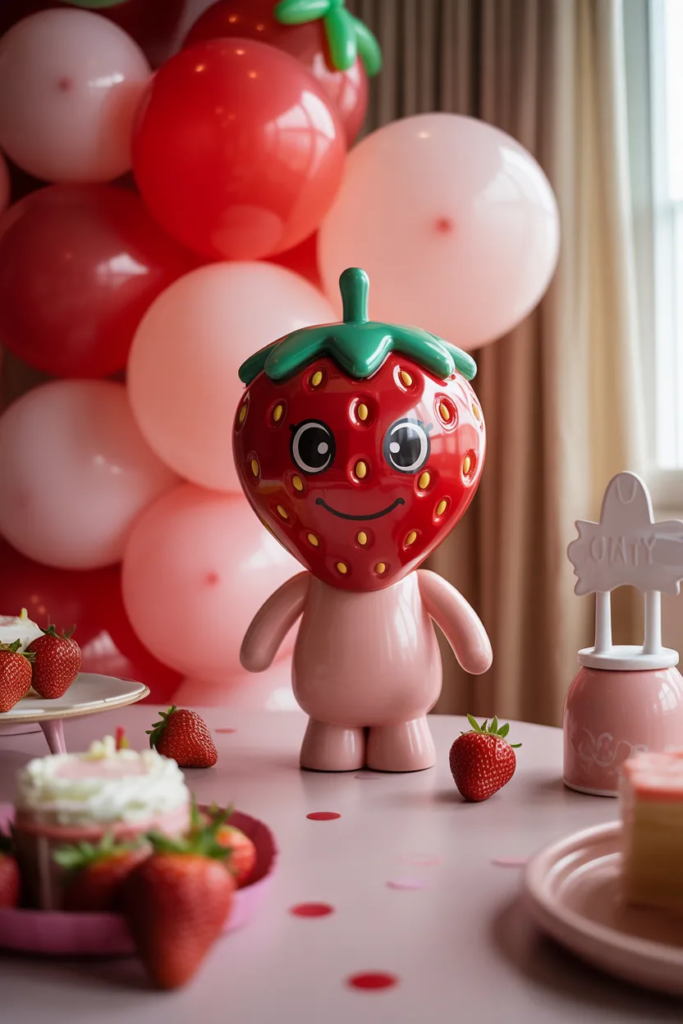
For kids’ parties, I add fun elements like characters to make it playful.
Pro Tip: Keep the rest of the decor simple so it doesn’t feel crowded.
Floral Center
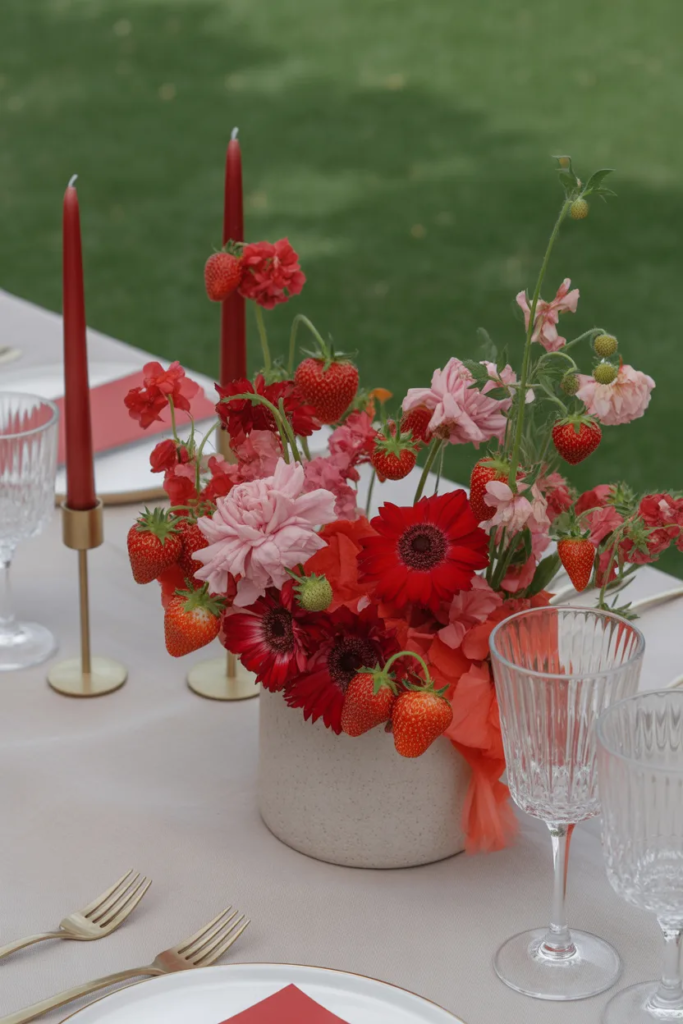
Fresh flowers instantly elevate the setup. I use them when I want a more styled look.
Pro Tip: Mix red and soft pink flowers for a natural feel.
Soft Palette
I use lighter tones when I want a calm and clean setup.
Pro Tip: Add small pops of red so the theme stays clear.
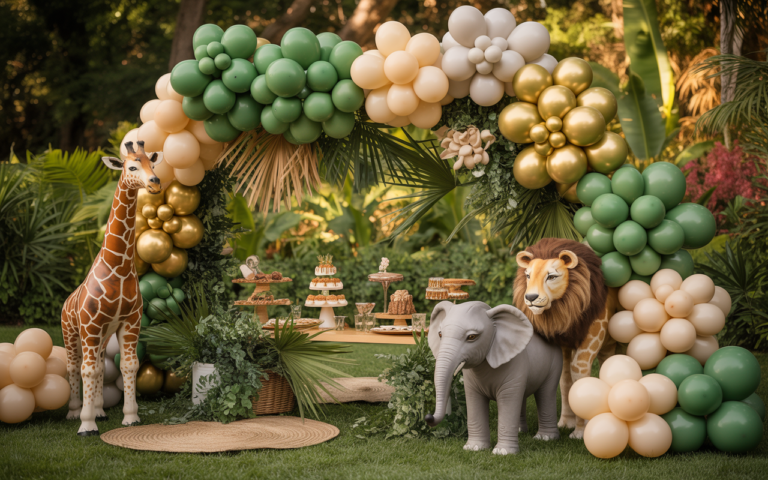
Prop Focus
Large props help break the flat look and add dimension.
Pro Tip: Don’t overcrowd—2–3 big props are enough.
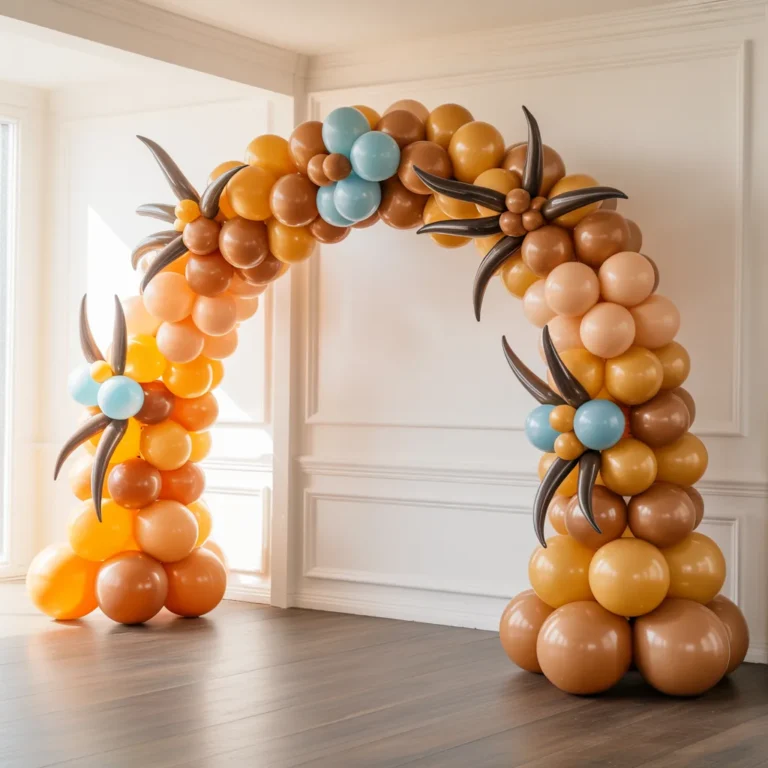
Arch Layers
Layered arches create depth and make the setup look more professional.
Pro Tip: Keep one side heavier and the other lighter for balance.
FAQs
How do you make a strawberry party look cohesive instead of random?
I always limit my color palette and repeat patterns across the setup. This creates a clear visual connection.
What are the must-have elements for a strawberry party setup?
From my experience, you need a backdrop, a styled table, and layered balloons. These three things create 80% of the final look.