

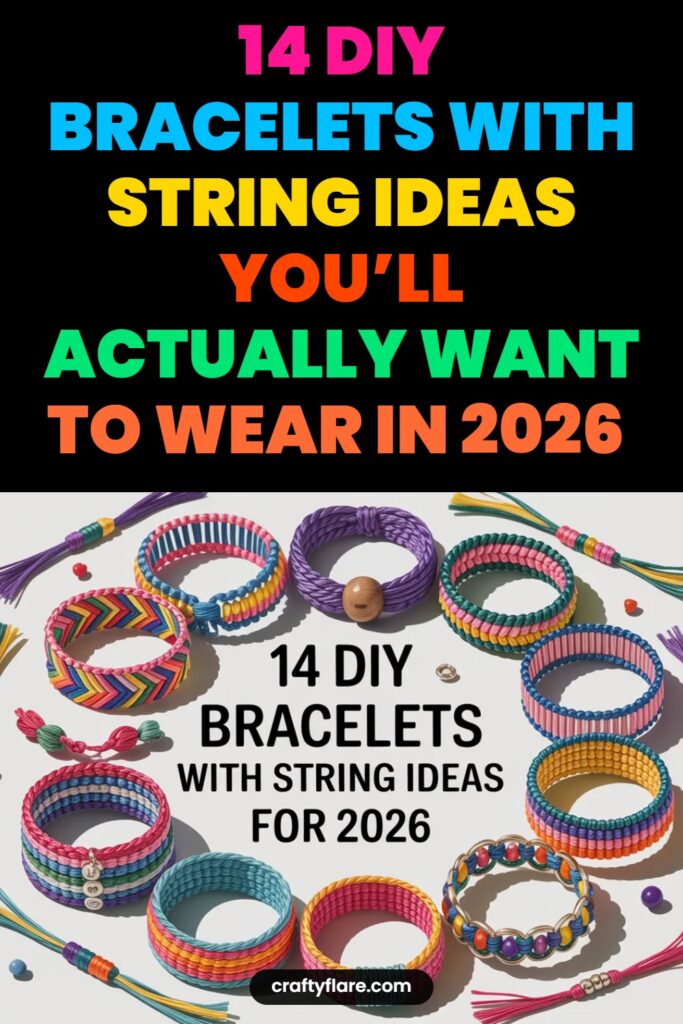
Making DIY bracelets with string sounds simple until you end up with tangled cords, uneven knots, or a bracelet that barely fits over your hand. I remember making my first friendship bracelet years ago and realizing halfway through that I had cut the string way too short. Since then, I’ve tested different cords, beads, knot styles, and closures, and honestly, a few small changes make a huge difference.
The good news is that you do not need expensive tools or professional jewelry skills to make bracelets that actually look good. Most of these ideas can be finished in under an hour, and many use supplies you can find at craft stores or already have at home.
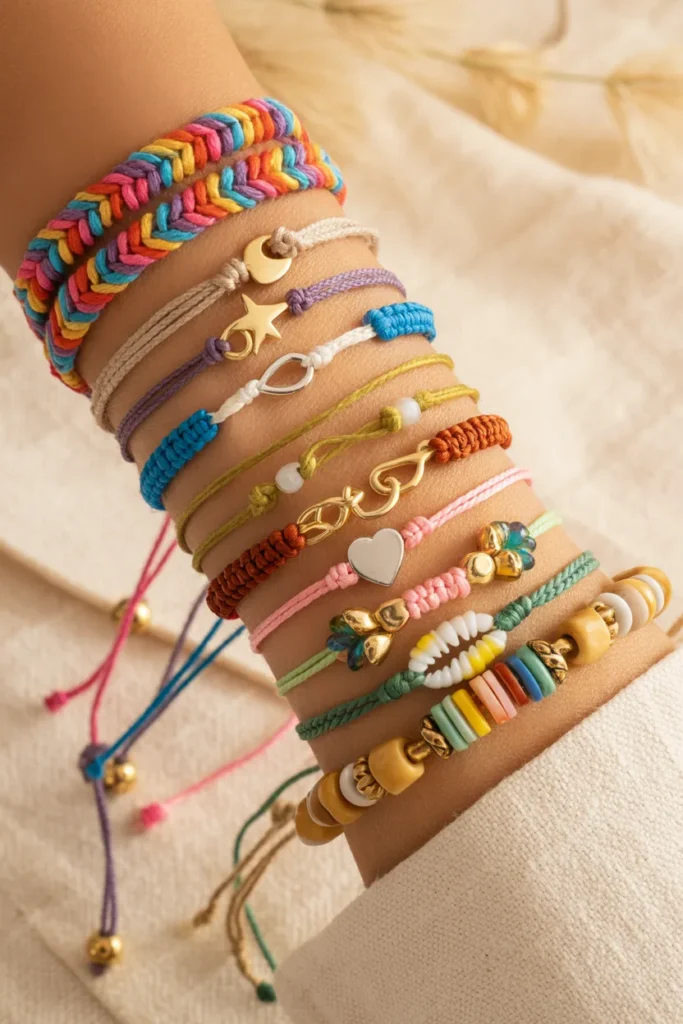
Whether you like colorful friendship bracelets, minimal bead designs, or boho-inspired cords with charms, these DIY bracelets with string ideas are simple enough for beginners but stylish enough to wear daily.
Quick Summary
- Embroidery floss works best for friendship-style bracelets
- Waxed cord is stronger for everyday wear
- Sliding knots make bracelets adjustable and more comfortable
- Mixing textures like beads, charms, and shells adds personality
- Cutting extra string prevents frustrating mid-project mistakes
- Simple designs usually look cleaner and more wearable
What String Should You Use?
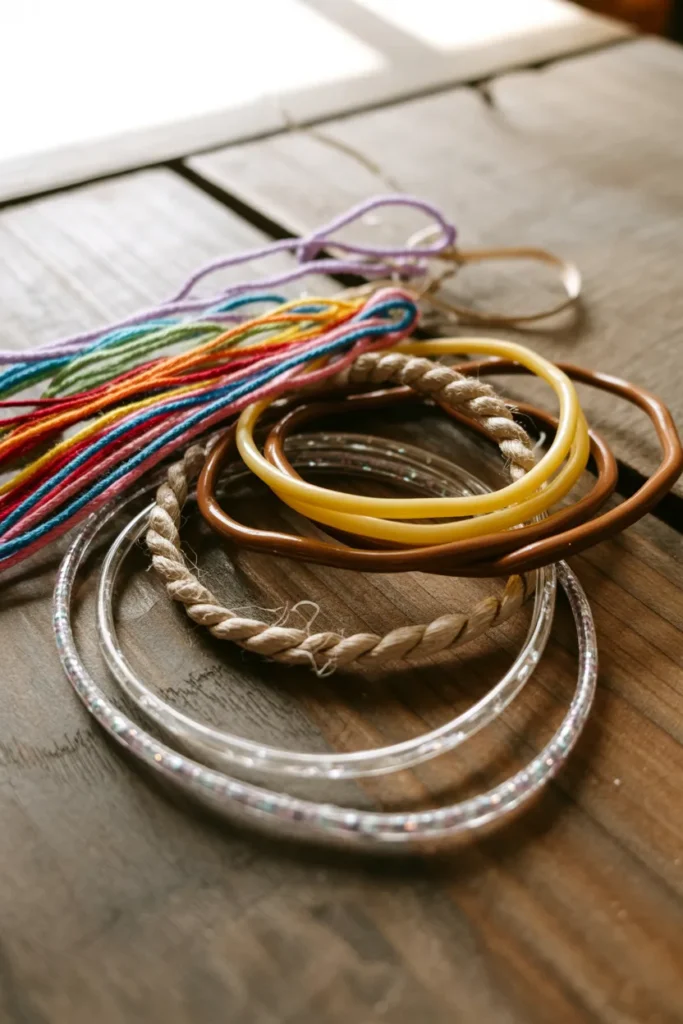
One mistake I see beginners make all the time is picking the wrong material. The string affects how the bracelet feels, how long it lasts, and whether the knots stay secure.
Embroidery floss is perfect for colorful friendship bracelets because it is soft, affordable, and easy to knot. Waxed polyester cord works better for waterproof or long-lasting bracelets because it holds shape well and resists fraying.
If you want a natural handmade look, hemp cord gives a relaxed boho feel. Stretch cord is useful for bead bracelets since you can slip them on without a clasp.
Pro Tip: Always cut more string than you think you need. I usually cut at least three times my wrist size to avoid running out halfway.
Mix Bold Beads with Simple String
One of the easiest ways to make DIY bracelets with string look fun is by combining bright beads with a neutral cord.
I like using black waxed cord because it helps colorful beads stand out without making the bracelet feel too busy. Large acrylic beads work especially well for casual summer bracelets.
Try grouping bead colors in patterns instead of random placement. Even simple repeating sections make the bracelet look more polished.
Common Mistake to Avoid: Using too many oversized beads can make the bracelet stiff and uncomfortable to wear.
Keep It Minimal with a Single Accent Bead
Sometimes the simplest bracelets end up looking the most expensive.
A single centerpiece bead on a thin cord creates a clean everyday style that works with almost anything. I usually choose metallic beads, natural stones, or small pearls for this type of bracelet.
Neutral colors like beige, black, olive green, or cream help keep the design timeless. Adjustable sliding knots also make the bracelet more practical.
This style is great for stacking with watches or other bracelets without looking bulky.
Twist Colors for a Bold Everyday Look
Twisted string bracelets are surprisingly easy to make but look much more detailed than they actually are.
I usually combine two contrasting shades like black and gold or navy and white. Once twisted tightly together, the colors create a rope-like effect that stands out without needing extra decorations.
This design works especially well for people who want something casual enough for everyday wear.
Pro Tip: Secure one end of the string with tape while twisting. It keeps the tension even and prevents messy sections.
Add a Charm for a Personal Touch
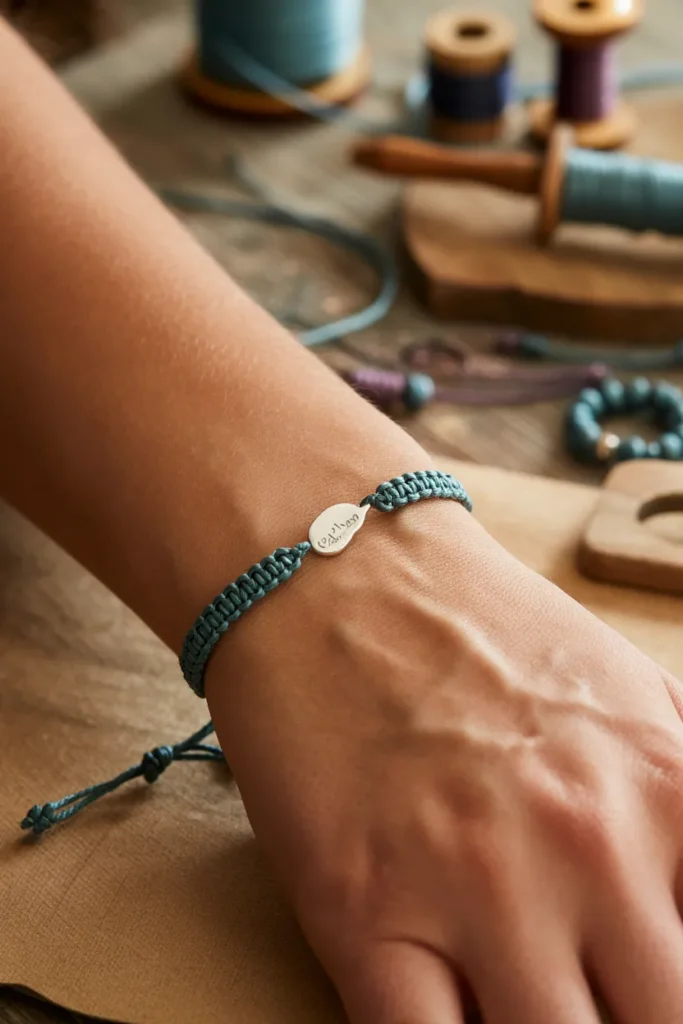
Adding one small charm instantly makes a bracelet feel more meaningful.
You can use initials, stars, hearts, moons, animals, or symbols that match your personality. I once made matching bracelets with tiny compass charms for a group trip, and everyone kept theirs for years.
Metal charms usually look best when paired with darker cords because the contrast helps them stand out more.
Try keeping the rest of the bracelet simple so the charm becomes the main focus.
Use Metallic Beads for a Luxe Finish
If you want your bracelet to look more polished, metallic beads make a huge difference.
Gold-toned or silver beads reflect light nicely and can make even basic string bracelets feel more elegant. I personally prefer smaller metallic spacer beads because they do not overpower the design.
Black cord paired with gold beads creates a clean contrast that works well for both casual and dressy outfits.
One thing I learned the hard way is not to overload metallic beads. Too many can make the bracelet heavy and stiff.
Add Seashells for a Boho Vibe
Shell bracelets always remind me of beach vacations and summer markets.
Cowrie shells work especially well for DIY bracelets with string because they naturally become the centerpiece. Pairing them with tan, cream, or brown cord creates a relaxed coastal style.
You can also add wooden beads or tassels for extra texture. Waxed cord is usually the best option here because it handles outdoor wear better than regular thread.
These bracelets look great stacked with other boho jewelry.
Go Bold with Rainbow Patterns
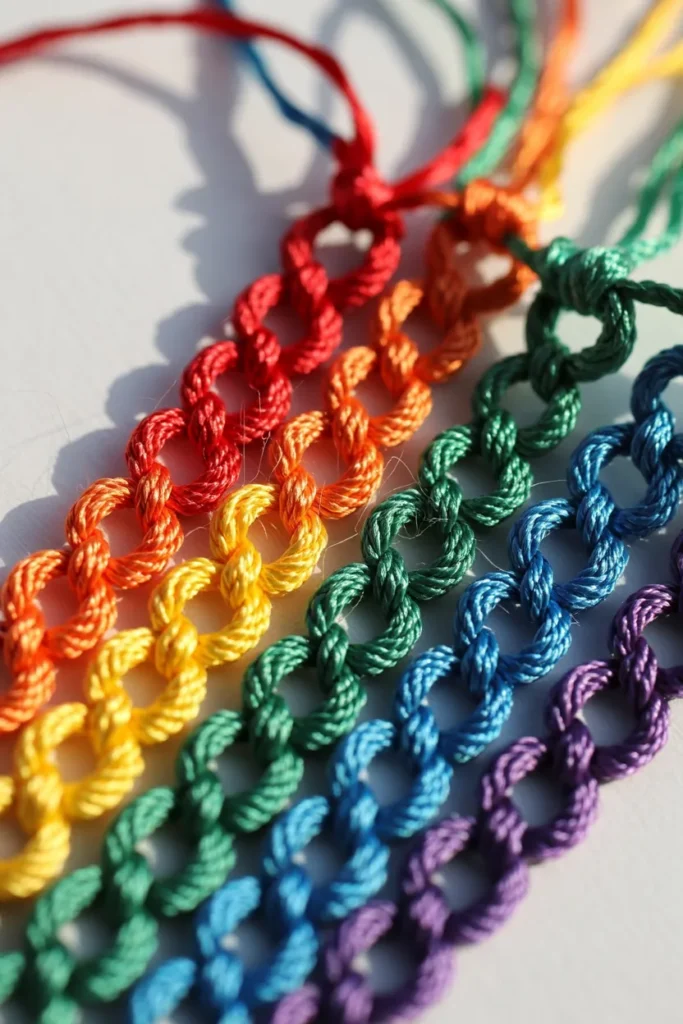
Rainbow bracelets are fun, colorful, and surprisingly addictive to make.
Embroidery floss works best because you can create smooth color transitions and detailed knot patterns. Wider rainbow bracelets take longer, but the final result feels worth the effort.
I like using gradient color combinations instead of random rainbow shades because they blend more naturally.
This style is popular for festivals, gifts, and friendship bracelets because it feels cheerful and personal.
Pro Tip: Arrange all your colors before starting. It saves time and prevents awkward color placement later.
Keep It Classic with Gold Beads
There is something timeless about simple gold bead bracelets.
Small gold beads on string create a clean design that works for almost any age or style. These bracelets are also easy to layer with watches or bangles.
I usually leave small gaps between bead sections to make the bracelet feel lighter and more comfortable.
If you want a more premium look, mix matte and shiny metallic beads together for subtle texture.
Create a Delicate Look with Seed Beads
Seed bead bracelets are perfect when you want something lightweight and colorful.
The tiny beads allow you to create detailed color patterns without making the bracelet bulky. I like using pastel combinations for softer designs and brighter shades for summer jewelry.
Fine elastic cord or thin beading wire works best for this style.
One thing that helps a lot is using a bead tray or small bowl. Tiny seed beads roll everywhere if you are not careful.
Highlight the Centerpiece with Contrast String
A bold centerpiece looks much better when the surrounding string stays simple.
Dark cords like black, navy, or deep red help metallic or crystal charms stand out more clearly. I noticed this especially when using rhinestone charms because lighter strings sometimes distract from the shine.
Macramé knots work really well for securing centerpiece charms while adding texture at the same time.
Keep the bracelet balanced by avoiding too many competing colors.
Keep It Chic with Simple Symbols
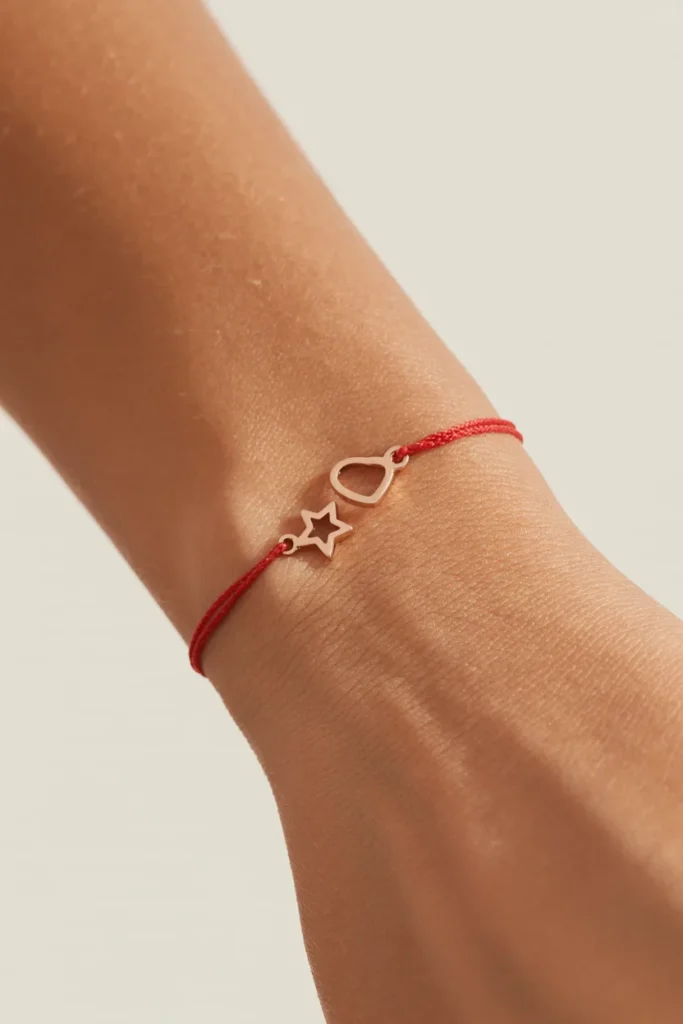
Minimal symbol bracelets are easy to wear daily because they are subtle but still stylish.
Small hearts, stars, moons, or evil eye charms work especially well on thin string bracelets. I personally like using red string because it gives the bracelet a traditional handmade feel.
These also make thoughtful friendship gifts since they feel personal without needing complicated designs.
Simple bracelets often age better stylistically than trendy oversized pieces.
Try Macramé Knots with Cute Charms
Macramé bracelets look detailed, but once you learn basic square knots, they become much easier than they appear.
I started with simple turtle charms and quickly realized how customizable macramé designs are. You can change colors, knot thickness, bead placement, and bracelet width depending on your style.
Waxed cord is usually easier for beginners because it holds knots more neatly.
Common Mistake to Avoid: Pulling knots too tightly can make the bracelet stiff and uneven.
Add a Floral Charm for Playful Style
Flower charms instantly make bracelets feel brighter and more playful.
I like pairing floral charms with warm colors like red, pink, yellow, or coral. Small crystal spacers can also add sparkle without making the bracelet look overdone.
This style works especially well for spring and summer accessories.
If you are making bracelets for gifts, floral designs are usually a safe choice because they suit many different styles.
Play with Color Blocking and Charms
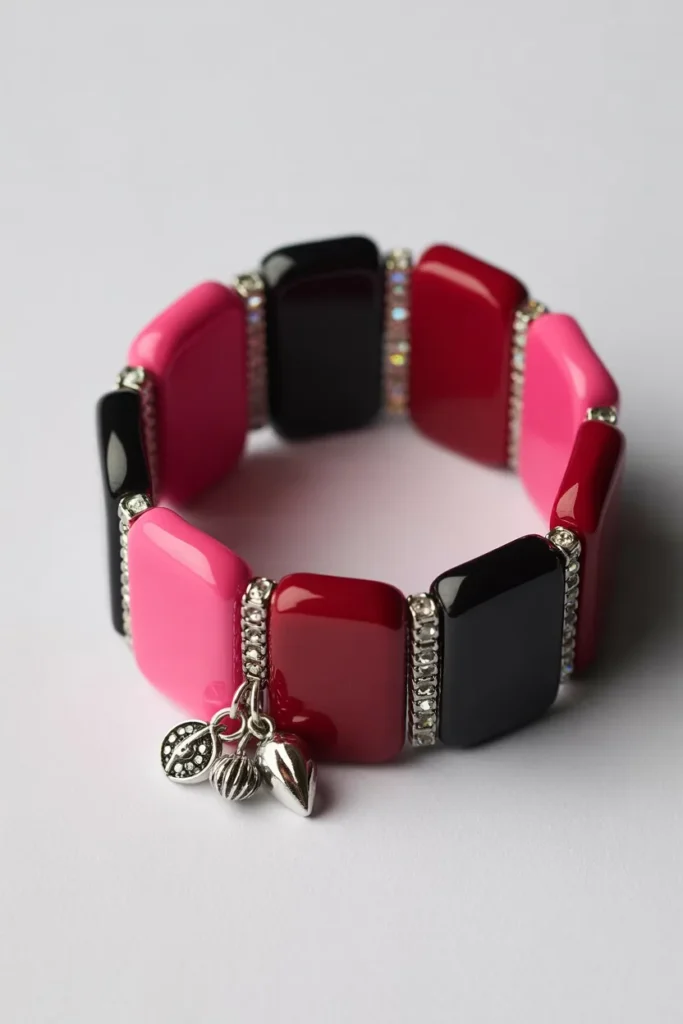
Color blocking is one of the easiest ways to make DIY bracelets with string stand out.
Instead of mixing random bead shades, organize them into repeating sections using two or three strong colors. Black, red, white, and pink combinations usually work really well together.
Adding rhinestone spacers between sections creates extra contrast and sparkle.
Stretch cord is especially useful for this design because it makes the bracelet easy to wear without clasps.
FAQs
How do I stop my string bracelet from fraying?
The easiest method is adding a tiny amount of clear nail polish or jewelry glue to the knot ends. For nylon cord, carefully sealing the tips with heat also works well.
How much string should I cut for a bracelet?
I usually recommend cutting string about three times the size of your wrist. For thicker knot patterns or braided bracelets, cutting even longer helps avoid frustration later.
Which string is best for beginners?
Embroidery floss is usually the easiest starting option because it is soft, affordable, and simple to knot.
Can I shower with string bracelets?
Waxed polyester cord handles water much better than embroidery floss or cotton thread, so it is the better choice for daily wear.
Conclusion
DIY bracelets with string are one of those crafts that look complicated at first but become relaxing once you learn the basics. The best part is how customizable they are. You can make something colorful and playful one day, then create a minimal bracelet the next using the same basic supplies.
I still think the biggest difference comes from choosing the right string and keeping the design balanced. Even simple bracelets can look stylish when the colors, beads, and knots work together naturally.
Start with one easy design, practice your knots, and do not stress about perfection. Handmade bracelets always look better when they feel personal instead of overly perfect.