




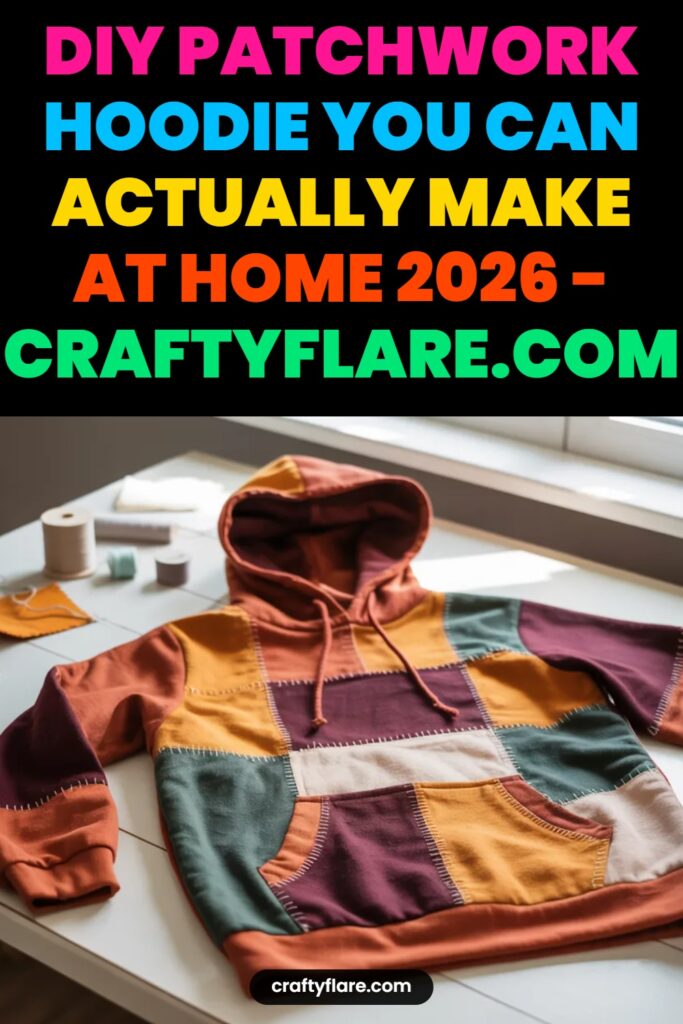
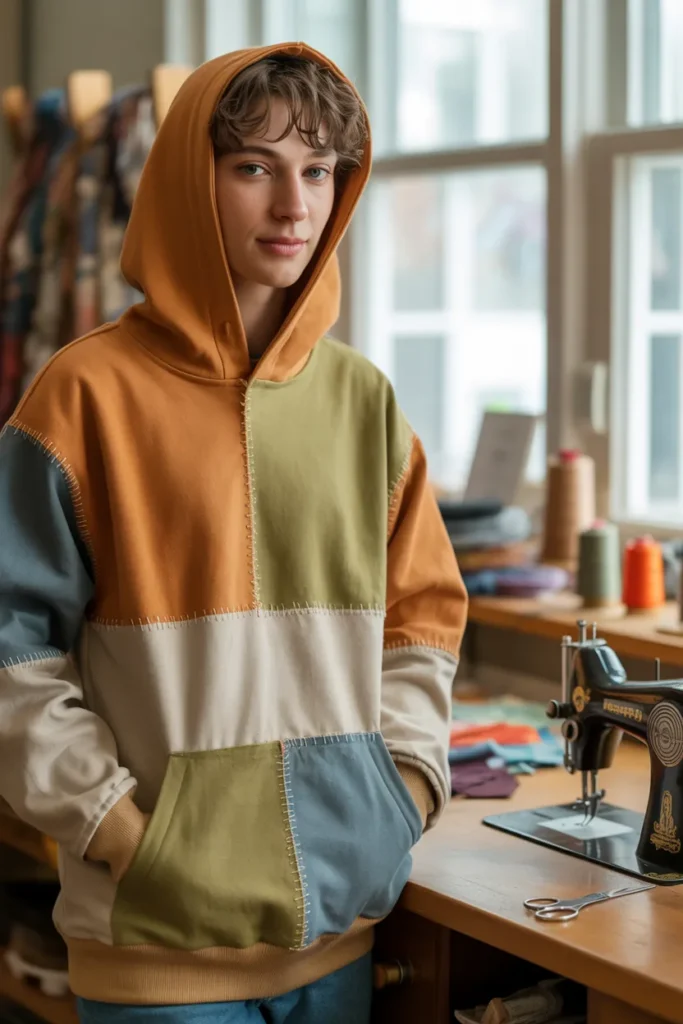
If there is one DIY project I always underestimated, it’s a patchwork hoodie. It looks simple online—just random fabric squares stitched together—but in reality, it takes planning, patience, and a bit of trial and error.
I’ve made a few of these using old hoodies, thrift finds, and leftover fabric scraps, and I can tell you this: the difference between a messy hoodie and something you’d actually wear out comes down to preparation, seam control, and fabric choice.
In this guide, I’m sharing how I personally approach a DIY patchwork hoodie so it looks clean, fits well, and doesn’t fall apart after a few washes.
Quick summary:
You’ll reuse old clothing, cut it into planned patches, sew panels first, and then assemble a full hoodie using basic sewing skills. No advanced tailoring needed—just consistency.
Key takeaways:
- Start with fabric you already have at home or thrift stores
- Planning your layout matters more than sewing skill
- Keep fabric weights similar to avoid distortion
- Press seams constantly for a professional finish
- Small mistakes are normal in patchwork—don’t overthink perfection
What Materials Do You Need to Start?
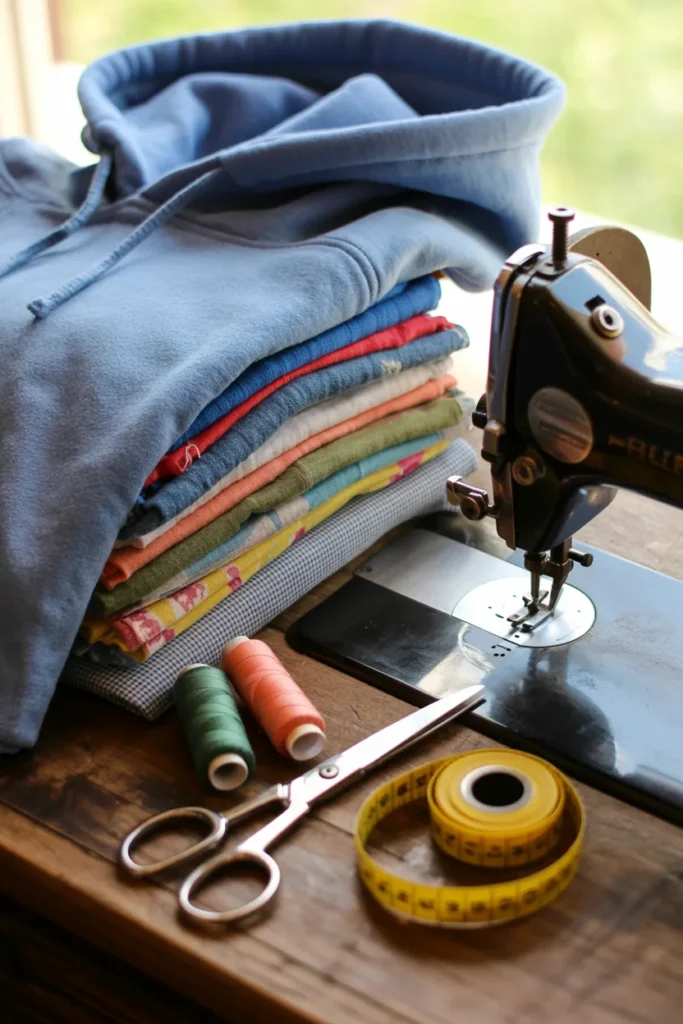
The first time I tried this, I made the mistake of grabbing random scraps without thinking about fabric weight. The hoodie turned out stiff in some areas and floppy in others. That’s when I learned that material selection is everything.
For a solid DIY patchwork hoodie, I usually stick to old sweatshirts, hoodies, and thick cotton tees. These fabrics behave similarly when sewn together, which keeps the final piece balanced.
You’ll also need basic tools like fabric scissors, pins, measuring tape, and a sewing machine. I’ve tried hand sewing before, but stretch fabrics are much easier with a machine.
One underrated tool is an iron. Pressing seams as you go prevents bulk buildup and keeps everything aligned later.
Pro tip: Always pre-wash thrifted fabric. It prevents shrinking after you finish your hoodie.
Common mistake to avoid: Mixing heavy fleece with thin jersey without reinforcement. It creates uneven tension and twisting seams.
8 Simple Steps to Make a DIY Patchwork Hoodie
1. Take the “before” and choose your fabrics
I always start by looking at the original hoodie or graphic piece I want to transform. Taking a quick photo helps me plan color placement later.
Then I gather fabrics that match or contrast intentionally. One thing I’ve learned is that patchwork looks best when there’s a controlled color story—not random chaos.
Instead of choosing everything bright or everything neutral, I usually pick one dominant tone and build around it.
Pro tip: Lay fabrics together in daylight. Artificial lighting can trick your eyes into mismatched tones.
2. Make or trace your pattern
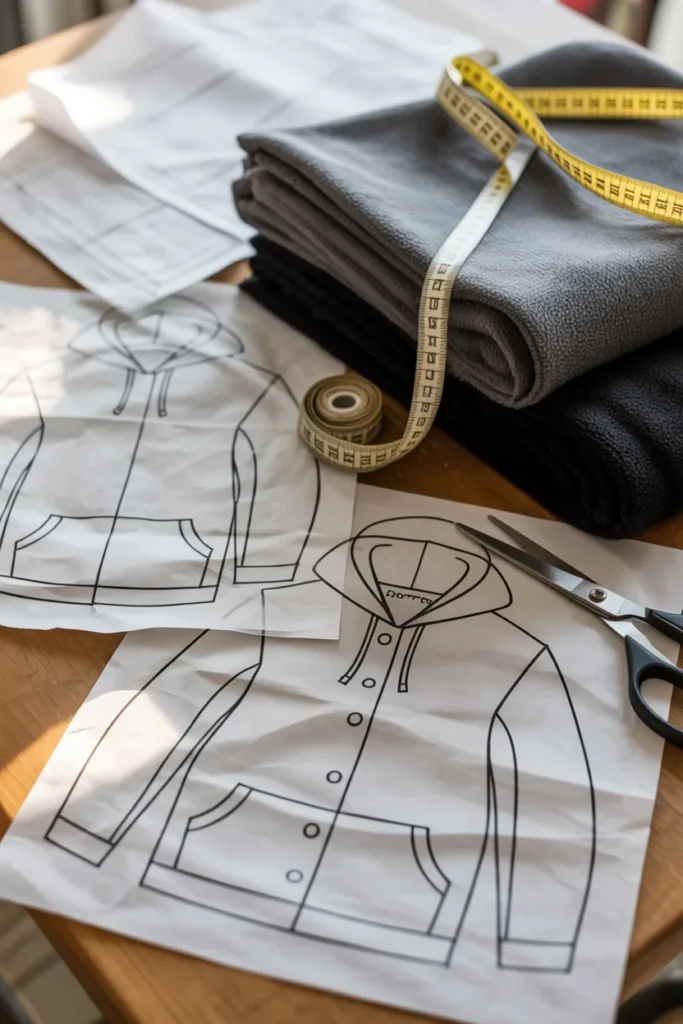
If you already own a hoodie that fits well, use it as a base. I’ve done this multiple times, and it saves a lot of guesswork.
I trace the outline onto paper, keeping sleeves, hood, and body pieces separate. This gives me a clear cutting guide before I touch any fabric.
Common mistake: Eyeballing measurements instead of tracing—it leads to uneven sleeves or tight armholes.
3. Deconstruct and sort materials
This step feels messy, but organization saves the whole project.
I cut apart old hoodies and sort everything into sleeves, hoods, panels, and usable fabric pieces. I always keep pockets and hoods first because they often fit directly into new designs.
Pro tip: Don’t throw away “ugly” pieces. They often disappear inside patchwork layouts.
4. Plan your design layout
I always lay fabric pieces on a flat surface and treat it like a puzzle.
The goal is balance, not perfection. I avoid placing similar colors next to each other because it flattens the design.
I also make sure seam allowance is included before I start cutting.
Common mistake: Sewing without layout planning. It almost always leads to uneven design flow.
5. Create patchwork panels
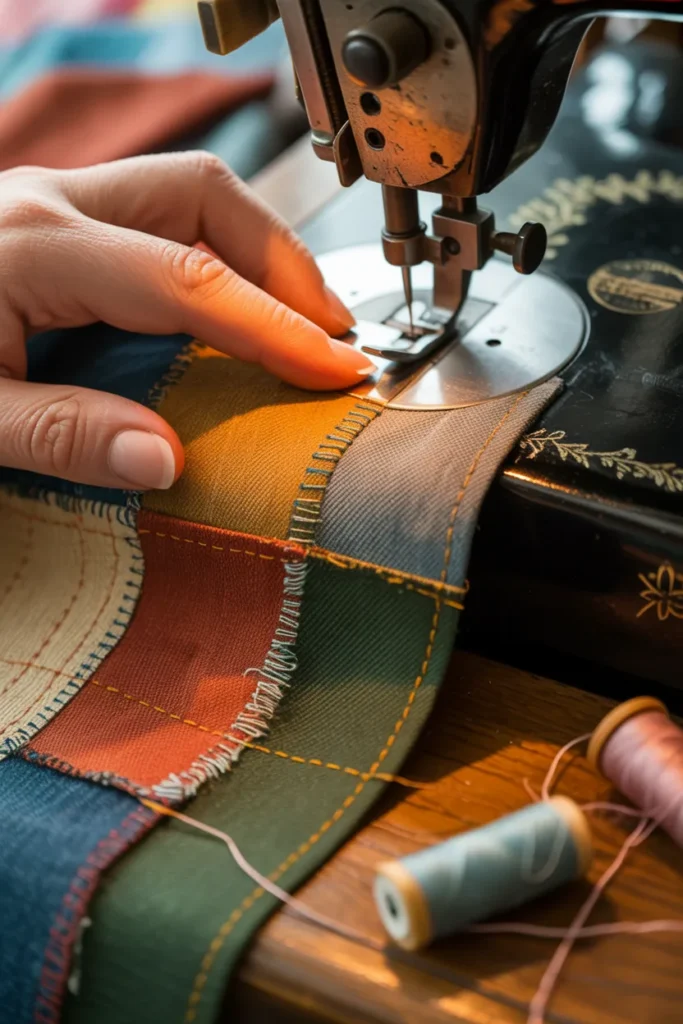
Instead of sewing a full hoodie immediately, I build large panels first.
After stitching each patch, I press seams right away. This prevents bulk buildup and keeps panels flat.
Pro tip: If a fabric is too thin, I double-layer it before sewing for consistency.
6. Sew the hoodie body together
Once panels are ready, I cut pattern pieces and start assembly.
I begin with shoulders, then sleeves, then side seams. A zigzag stitch works well for stretch fabrics if you don’t have a serger.
Common mistake: Stretching fabric while sewing. Let the machine feed it naturally.
7. Attach the hood and waistband
I pin the hood carefully around the neckline before sewing. Alignment matters a lot here.
Then I attach ribbing or elastic at the hem for structure.
Pro tip: Slightly stretch ribbing while sewing for a store-bought finish.
8. Finish seams and reveal the hoodie
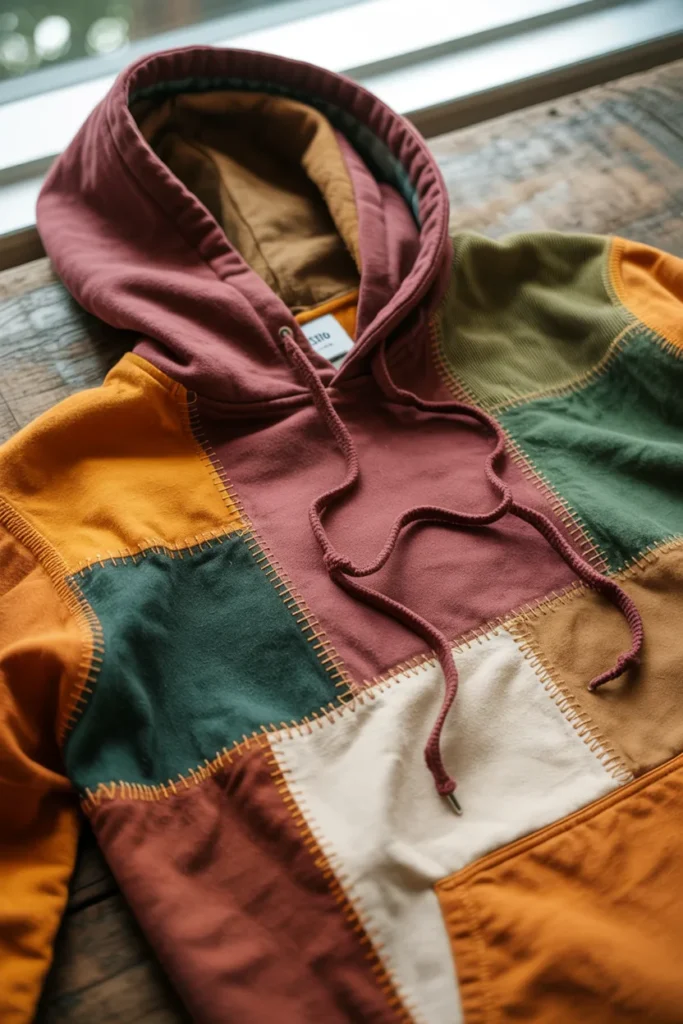
I trim loose threads and reduce bulk inside seams for a cleaner finish.
Pressing the hoodie at the end makes everything look more professional instantly.
Each piece comes out slightly different—and that’s part of the charm.
What Mistakes Should You Avoid?
The biggest mistake is mixing fabrics with very different weights. It causes distortion and uneven drape.
Avoid overly small patches—they create bulky seams. Also avoid huge blocks that remove the patchwork effect.
Other mistakes:
- Skipping seam allowance
- Not pressing seams
- Ignoring fabric grain direction
- Overcrowding colors
Pro tip: Step away mid-project and come back later. You’ll instantly see design issues more clearly.
Conclusion
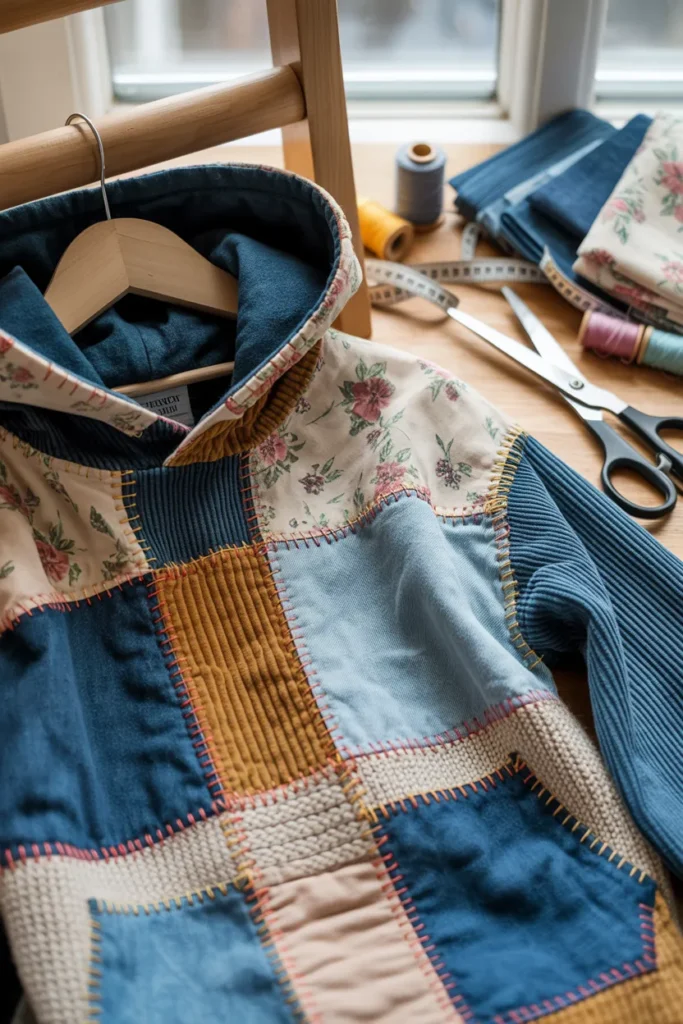
A DIY patchwork hoodie is not about perfection—it’s about building something wearable from what you already have.
Once you focus on planning, fabric balance, and slow sewing, the process becomes much smoother.
Every hoodie I’ve made improved my understanding of fabric and construction. Even imperfect results still look unique and personal.