
Best DIY Storage Idea:
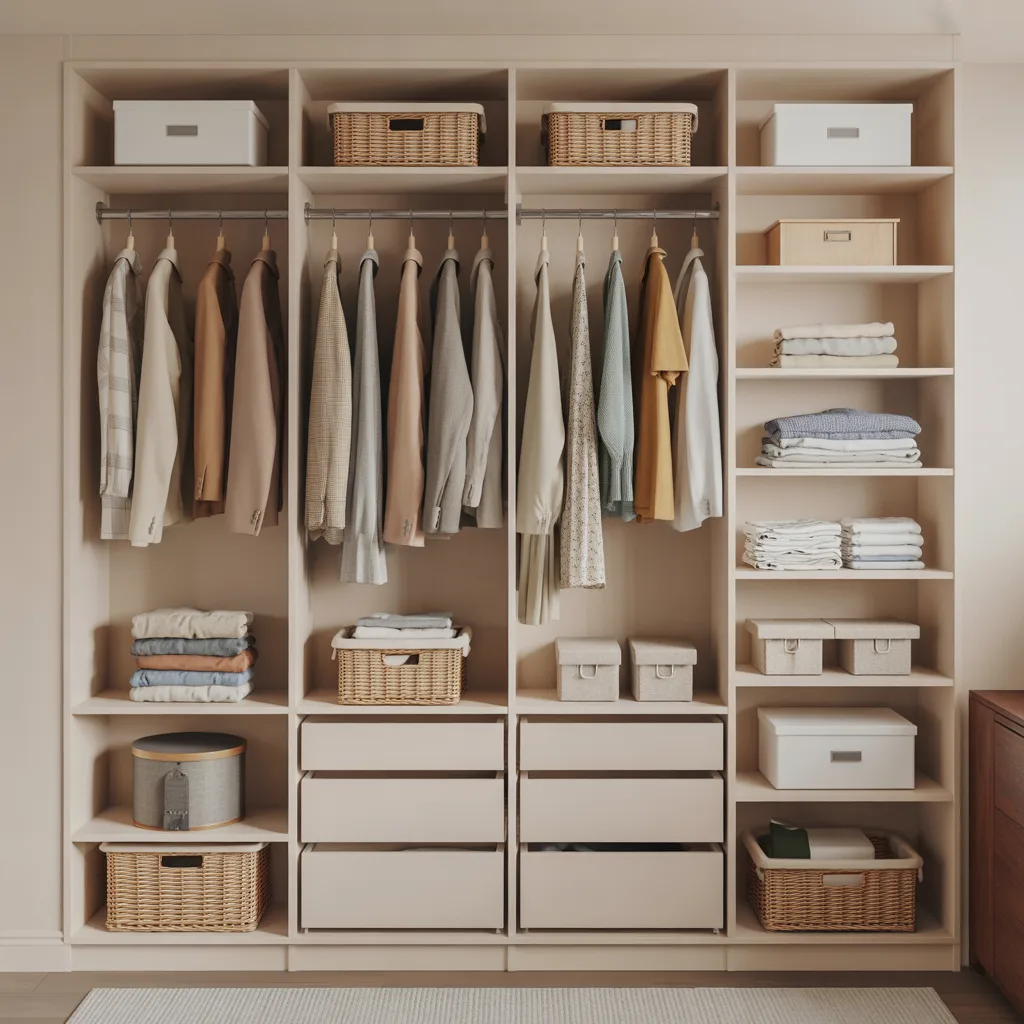
I used to think every storage problem needed another cabinet or bulky organizer. Then I realized there was unused space sitting right inside my walls. That is when I tried building recessed shelves between studs, and honestly, it changed how I look at small-space storage.
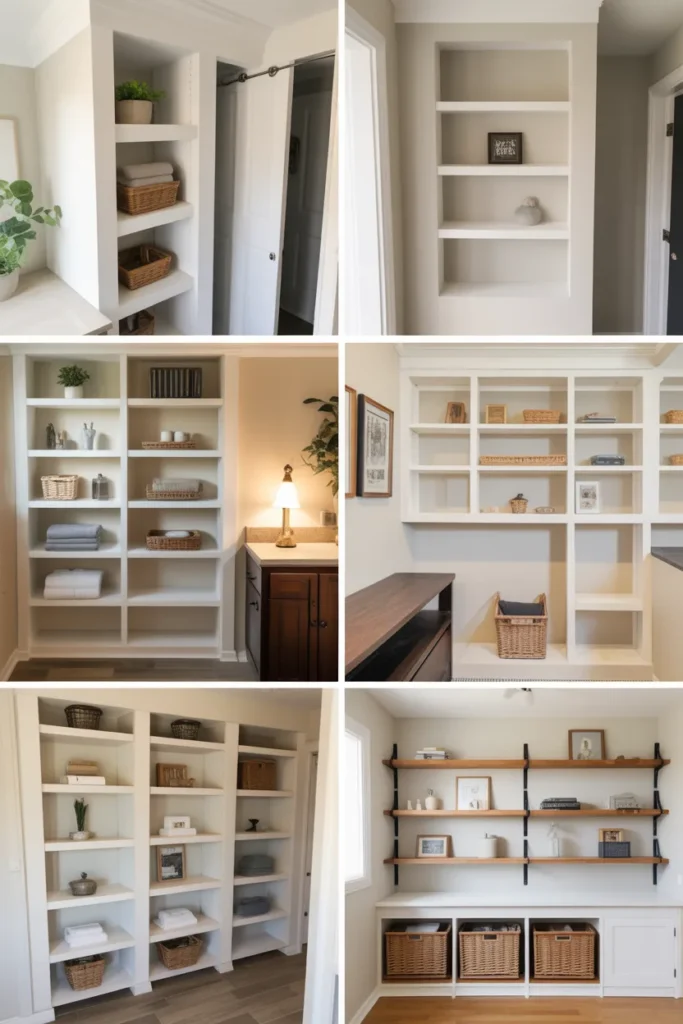
These shelves sit inside the wall cavity, so they do not stick out into the room. I have used them in hallways, bathrooms, laundry rooms, and even near my desk for extra storage without making the space feel crowded.
The best part is that this project looks far more expensive than it actually is. With careful planning and a little patience, you can create custom built-in storage that looks clean, modern, and practical.
In this guide, I will walk through the exact process I follow, including the mistakes I learned to avoid after my first attempt.

Quick Summary
- Recessed shelves save space by using the empty wall cavity
- Interior non-load-bearing walls work best
- Always check for plumbing and electrical wires first
- Careful measuring makes the project much easier
- Trim and paint help shelves look professionally built
- This DIY works great in small rooms and narrow hallways
Key Takeaways
- Most wall stud spaces are around 14.5 inches wide
- A stud finder with wire detection is worth buying
- Deep shelves are not always better for everyday use
- Sanding and caulking make the biggest difference in appearance
- Taking your time with cutting prevents expensive repairs
Check If Your Wall Is Safe for Recessed Shelving?
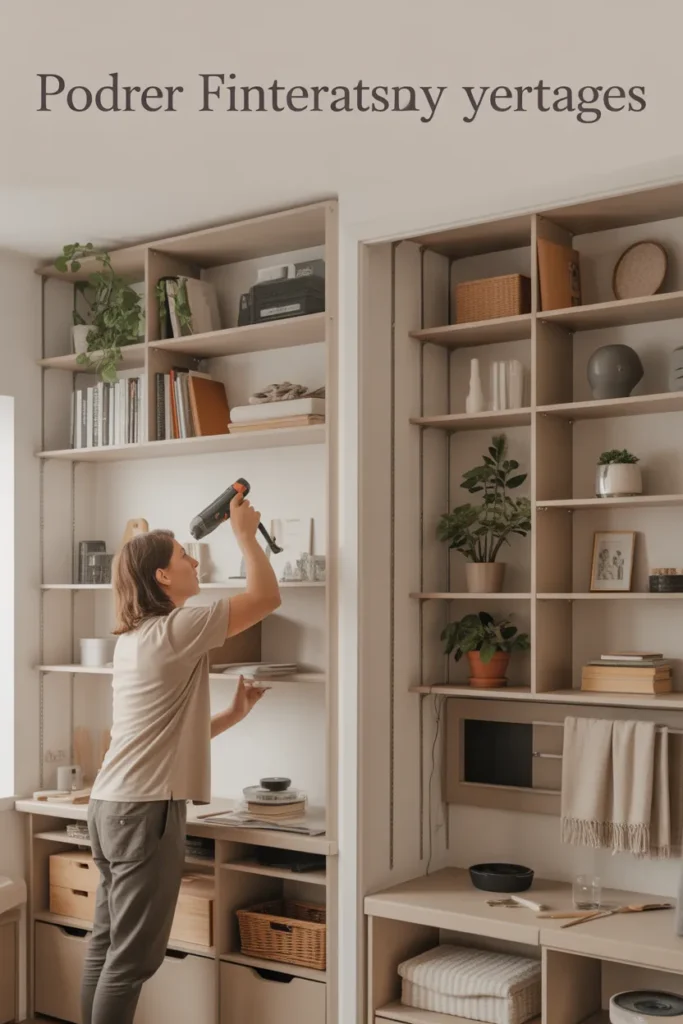
The first wall I ever opened had an unexpected pipe inside it. Luckily, I only drilled a tiny inspection hole before cutting, or I would have created a much bigger problem.
Now I always check walls carefully before starting. Interior walls without plumbing usually work best. Hallways, bedrooms, and living rooms are normally safer choices than kitchens or bathrooms.
I recommend using a stud finder that also detects wires and pipes. Move slowly across the wall several times because some scanners miss objects on the first pass.
Exterior walls can be tricky because they often contain insulation or structural framing. In older homes, walls may also hide surprise wiring from previous renovations.
Pro tip: Drill a small test hole first and shine your phone flashlight inside. That quick check has saved me multiple times.
Common mistake to avoid: Never assume a wall cavity is empty just because the stud finder looks clear.
What You Need: Tools, Materials, and Prep
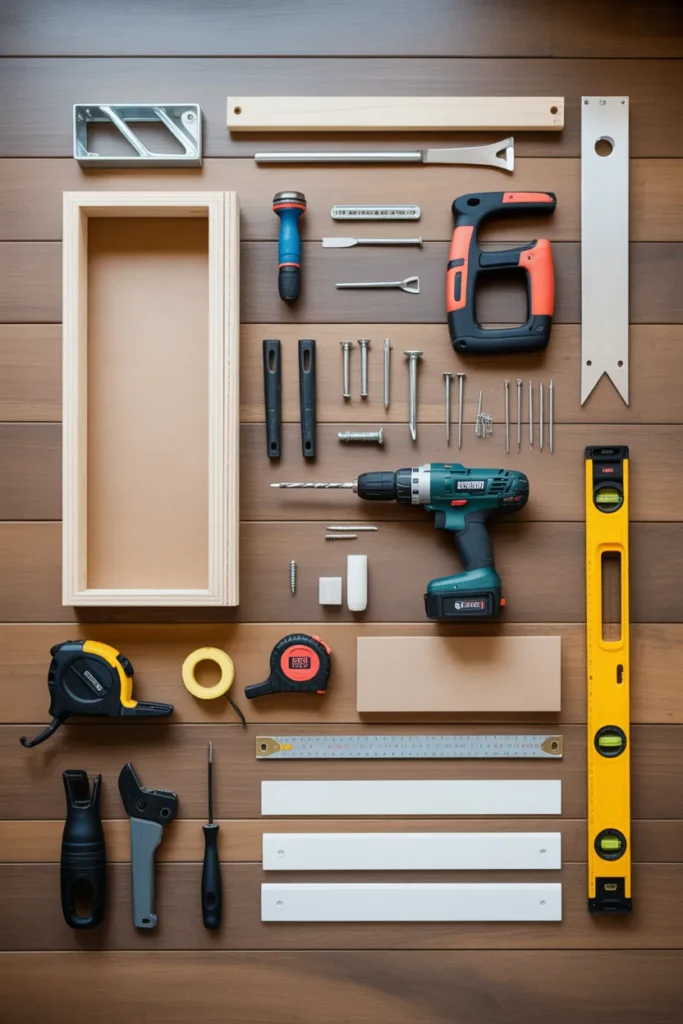
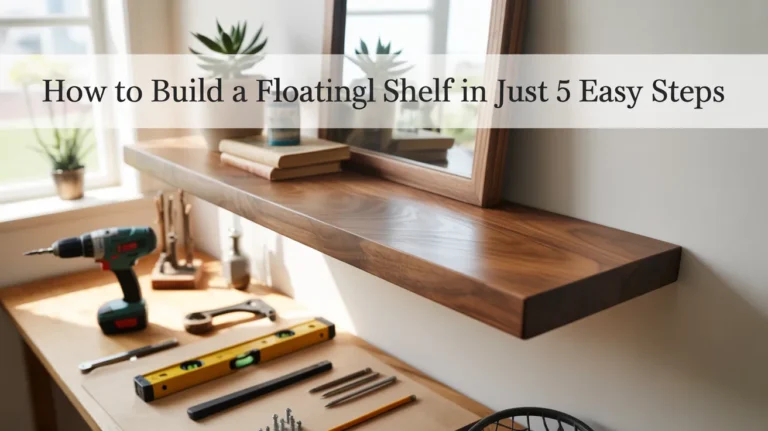
I learned quickly that having the right tools makes this project far less stressful. My first shelf build took twice as long because I kept stopping to find missing supplies.
Here are the basic tools I normally use:
- Stud finder with wire detection
- Tape measure
- Pencil and level
- Utility knife
- Drywall saw or oscillating tool
- Drill and screws
- Plywood or solid wood boards
- 2×4 lumber
- Sandpaper
- Caulk or wood filler
- Paint and primer
- Trim or molding
I also keep a shop vacuum nearby because drywall dust spreads everywhere. Covering nearby furniture with a drop cloth helps a lot during cleanup.
If you want the shelves to hold heavier items like books or tools, thicker plywood works better than thin particle board.
Planning the Perfect Shelf for Your Space
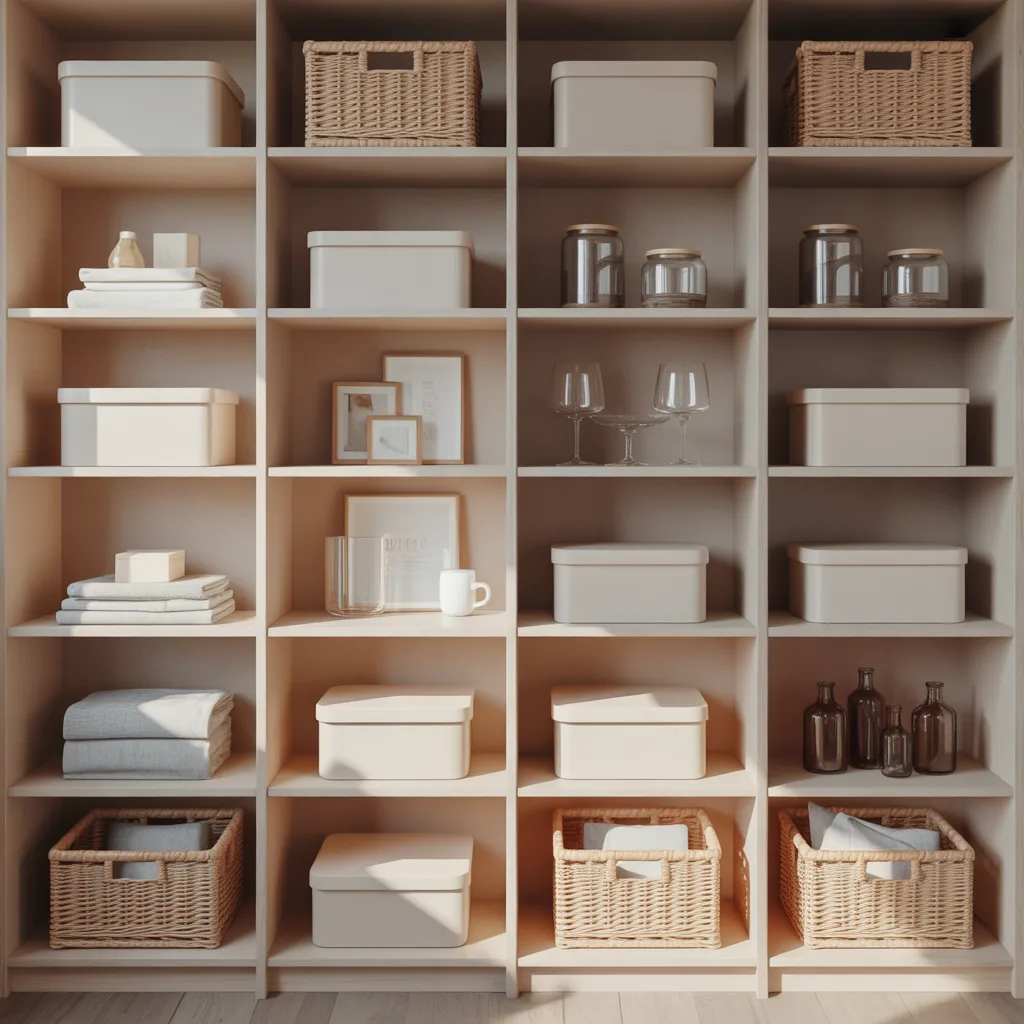
Before cutting anything, I always decide exactly what the shelf will store. The design changes a lot depending on whether you are storing spices, decorations, towels, or books.
Most stud spaces are roughly 14.5 inches wide, but older homes sometimes vary slightly. Measuring carefully prevents frustrating fitting problems later.
For bathroom shelves, I prefer shorter shelf spacing because smaller toiletries fit better that way. In living rooms, taller openings look nicer for decor pieces and framed photos.
Things I usually plan before starting:
- Shelf depth
- Number of shelves
- Weight capacity
- Trim style
- Paint color
- Distance from switches and outlets
One thing I noticed over time is that shallow shelves are often more useful than deep ones. Items stay visible instead of getting lost in the back.
Pro tip: Sketch the shelf layout on paper first. Even a rough drawing helps avoid awkward spacing mistakes.
How to Find and Cut Between Studs Safely
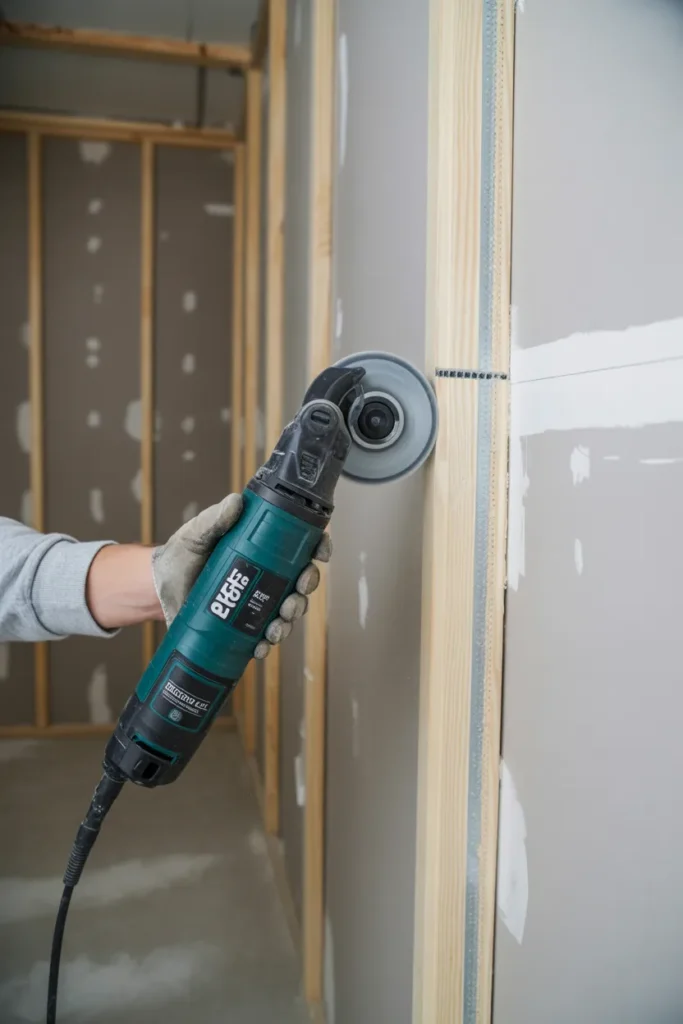
This step makes most people nervous, and honestly, I understand why. Cutting into drywall feels risky the first time.
I start by locating both stud edges carefully with a stud finder. Then I confirm the measurements manually by tapping the wall and listening for solid areas.
After marking the cut lines with a pencil and level, I score the drywall lightly using a utility knife. This helps reduce cracking and gives cleaner edges.
Once the outline is scored, I slowly cut using a drywall saw or oscillating tool. I prefer oscillating tools now because they create cleaner cuts and give more control.
If I feel resistance or hear anything unusual, I stop immediately and inspect the cavity.
Here is the process I follow:
| Step | Purpose |
|---|---|
| Find studs | Locate safe cutting area |
| Scan for hazards | Avoid pipes and wires |
| Mark cut lines | Keep opening straight |
| Drill test hole | Check cavity first |
| Cut drywall slowly | Prevent damage |
| Clean edges | Prepare for framing |
Common mistake to avoid: Rushing the cut usually creates jagged drywall edges that are difficult to hide later.
Framing and Building the Recessed Shelf
Once the opening is ready, the project starts looking exciting fast.
I cut two horizontal 2×4 support pieces for the top and bottom of the opening. These help strengthen the shelf structure and create solid mounting points.
After securing the framing pieces between the studs, I measure and cut the shelf boards carefully. Even small measuring errors become obvious once the shelves are installed.
For lightweight storage, screws alone usually work fine. For heavier shelves, I like adding small wood cleats underneath for extra support.
One thing I learned after building several recessed shelves is that pre-painting the inside pieces before installation saves time later.
If you want the shelves to look custom-built, adding a simple face frame around the edges makes a huge difference.
Pro tip: Always check shelf level before tightening screws fully.
Pro-Level Finishing for a Built-In Look
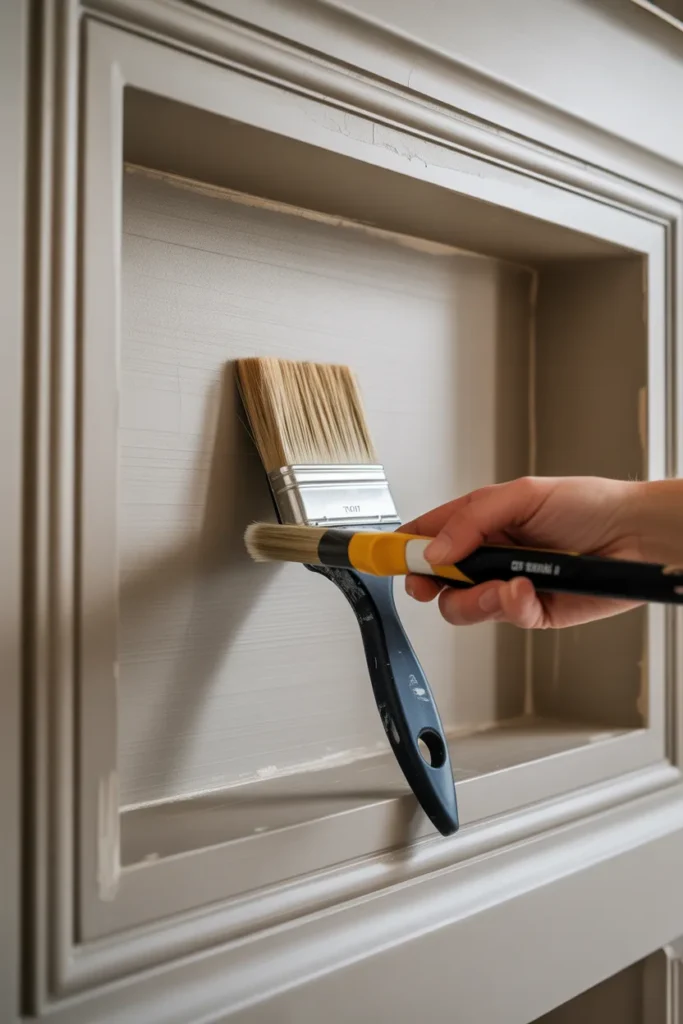
Finishing work is what separates a DIY-looking shelf from one that looks professionally installed.
I fill every screw hole and small gap with wood filler or caulk first. After that dries, I sand everything smooth using fine-grit sandpaper.
This step takes patience, but it matters more than people realize. Even small bumps become noticeable after painting.
For trim, I usually choose simple molding styles because they blend into the wall better. Thick decorative trim can sometimes make small shelves look bulky.
Before painting, I wipe all surfaces with a damp cloth to remove dust. Skipping this step often causes rough paint texture.
Matching the wall color helps the shelves feel built into the room instead of added later.
Common mistake to avoid: Painting before sanding properly almost always leads to uneven finishes.
Fixing Common Mistakes and Troubleshooting
Even careful projects sometimes run into problems. I definitely made mistakes during my early builds.
If drywall edges look rough, sanding and trim usually fix the issue. Small gaps around the frame can disappear completely with paintable caulk.
Uneven shelves are another common problem. I loosen the screws slightly, adjust the shelf using a level, and retighten carefully.
For weak shelves that sag slightly, adding wood support strips underneath usually solves the issue quickly.
Paint problems are also common during DIY projects. If the finish looks streaky, lightly sanding between coats creates a much smoother result.
Here are the problems I see most often:
- Crooked shelves
- Uneven paint
- Visible gaps
- Weak shelf support
- Rough drywall edges
Most of these issues are fixable with patience and small adjustments.
Conclusion
Recessed shelves between studs are one of the smartest DIY storage upgrades I have tried because they add useful storage without taking up extra floor space.
Once you understand how to check walls safely and measure carefully, the process becomes much less intimidating. The finished result looks clean, practical, and surprisingly high-end for a relatively affordable project.
I especially like using these shelves in smaller rooms where every inch matters. They make spaces feel more organized without adding visual clutter.
If you take your time with planning, cutting, and finishing, your shelves can easily look like they were built by a professional contractor.