

When I first started sewing at home, I honestly thought it would be all smooth lines and perfect stitches. What actually happened was a lot of tangled thread, uneven seams, and a few “why is this even happening?” moments. But over time, I realized something simple: sewing becomes easy only when you start with the right beginner projects.
In this guide, I’m sharing sewing ideas that helped me build real confidence step by step. These are beginner-friendly, practical, and actually fun to make at home in 2026. No complicated techniques, no overwhelming tools—just simple projects that teach you real sewing skills while giving you something useful or cute at the end.

Quick Summary
This article covers 20 easy sewing DIY ideas you can try at home, even if you’re a complete beginner. Each project helps you practice basic sewing skills like stitching, cutting, layering, and finishing edges while creating usable items like bags, plush toys, and home decor.
Key Takeaways
- Start with simple cotton-based projects before trying stretchy or slippery fabrics
- You don’t need expensive tools—basic sewing machine, scissors, and pins are enough
- Small projects build confidence faster than large clothing items
- Mistakes like thread bunching usually come from threading or needle issues
- Repetition is what actually improves sewing skill, not perfection
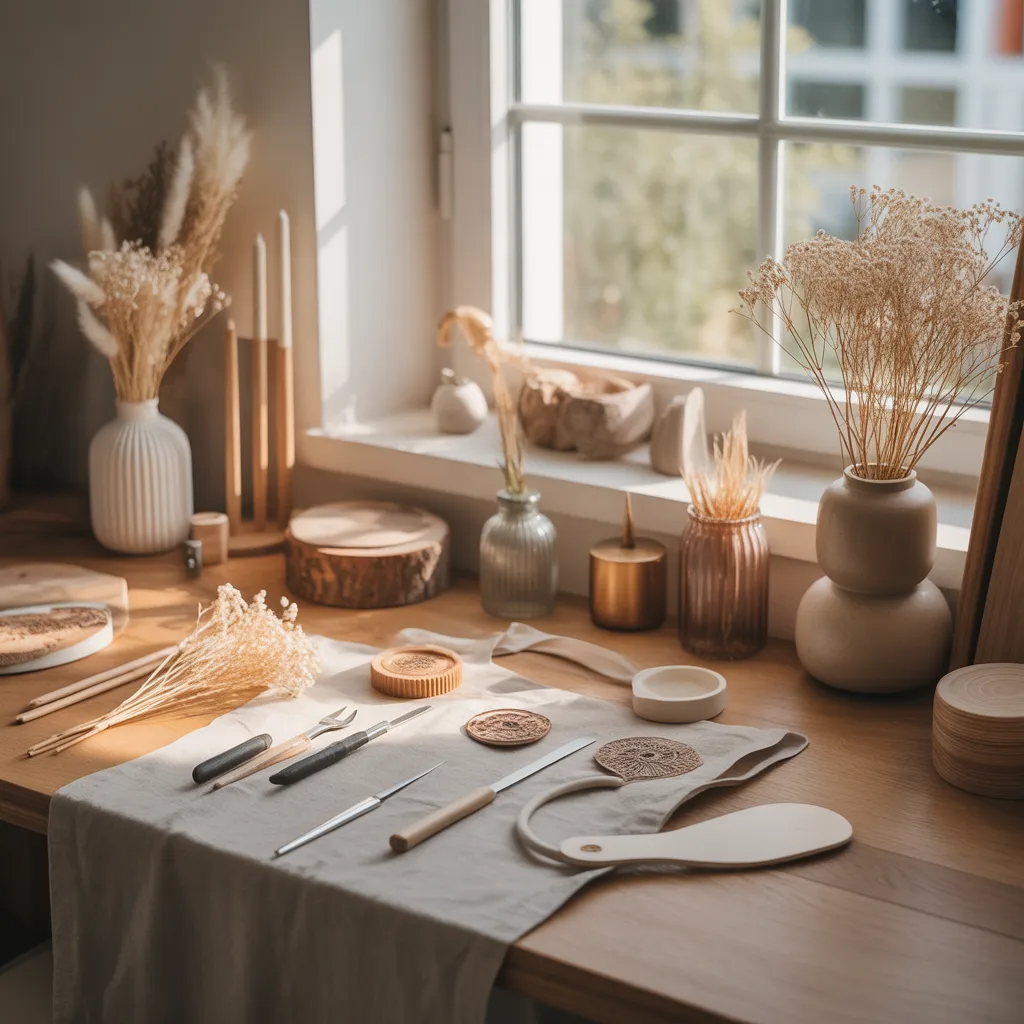
What do you really need to start sewing?
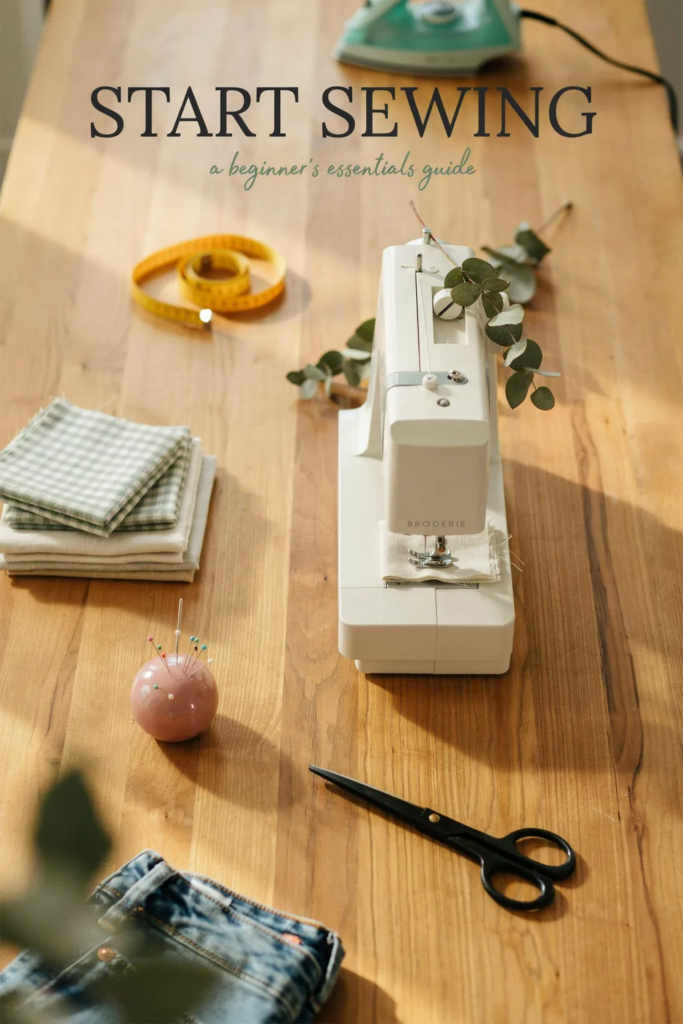
When I started sewing, I made the mistake of buying too many tools I didn’t understand. Half of them stayed in the drawer for months. The truth is, beginners only need a small, practical setup to get real results.
A basic sewing machine that handles straight and zigzag stitches is more than enough. I used a very simple machine for my first year and it still worked fine for learning.
You’ll also need fabric scissors (regular scissors ruin fabric), pins or clips to hold pieces in place, and a measuring tape. I also keep a small iron nearby because pressing fabric while sewing makes everything look cleaner and more professional.
One thing I learned the hard way: don’t rush into buying rotary cutters, sergers, or fancy quilting tools. They only make sense once you’re already comfortable with the basics.
Patchwork Bucket Hat
This was one of the first projects where I actually felt proud of what I made. A patchwork bucket hat looks complex, but it’s really just a combination of simple fabric pieces stitched together.
I usually start by choosing 3–5 cotton fabrics that contrast well. Cutting equal wedges is the key here. If your cuts are uneven, the hat won’t sit properly, and I learned that after making one that tilted awkwardly on my head.
Cotton works best because it holds structure. If you want it to last longer, adding a thin lining makes a big difference. I also like adding straps because they make it more practical for outdoor use.
Pro tip: press each seam before moving to the next step. It keeps everything aligned and saves frustration later.
Fabric Flower Charm
This is one of those small projects that feels relaxing after a long day. I usually make these from leftover fabric scraps instead of buying new material.
Cutting petal shapes is simple, but the trick is layering. If you just stack them flat, the flower looks lifeless. When I started gathering the center tightly, the charm suddenly looked more natural and full.
Adding a loop with ribbon or cord turns it into something useful—you can attach it to bags, gift boxes, or even keychains.
Mistake I made early on: using stiff fabric. Soft cotton or linen gives a much nicer flow.
Quilted Vest DIY
This project was a big step up for me because it introduced layering and structure. At first, quilting sounded complicated, but it’s just stitching layers of fabric together in a controlled way.
I usually use cotton fabric with light batting inside. The key is to quilt the fabric before assembling the vest pieces. If you skip this, the layers shift and the vest loses shape.
Front ties are a beginner-friendly choice because they remove the need for buttons or zippers. I still prefer them for casual handmade clothing because they’re forgiving and adjustable.
Pro tip: mark your stitching lines before quilting. It keeps the pattern even and reduces mistakes.
Patchwork Butterfly Block
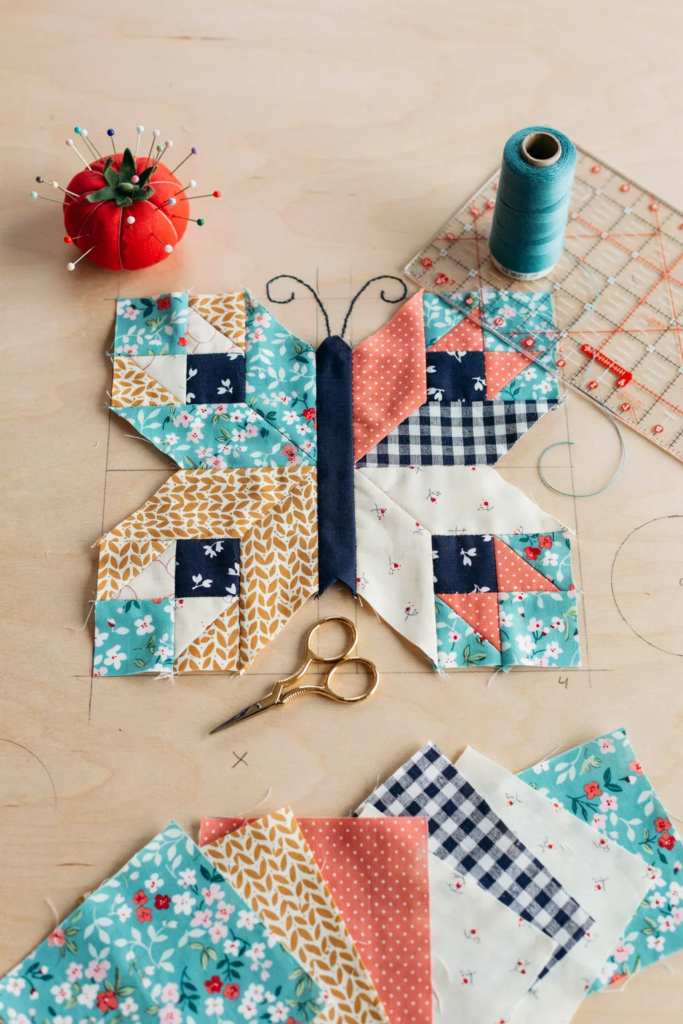
I still remember how satisfying it was to finish my first butterfly block. It’s one of those projects that teaches accuracy more than anything else.
You arrange small fabric pieces into a butterfly shape using foundation piecing. At first, I thought I could eyeball it, but precision matters here.
I like using bold prints for the wings because they stand out against a darker background. These blocks are super versatile—you can turn them into wall art, cushion covers, or quilt panels.
Common mistake: not pressing seams flat between steps. It makes alignment harder later.
Pop Tab Statement Bag
This one surprised me the most. I never thought soda tabs could turn into something wearable, but the result is actually eye-catching.
You connect cleaned pop tabs using strong thread or crochet cord. The structure builds up slowly, so patience matters more than skill here.
Once the panels are ready, they are joined into a bag shape and lined for strength. Without lining, it becomes uncomfortable to use and less durable.
What I learned: consistency in spacing matters more than perfection in individual tabs.
Embroidered Butterfly Pillow Toy
This project combines embroidery and basic sewing, which makes it perfect for skill-building.
I usually start with a simple butterfly outline and stitch it before assembling the pillow. This keeps the embroidery neat and centered.
Adding a loop or small handle can turn it into a hanging toy or decorative piece.
Tip: use stabilizer fabric underneath if your stitches keep pulling the fabric.
Knot-Handle Lunch Bag
This is one of the most practical beginner projects I still use. It’s simple but very functional.
Two rectangles of cotton fabric form the base. The real trick is extending the fabric at the top and tying it into a knot to create handles. No extra hardware needed.
I like adding a lining because food bags need extra strength and easy cleaning.
Mistake to avoid: using thin fabric—it won’t hold weight properly.
Felt Dinosaur Plush
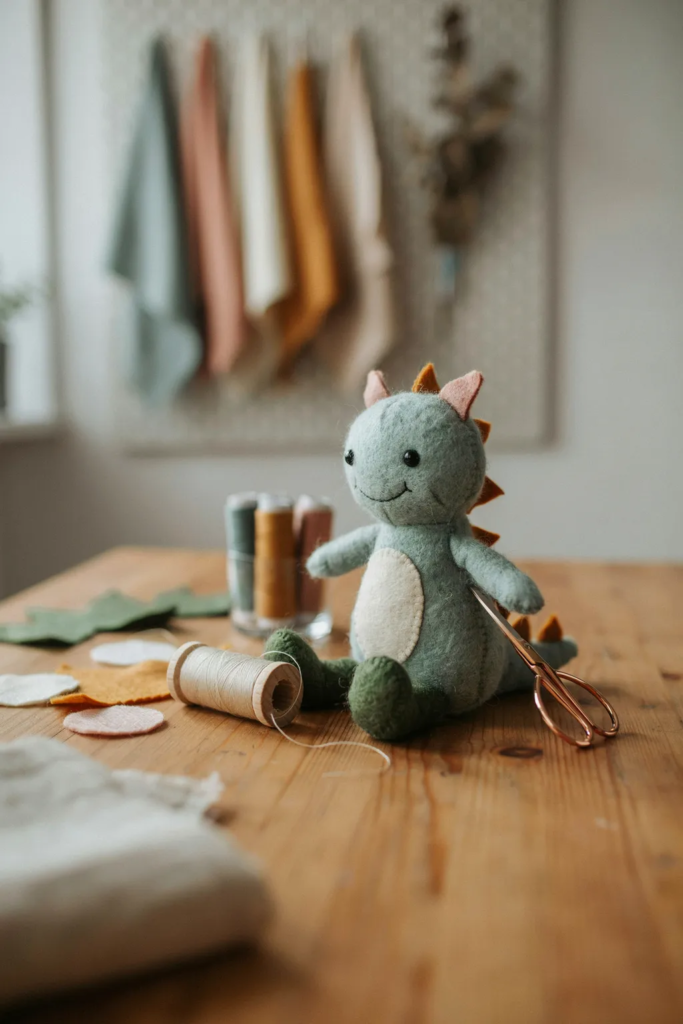
This was my introduction to plush making, and it taught me patience more than anything else.
Felt is forgiving, which makes it great for beginners. I use a blanket stitch to join pieces because it holds well and looks decorative.
Stuffing should be light at first—you can always add more, but removing it is difficult once sewn.
Pro tip: small embroidered details bring the dinosaur to life more than extra accessories.
Strawberry Coin Purse
This project taught me how important zippers really are. At first, I struggled a lot with alignment.
The shape is simple, but stitching the zipper cleanly takes patience. I usually baste it first before final stitching.
Adding small bead “seeds” gives it a cute finish, but embroidery works just as well.
Drawstring Portrait Bag
This is where sewing becomes more creative. I like combining applique and stitching here.
The portrait patch becomes the focal point, and fabric circles around it add texture and depth.
Drawstrings make it easy to close, and I prefer cotton cord because it slides smoothly.
Patchwork Zipper Pouches
This is one of the best scrap-busting projects I’ve done. Every pouch turns out different depending on fabric choice.
Zippers can feel intimidating, but once you install a few, it becomes routine. I always sew slowly around the zipper area to avoid misalignment.
Adding labels or small trims makes each pouch feel personal.
Applique Pouch with Quote
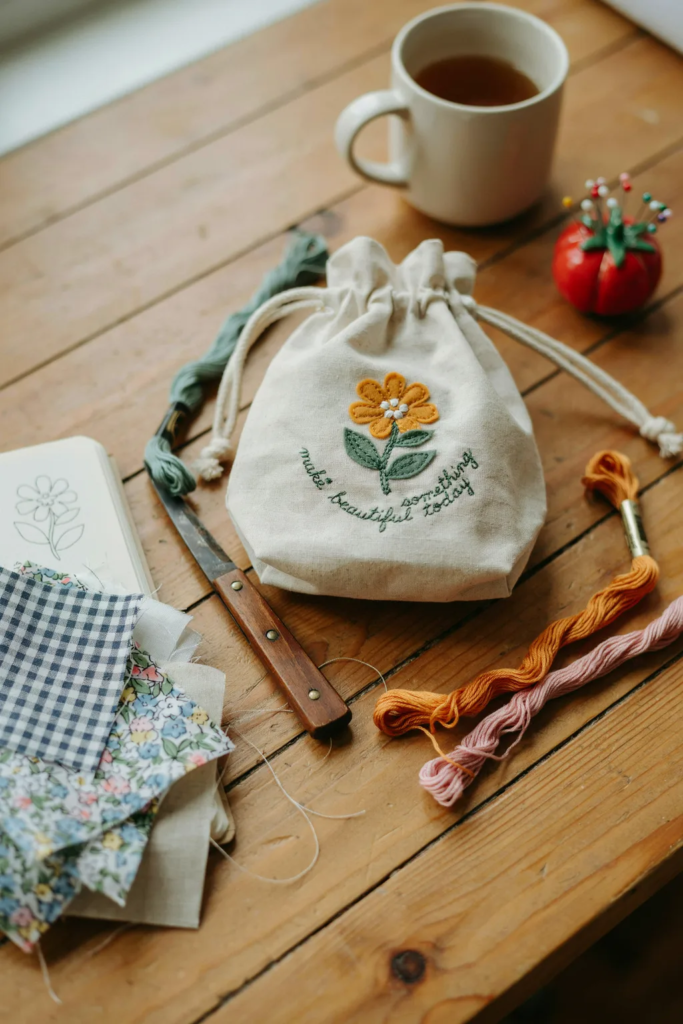
This project helped me understand how sewing can also be expressive.
I usually pick a simple base fabric and add applique shapes on top. Then I stitch a short quote for personality.
It’s a great beginner project because mistakes don’t ruin the final look—they actually add character.
Plush Whale Family
Soft toys like these are very forgiving. The shape is simple, and even uneven stitches don’t ruin the result.
Using different sizes makes them look like a family set, which is what I enjoy most about this project.
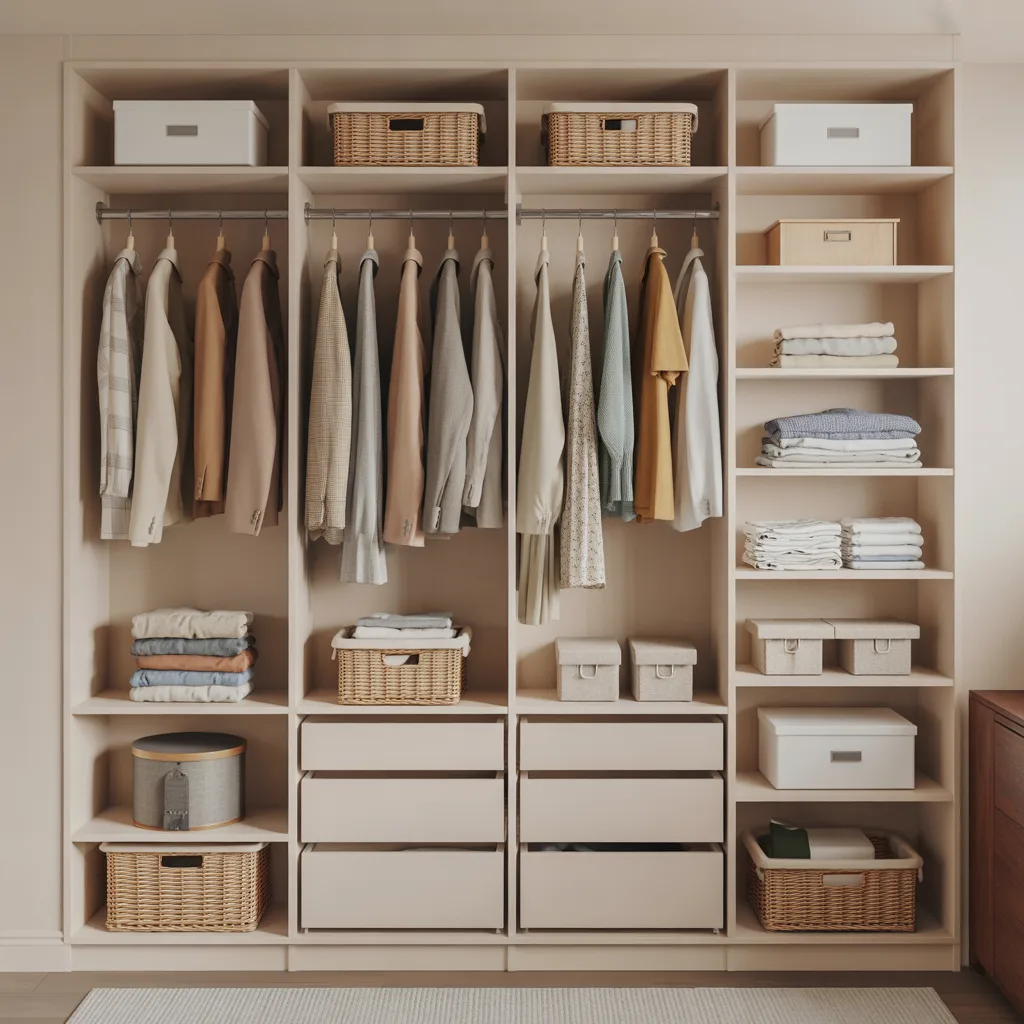
Fabric Storage Basket
This is one of the most useful sewing projects for home organization.
I use cotton fabric with a sturdy lining so it holds shape. Boxed corners are what give it structure.
Pressing the edges properly is what makes it look store-bought.
Felt Frog Brooch
Small projects like this help improve precision. The frog face is simple, but placement matters a lot.
I usually stitch facial features before assembling the full brooch to avoid distortion.
Baby Overall Dress
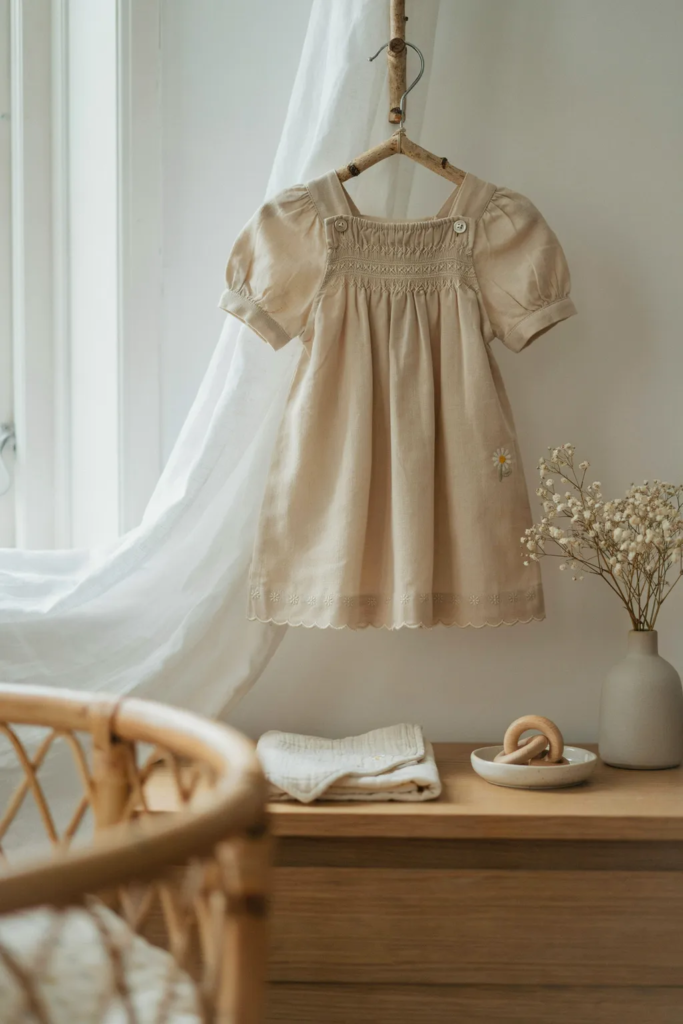
This project introduced me to wearable sewing. Soft cotton or double gauze works best because it’s gentle and breathable.
Snap buttons make dressing easier, especially for babies who grow quickly.
Simple Tote Bag
If you only try one project from this list, make it this one.
It’s fast, practical, and teaches straight-line sewing. I still use my first tote bag years later.
Adding lining improves durability, but even unlined versions work well for quick use.
Fabric Butterfly Accent
This is a quick decorative project that uses very little fabric.
It’s great for learning folding and shaping techniques without stress.
Fabric Strawberry Plushies
These are fun scrap projects that improve shaping skills.
I like making them slightly uneven because it gives them a handmade feel.
Felt Strawberry Dragon
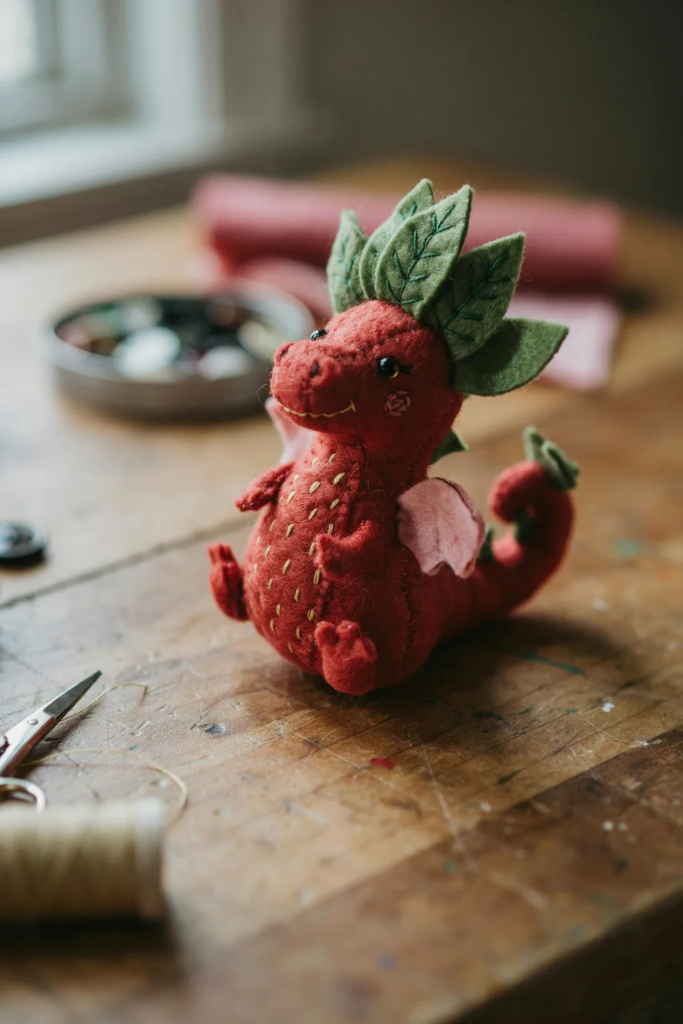
This is more advanced but still beginner-friendly if you take it step by step.
Layering felt pieces is the key here. The small embroidered details make it stand out.
FAQs
What fabric should I start sewing with?
I always recommend starting with woven cotton. It’s stable, easy to cut, and doesn’t stretch, which makes it perfect for beginners. I tried knits early on and immediately struggled because they shift too much while sewing.
How do I stop my sewing machine from bunching thread?
In most cases, it comes down to incorrect threading or a dull needle. Re-thread both the top thread and bobbin slowly, and make sure the presser foot is down. I also replace needles regularly because a worn one causes more problems than people expect.
Related Articles
26 Easy DIY Clothes Ideas for 2026 That Look Stylish on a Budget