


Make Your Own Closet Shoe Rack Like a Pro
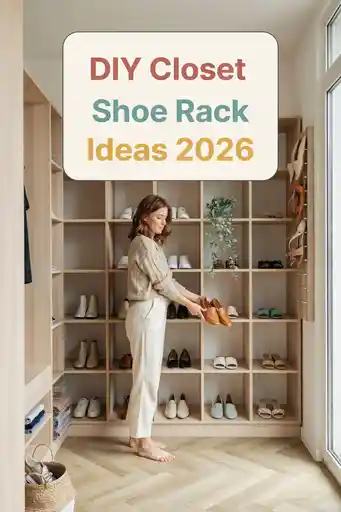
If you are tired of kicking shoes out of the way every morning, building your own closet shoe rack can completely change how your space feels. I finally made one after getting frustrated with flimsy metal racks that kept collapsing under heavier shoes and boots. The custom setup ended up fitting my closet better than anything I found in stores, and it cost far less too.
The best part is that this project does not require advanced woodworking skills. With a few basic tools, simple boards, and a free weekend, you can build a sturdy DIY closet shoe rack that actually works for your space and shoe collection.
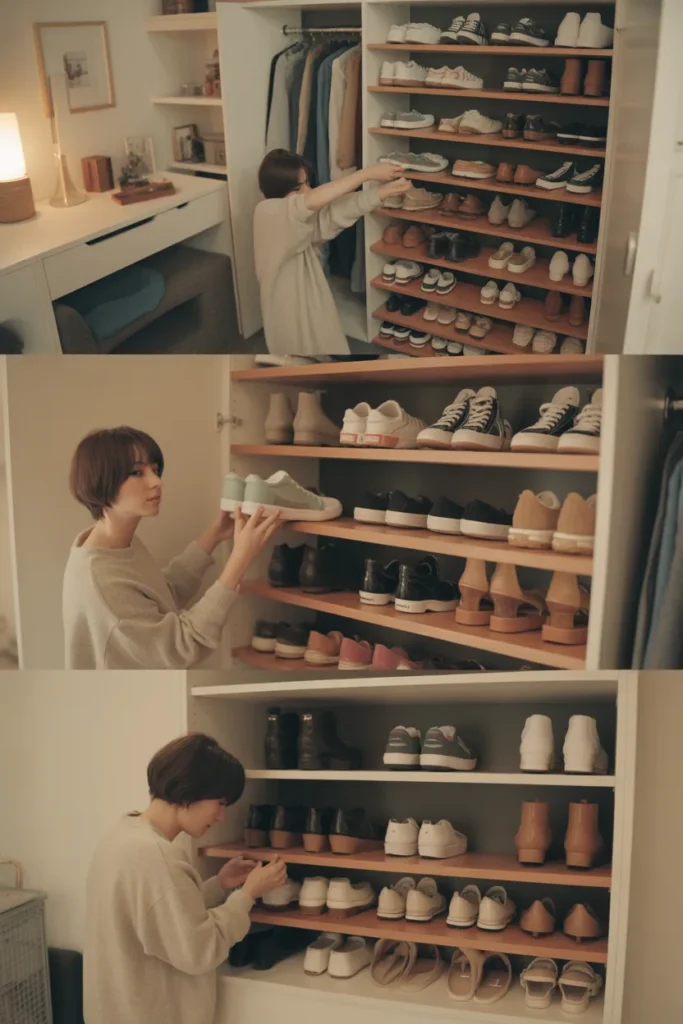
A homemade rack also helps protect your shoes. Keeping pairs organized prevents crushed heels, bent sneakers, and dust buildup. Once I switched to shelves instead of piling shoes on the floor, my closet instantly looked cleaner and felt easier to manage.
Quick Summary
- A DIY closet shoe rack saves space and reduces clutter
- Custom sizing works better than most store-bought racks
- Basic tools are enough for this project
- Slanted, cubby, and modular designs all work for different closet sizes
- Proper measurements prevent fitting problems later
- A three-shelf rack usually holds 9–15 pairs depending on width
Key Takeaways
- Measure your closet carefully before cutting anything
- Use plywood or solid wood for better durability
- Pre-drilling holes helps stop wood from cracking
- Leave enough shelf height for larger shoes and boots
- Add center support on wider shelves to prevent sagging
Why You Need a DIY Closet Shoe Rack
I used to think shoe clutter was just part of having a small closet, but the real problem was poor storage. Shoes stacked on top of each other waste a surprising amount of space and make it harder to find matching pairs quickly.
Most store-bought shoe racks are designed for generic closet sizes. The issue is that closets are rarely standard. Some are narrow, some are deep, and others have awkward corners or baseboards that make premade racks fit poorly.
Building your own rack lets you use every inch more efficiently. You can go taller, wider, or slimmer depending on what your closet actually needs. I also noticed my closet floor stayed much cleaner once shoes were off the ground.
Another advantage is durability. Cheap racks made from thin plastic or wire often bend after a few months. A simple wooden rack can last for years with very little maintenance.
Tools and Materials You’ll Need
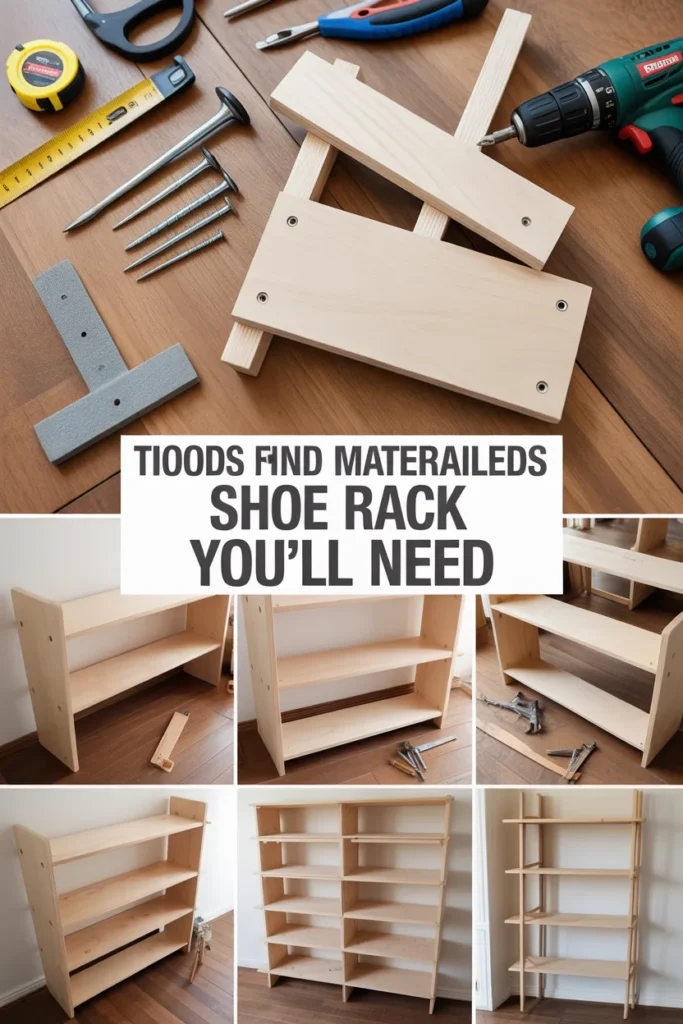
Before starting, gather everything in one spot. I learned the hard way that stopping halfway through to search for missing screws slows the whole project down.
Tools:
- Tape measure
- Pencil
- Level
- Drill and drill bits
- Saw or circular saw
- Screwdriver
- Clamps (optional)
- Safety glasses
- Sanding block or electric sander
Materials:
- Plywood sheets or 1×12 boards
- 1×2 support strips
- Wood screws
- Wood glue
- Sandpaper
- Paint or stain
- Rubber furniture pads
- Shelf liner (optional)
Pro tip: Many hardware stores will cut wood for free or for a small fee. This makes the project much easier if you do not own a saw.
Measure Your Closet the Right Way
Good measurements make the entire project easier. One small mistake can leave gaps or create shelves that do not fit at all.
Start by measuring the width from wall to wall near the floor. Then measure the depth from the back wall to the closet door opening. I usually subtract about one inch from the total depth so shoes never stick out awkwardly.
Next, measure the available height. This helps you figure out how many shelves you can install comfortably.
If you wear boots often, leave at least 12 inches between shelves. Sneakers and flats usually need only 7–9 inches.
Do not forget obstacles like vents, trim, baseboards, or sloped flooring. My first rack rocked slightly because I forgot to account for thick baseboards along the back wall.
Common Measurement Mistake
A lot of people only measure once. I always double-check every measurement before cutting wood because even a half-inch error becomes noticeable later.
Choose a Shoe Rack Design That Fits Your Space
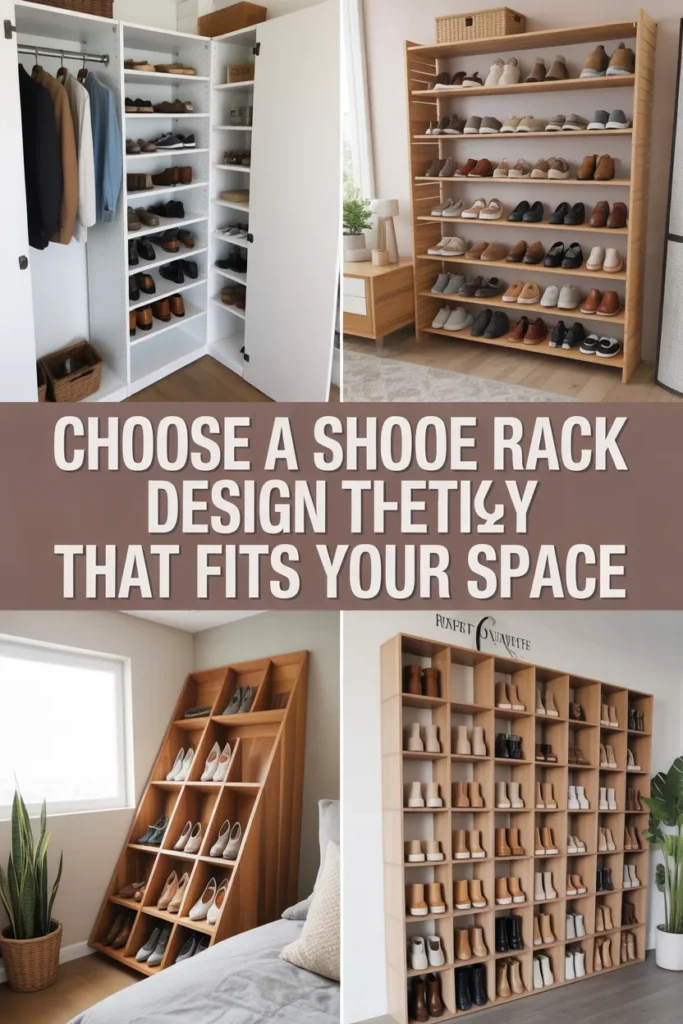
Different closet layouts work better with different rack styles. I tested two designs before settling on one that matched my daily routine.
1. Slanted Shelf Rack (Best for reach-in closets)
This is my favorite option for narrow closets. Angled shelves make shoes easier to see without crouching too much.
A slight tilt also keeps shoes organized naturally. Just add a small front lip so pairs do not slide forward.
This style works especially well for sneakers, sandals, and casual shoes.
2. Cubby-Style Rack (Best for deep or corner closets)
Cubby racks create separate spaces for each pair. If your closet has extra depth, this setup keeps everything looking neat and organized.
I like cubbies for families because everyone can have designated sections. They also help prevent shoes from getting mixed together.
One downside is that cubbies take slightly longer to build because of the extra dividers.
3. No-Drill Modular Rack (Best for renters and small closets)
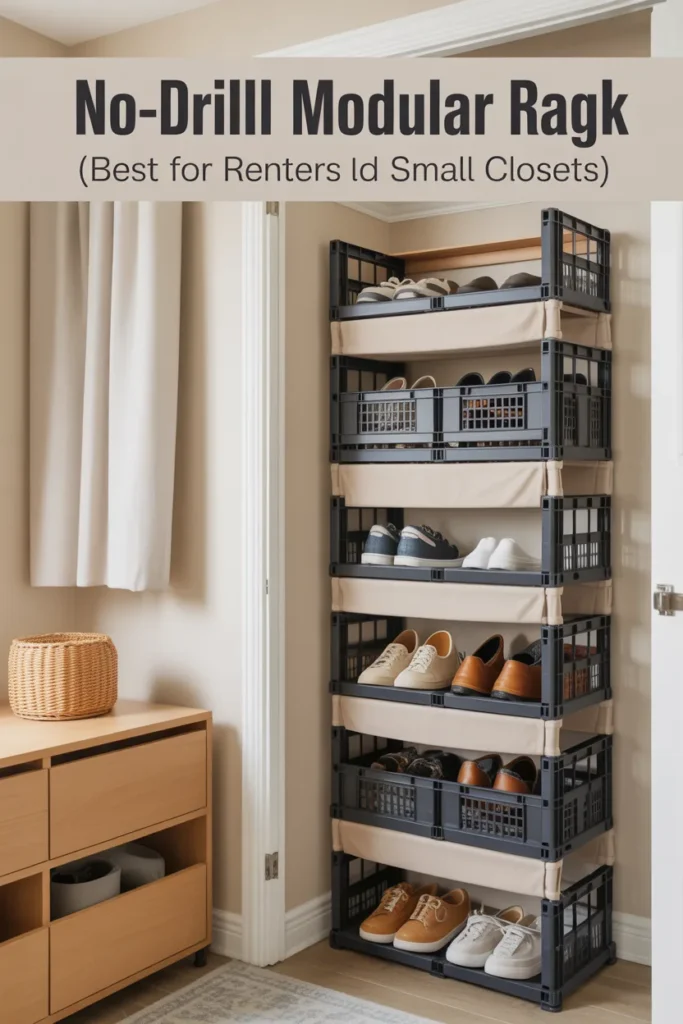
If you rent your home or want something temporary, modular storage works surprisingly well.
Stackable crates, fabric shelves, and tension rod systems are easy to rearrange later. They are not as sturdy as wood, but they work well for lightweight shoes.
I used stackable cubes in my apartment before building a permanent wooden rack, and they helped a lot in tight spaces.
Step-by-Step: Build a Basic Wooden Shoe Rack
This simple three-shelf design is beginner-friendly and works in most closets.
Step 1: Cut the wood
Cut two side panels around 30 inches tall.
Then cut three shelf boards based on your closet width. I usually leave about half an inch of clearance on each side for easier installation.
Cut support strips from 1×2 boards to hold the shelves underneath.
Pro tip: Label every piece lightly with pencil after cutting. It saves confusion during assembly.
Step 2: Mark shelf positions
Lay the side panels flat and mark shelf locations evenly.
I usually space shelves about 8 inches apart for regular shoes. Use a level to keep lines straight on both sides.
Uneven shelf markings are one of the biggest reasons DIY racks wobble later.
Step 3: Attach support strips
Screw support strips onto the inside of the side panels where the shelves will sit.
Pre-drilling holes helps prevent splitting, especially with plywood edges.
I also add a small amount of wood glue before driving screws for extra strength.
Step 4: Add the shelves
Place each shelf board onto the support strips and screw them down securely.
If the rack feels slightly uneven, loosen the screws and adjust before tightening fully.
For longer shelves, adding a middle brace underneath helps prevent sagging over time.
Step 5: Check for stability
Stand the rack upright and test it on a flat surface.
Push gently from different angles to check for wobbling. Tighten loose screws and add rubber pads underneath if needed.
I usually sand all edges before painting or staining because rough corners can scratch shoes easily.
How Many Pairs Will It Hold? (With Sizing Table)
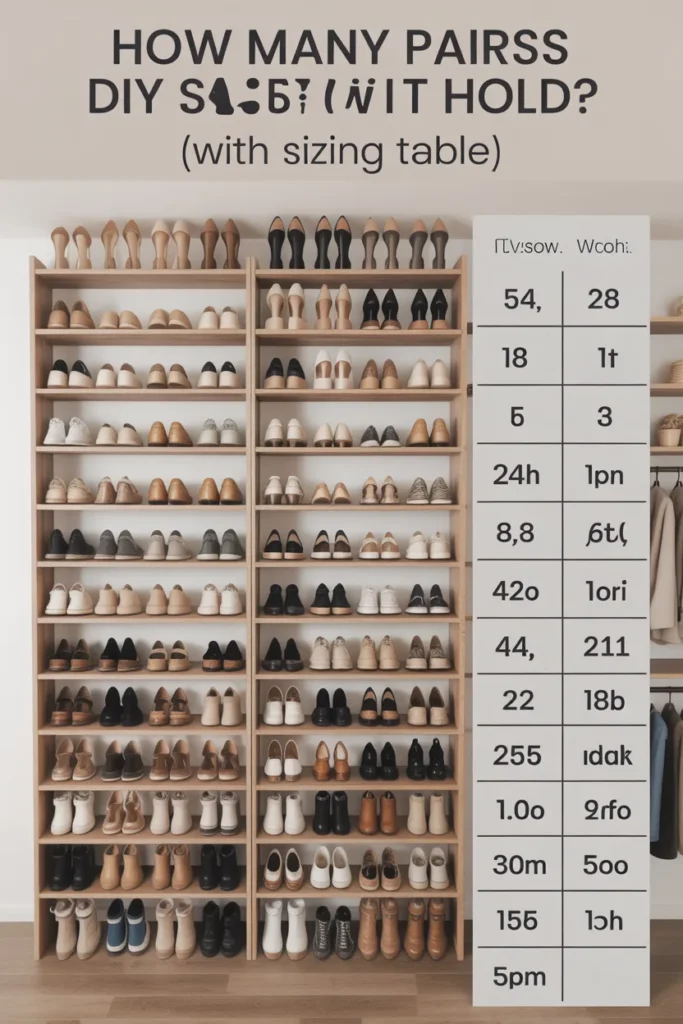
The number of shoes your rack holds depends mostly on shelf width and shoe type.
| Closet Width | Slanted Rack | Cubby Rack | Modular Setup |
|---|---|---|---|
| 24 inches | 6–9 pairs | 6 pairs | 6–8 pairs |
| 36 inches | 10–12 pairs | 9 pairs | 8–12 pairs |
| 48 inches | 12–15 pairs | 12 pairs | 10–16 pairs |
Men’s shoes usually require more width than women’s flats or sandals. Boots also reduce total capacity because of extra height spacing.
I always leave a little open space instead of packing shelves completely full. It keeps the closet looking cleaner and makes grabbing shoes easier.
Common Mistakes and How to Fix Them
One mistake I made early on was using shelves that were too deep. Shoes ended up hidden in the back and harder to reach.
Here are some common problems and simple fixes:
Shelves are uneven
Use a level during marking and installation. Even slight tilting becomes noticeable once shoes are added.
Rack feels wobbly
Tighten screws and place the rack on a flat surface. Rubber pads can help stabilize uneven flooring.
Wood starts splitting
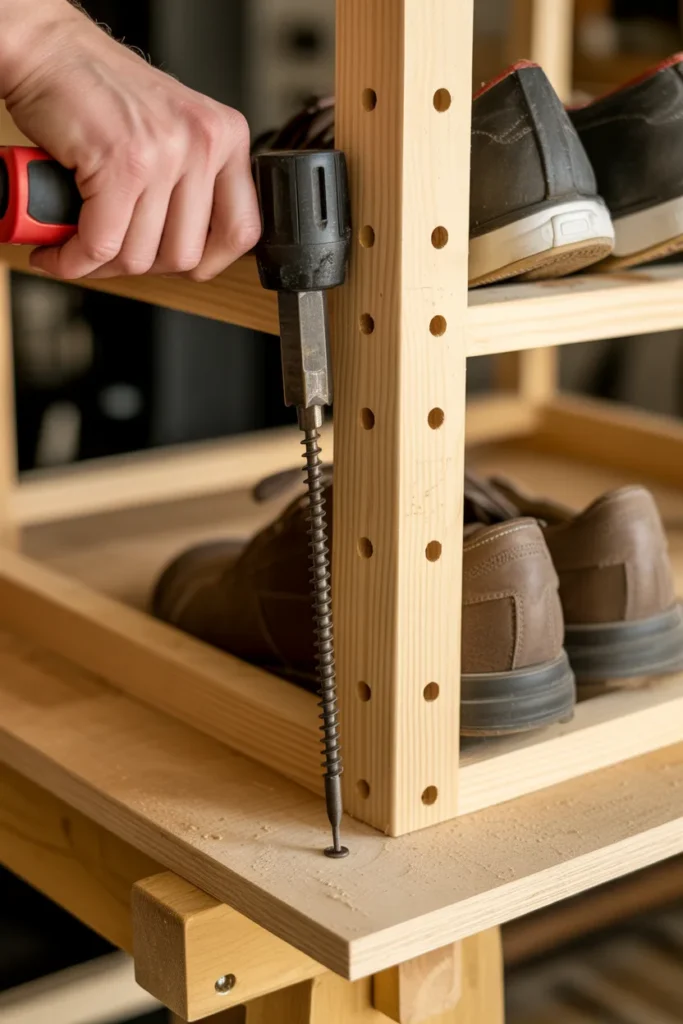
Always pre-drill holes before inserting screws near edges.
Shelves sag in the middle
Add center support under any shelf wider than 36 inches.
Rack does not fit the closet
Measure twice before cutting. I also recommend dry-fitting pieces before final assembly.
Overcrowding the shelves
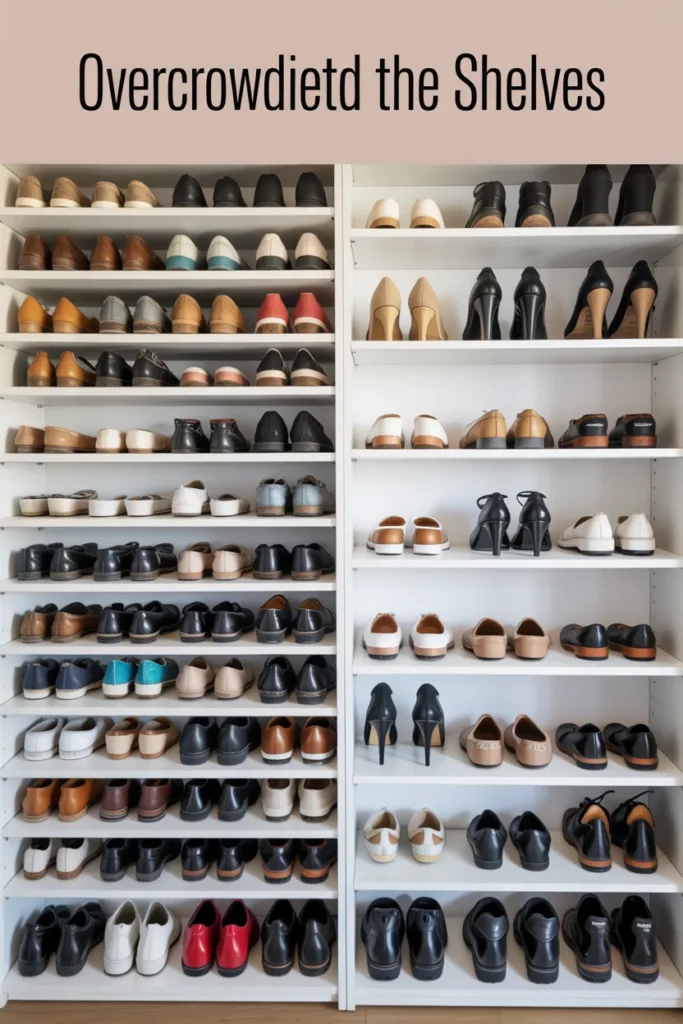
Leaving a little breathing room helps maintain organization longer. Overstuffed racks quickly become messy again.
FAQs
How much does it cost to build a DIY closet shoe rack?
In my experience, a simple wooden shoe rack usually costs between $30 and $80 depending on the wood type and size. Using plywood keeps the cost lower, while solid wood gives a more polished look.
What is the best wood for a closet shoe rack?
Plywood is one of the easiest and most affordable choices for beginners. I like using cabinet-grade plywood because it stays fairly straight and handles weight well without costing too much.
How deep should a shoe rack shelf be?
Most shoe rack shelves work well between 10 and 14 inches deep. I usually keep mine around 12 inches because it fits sneakers, flats, and most casual shoes comfortably.
Can I build a shoe rack without power tools?
Yes, you can. Many hardware stores will cut wood for you, which removes the hardest part of the project. A screwdriver, measuring tape, and drill are usually enough for basic assembly.
How far apart should shoe rack shelves be?
For regular shoes, leave around 7–9 inches between shelves. If you plan to store boots, increase the spacing to about 12–14 inches.
How do I keep a shoe rack from wobbling?
Make sure the floor is level and tighten all screws properly. I also recommend adding rubber pads underneath the base because they help stabilize the rack on uneven flooring.
Is a slanted shoe rack better than a flat shelf rack?
A slanted rack makes shoes easier to see and grab quickly, especially in narrow closets. Flat shelves, however, tend to hold bulkier shoes and storage bins more easily.
How many pairs of shoes can a DIY shoe rack hold?
A standard three-shelf rack usually holds between 9 and 15 pairs depending on shelf width and shoe size. Wider shelves naturally increase storage capacity.
Should I paint or stain the shoe rack?
That depends on the look you want. I prefer stain for a natural wood finish, but paint works well if you want the rack to match closet walls or shelving.
What is the biggest mistake people make when building shoe racks?
The biggest issue is inaccurate measurements. Even small measuring mistakes can cause shelves to sit unevenly or make the rack too large for the closet space.