A DIY ring toss game is one of the easiest ways I’ve found to keep both kids and adults entertained without spending much money. Whether I’m planning a backyard BBQ, birthday party, school carnival, or weekend family game night, this simple game always gets people involved.
The best part is that most ring toss setups can be made using basic supplies already sitting around the house like bottles, rope, wood scraps, or PVC pipes. According to outdoor recreation reports, backyard party games continue to grow in popularity because families want affordable screen-free activities that work for all age groups.
In this guide, I’ll walk through how to make a DIY ring toss game step by step and share creative ring toss ideas that are fun, budget-friendly, and easy to customize for any event theme.

Key Takeaways
- DIY ring toss games are inexpensive and beginner-friendly
- Most setups cost under $25 to make at home
- Wooden, bottle, PVC, and glow-in-the-dark versions all work well
- Outdoor party games encourage movement and social interaction
- Adding scoring systems makes the game more competitive and fun
- Weather-resistant materials help outdoor games last longer
How to Make a DIY Ring Toss Game?
I like starting with a basic wooden ring toss setup because it’s durable, reusable, and easy to customize later. This version works well for birthday parties, family reunions, school events, and backyard cookouts.
One thing I learned after making a few of these is that sturdy materials matter. Cheap dowels or weak glue can loosen quickly after repeated use, especially when kids play aggressively.
Materials Needed:
- Wooden dowel rod (7/8-inch diameter, 63 inches total length)
- Round wooden board (18 inches diameter)
- Sisal rope or nylon rope
- Wood glue
- Duct tape
- Paint or wood stain (optional)
- Miter saw
- Drill
- 7/8-inch paddle drill bit
- Measuring tape
- Sandpaper
Step 1 – Cut the Dowels
I cut the wooden dowel into five sections:
- Two pieces at 11 inches
- Two pieces at 13 inches
- One piece at 15 inches
Using different heights makes the game slightly more challenging because players naturally aim for the taller center dowel first.
Step 2 – Mark and Drill Holes
Next, I mark five hole locations on the wooden board. One goes directly in the center while the remaining four are evenly spaced around it.
I use a paddle drill bit slightly matching the dowel size so the pieces fit tightly without wobbling.
Step 3 – Attach the Dowels
After drilling, I apply wood glue to the bottom of each dowel and press them firmly into the holes.
I usually let the glue dry overnight because stronger bonding helps the game last longer outdoors.
Step 4 – Prepare the Rings
For the rings, I cut rope into equal 16-inch sections. Then I tape or glue the ends together to form circles.
I personally prefer sisal rope because it feels heavier and lands better during gameplay compared to lightweight plastic rings.
Step 5 – Paint the Game
Painting is optional, but it definitely improves the final look. Bright colors make the game stand out during parties and outdoor gatherings.
Outdoor paint or sealant also helps protect the wood from moisture and sun damage.
Step 6 – Final Assembly
Before playing, I double-check that every dowel feels secure and the rings hold their shape properly.
To make the game more competitive, I assign higher points to the center peg and lower points to the outer pegs.
10 DIY Ring Toss Game Ideas
1. Classic Wooden Board Ring Toss
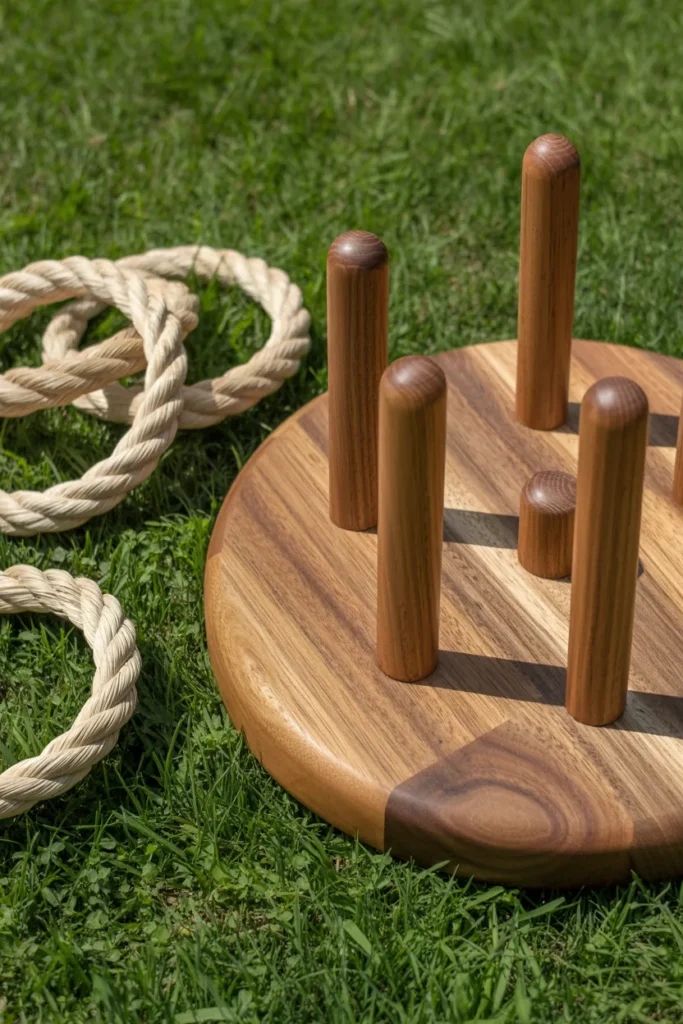
This is the version I use most often because it’s simple, sturdy, and easy to store. A round wooden base with five dowels creates a traditional ring toss setup that works for all ages.
I like painting different point values around each peg to make the game feel more interactive. Adding weatherproof paint also helps extend the life of the board if it stays outdoors regularly.
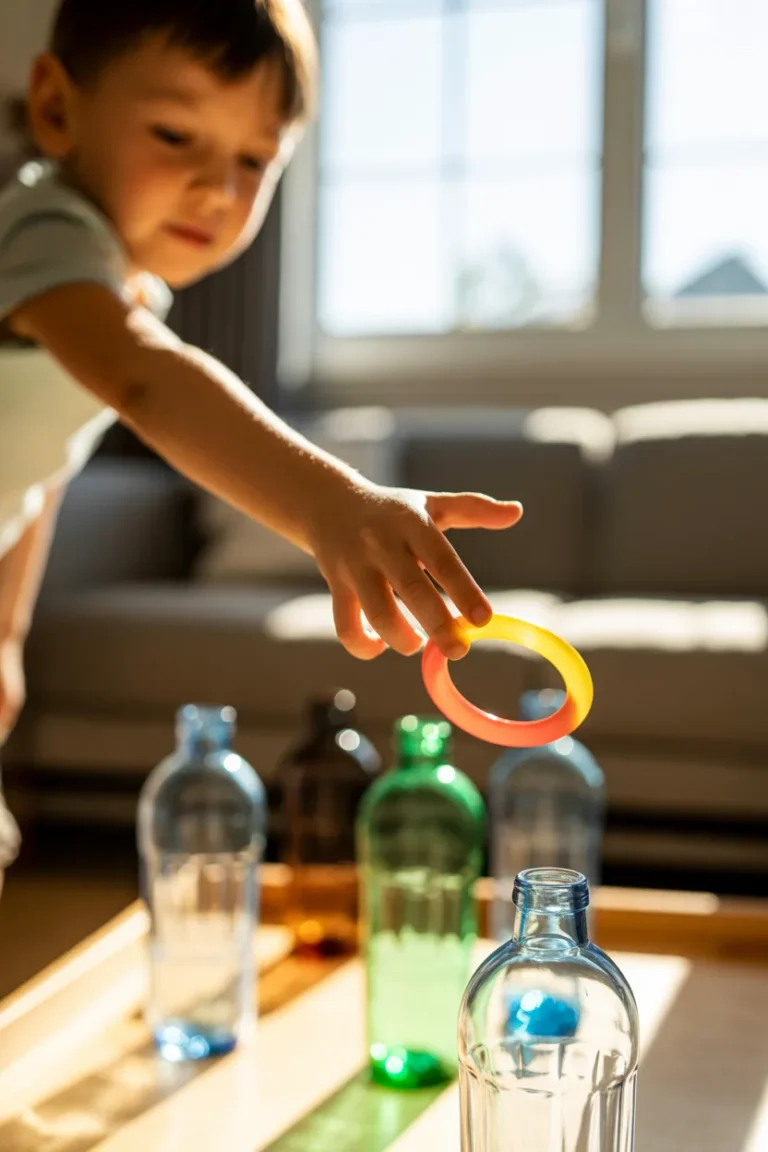
2. Patriotic Bottle Ring Toss
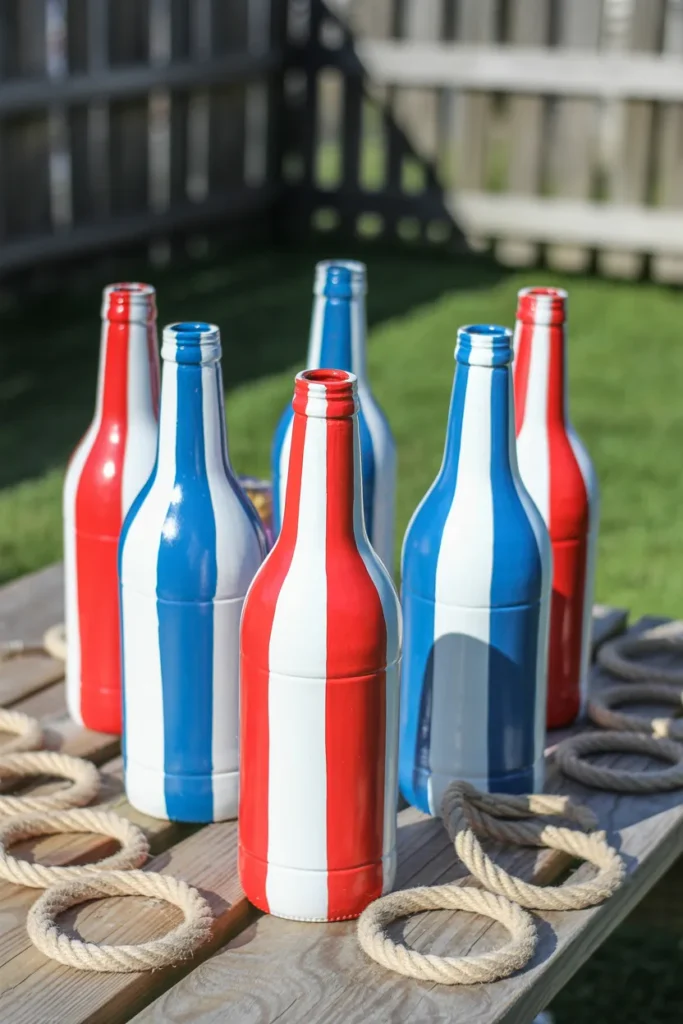
For summer parties and holiday gatherings, I sometimes use painted glass bottles instead of wooden pegs.
Red, white, and blue colors work perfectly for patriotic themes like the Fourth of July. I usually pair them with rope rings or plastic bracelet rings for a quick setup.
This version is inexpensive and looks great as backyard party decor too.
3. Outdoor Cone Ring Toss Game
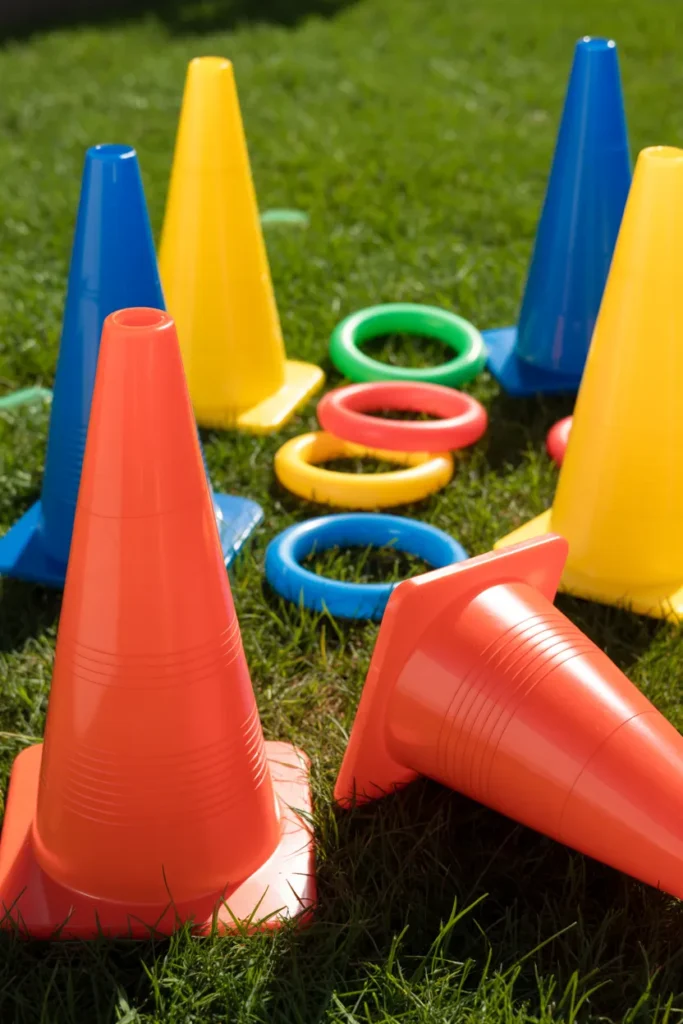
Plastic traffic cones make excellent ring toss targets because they’re lightweight, colorful, and easy to move around.
I often spread the cones at different distances to create multiple difficulty levels for kids and adults. This setup also encourages more movement, which makes it perfect for active outdoor parties.
According to child activity studies, simple movement-based games help improve hand-eye coordination and balance in younger children.
4. PVC Pipe Ring Toss
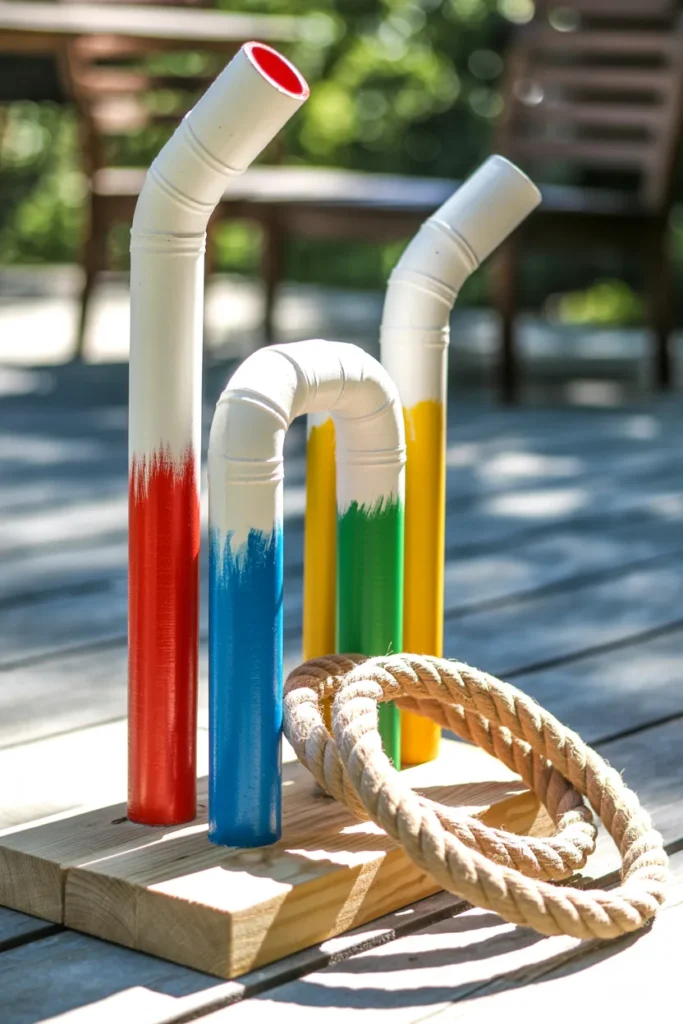
PVC pipe games are some of the most durable DIY outdoor games I’ve made.
I cut the pipes into small sections and connect them into a sturdy base structure. Then I spray paint each section in different colors for a cleaner look.
Since PVC handles rain and sunlight better than untreated wood, this version works especially well for year-round outdoor use.
5. Olympic-Themed Ring Toss
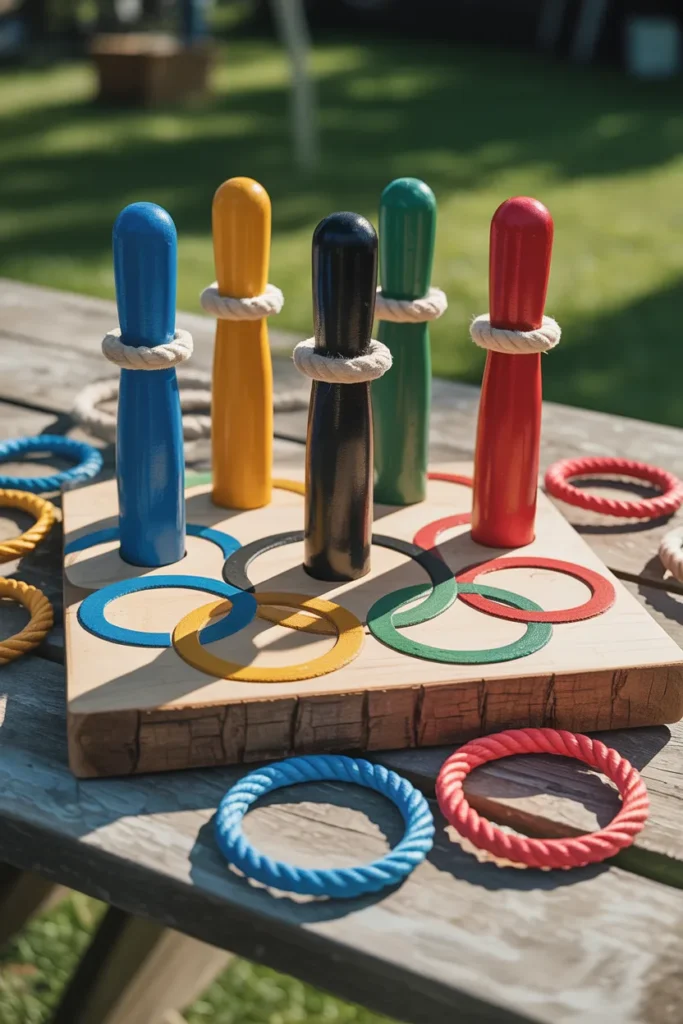
This is one of my favorite ideas for sports-themed birthdays or school field days.
I paint the targets using Olympic-inspired colors and use pool diving rings instead of rope rings because they’re lightweight and easy for kids to throw.
Adding scoreboards and mini competitions makes this version even more exciting during group events.
6. Soda Bottle Ring Toss
Whenever I want a quick last-minute party game, I use empty soda bottles filled with sand or water for stability.
Mason jar rings fit nicely over most bottle necks, which makes setup very easy. I also like this idea because it reuses household items instead of buying extra supplies.
It’s simple, budget-friendly, and surprisingly entertaining for both kids and adults.
7. Backyard Ring Toss with Angled Board
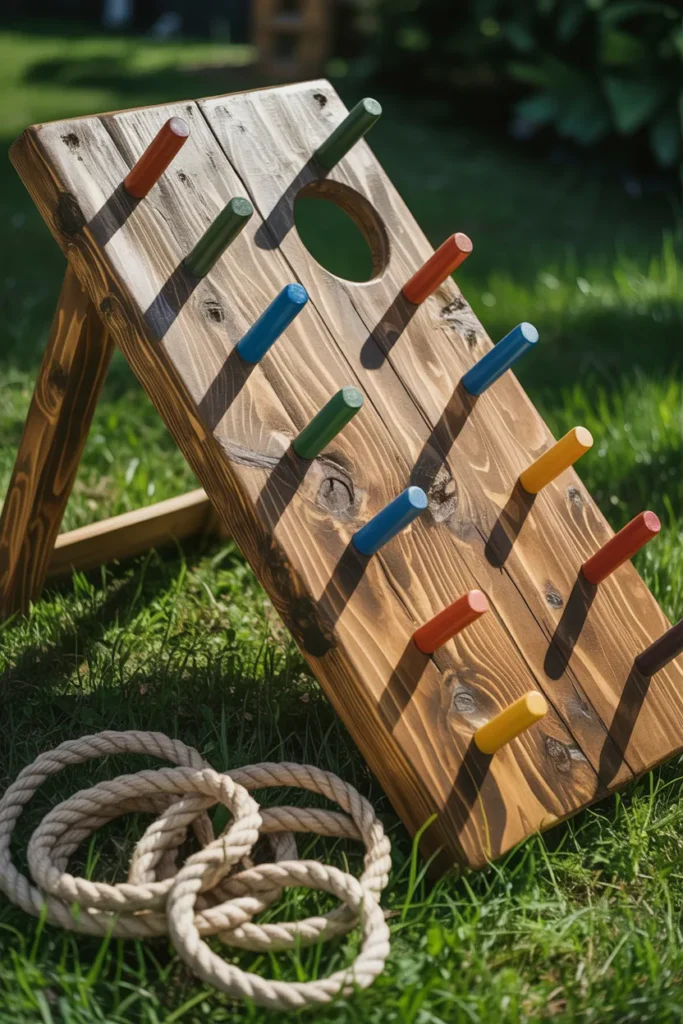
An angled board changes gameplay more than most people expect. Rings roll differently, bounce differently, and require better aim.
I usually build this version using scrap plywood and outdoor paint. Bright colors help the game stand out nicely against grass or patio flooring.
Using weather-resistant screws and sealant also helps prevent damage during outdoor storage.
8. Vintage Bottle Ring Toss

For rustic parties or farmhouse-style decor, vintage bottle ring toss setups look amazing.
I paint old glass bottles using chalk paint, lightly sand the edges, and finish them with matte sealant for a distressed vintage appearance.
This version doubles as party decoration while still being fully playable, which makes it popular for weddings, garden parties, and family reunions.
9. DIY Carnival Ring Toss

Carnival-style ring toss games instantly make backyard parties feel more exciting.
I usually paint the wooden base using bright carnival colors like red, yellow, and blue. Then I use thick colorful rope rings for better visibility during gameplay.
Adding small prizes or candy rewards makes this setup especially fun for kids.
10. Glow-in-the-Dark Ring Toss

This nighttime version always becomes the highlight of evening parties.
I paint the pegs and rings using glow-in-the-dark paint and let them charge under sunlight before sunset. LED string lights around the board also improve visibility after dark.
For the best glow effect, I recommend applying at least two to three paint coats before sealing everything with a clear protective finish.
Final Thoughts
DIY ring toss games are affordable, easy to build, and honestly one of the most reliable party activities I’ve used over the years. They work for birthdays, school events, family gatherings, camping trips, and even casual weekends at home.
What I enjoy most is how customizable they are. You can make them rustic, colorful, competitive, kid-friendly, or even glow-in-the-dark depending on the occasion.
Once you build one setup, you’ll probably end up using it for years.