





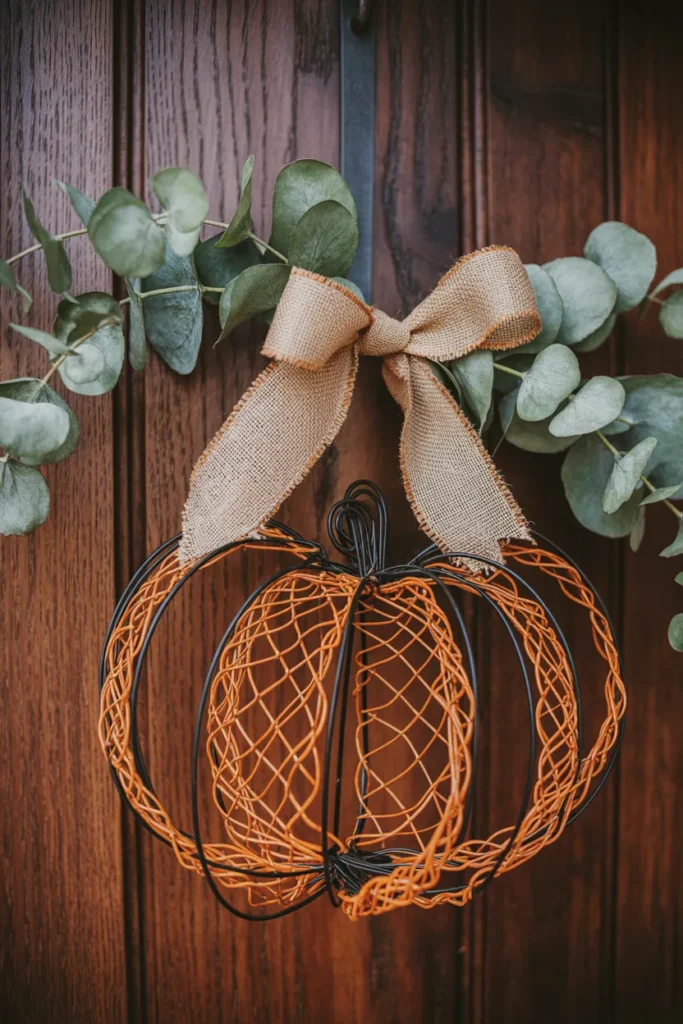
Fall decorating always pulls me into craft mode, and one project I make almost every year is a wire pumpkin wreath. Store-bought wreaths can easily cost $40 to $80, but making one at home gives you more control over the colors, texture, and overall style for a fraction of the price.
The first time I made a wire pumpkin wreath, I honestly expected it to look messy. But once everything came together, it looked surprisingly high-end and took less than an hour to finish. Since then, I’ve experimented with farmhouse styles, Halloween versions, and even neutral pumpkin wreaths that stayed up through Thanksgiving.
In this guide, I’ll show you exactly how to make a wire pumpkin wreath step by step using affordable supplies and beginner-friendly techniques.

Quick Summary
- Easy DIY fall wreath project for beginners
- Costs much less than store-bought wreaths
- Can be completed in under 1 hour
- Uses simple craft supplies from budget stores
- Easy to customize for farmhouse, rustic, or Halloween themes
- Reusable frame makes future seasonal decorating cheaper
Key Takeaways
- A wire pumpkin frame is the easiest base for fall wreaths
- Wired ribbon holds its shape better than soft ribbon
- Deco mesh creates a fuller and more professional look
- Floral wire works better than glue for removable decorations
- Adding greenery helps hide empty gaps in the wreath
What You Need Before Starting?
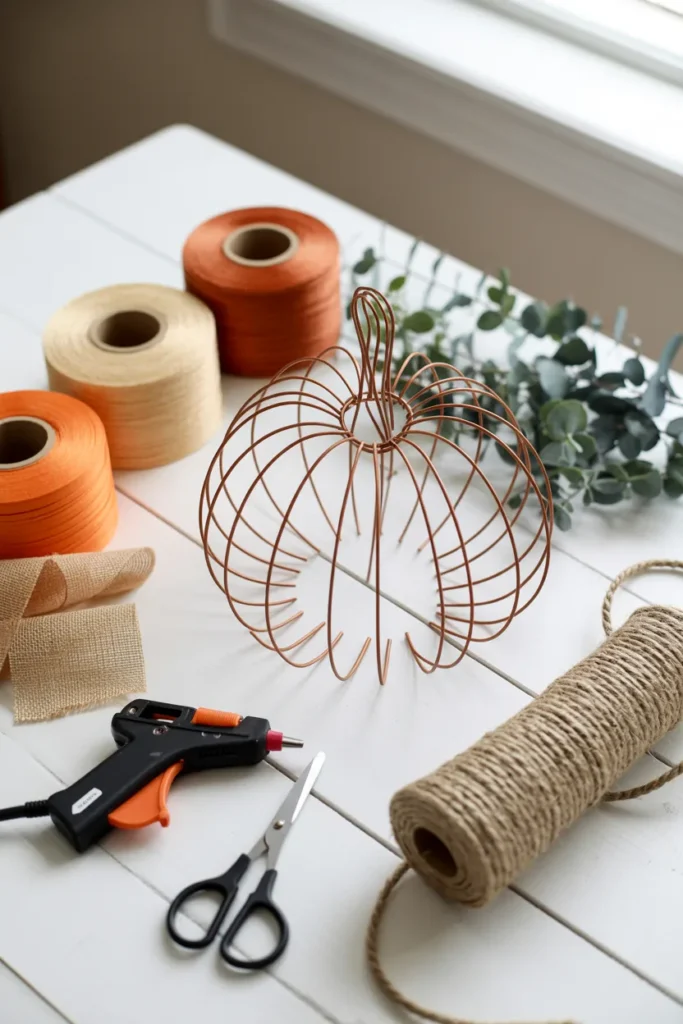
Before starting your wire pumpkin wreath, gather all your supplies in one place. I learned the hard way that stopping halfway through to search for ribbon or glue sticks makes the project take twice as long.
Here’s what you’ll need:
- Wire pumpkin wreath frame
- Orange deco mesh or burlap mesh
- Nautical rope or jute rope
- Wired ribbon
- Faux eucalyptus or fall greenery
- Pipe cleaners or floral wire
- Hot glue gun and glue sticks
- Scissors
- Wire cutters
- Zip ties
- Decorative pumpkins, beads, or flowers (optional)
Most of these supplies are available at dollar stores, craft shops, or online. I usually keep extra ribbon and greenery because those small details make the wreath look fuller.
Step-By-Step Wire Pumpkin Wreath Tutorial
1. Gather Materials
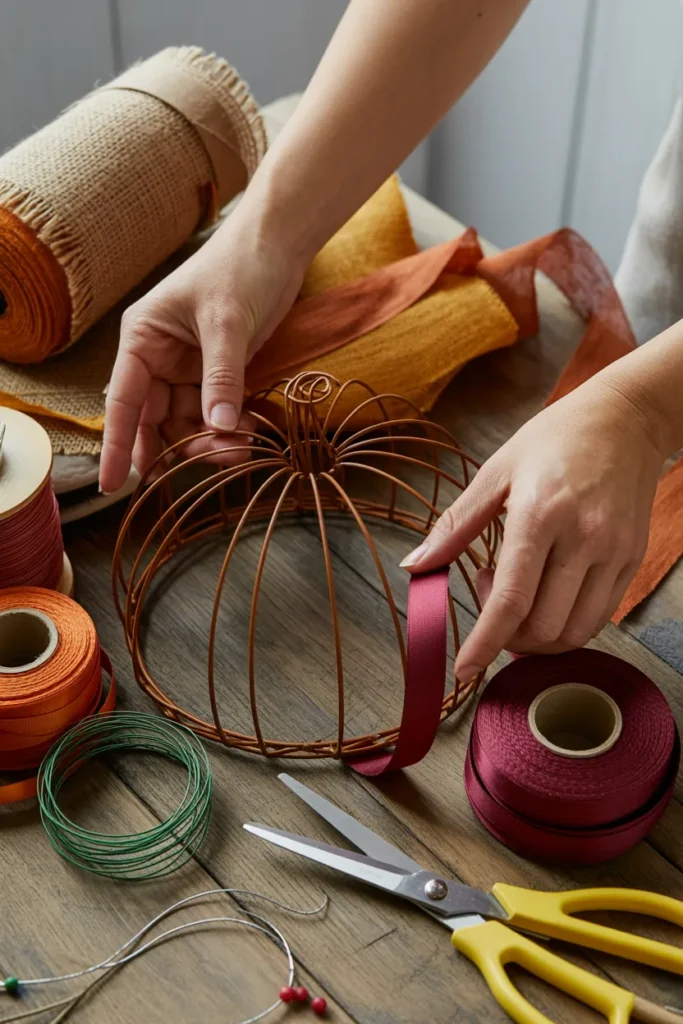
Lay everything out before you begin. This sounds simple, but it saves a lot of frustration later.
I like placing the mesh, ribbon, and greenery beside the frame so I can quickly test different color combinations before attaching anything permanently.
If this is your first wreath, stick with two ribbon styles and one greenery type. Too many patterns can make the wreath look crowded.
Pro Tip
Choose wired ribbon instead of soft fabric ribbon. It shapes better and creates fuller bows.
2. Prep the Frame and Rope
Start by cutting the plastic ends off the nautical rope if needed.
Attach the rope to one vertical section of the pumpkin frame using hot glue. Slowly wrap upward while pressing firmly so it stays secure.
Continue wrapping each rib until the frame starts looking textured and filled in.
I usually leave the outer circular wires exposed because the mesh and greenery cover them later anyway.
Common Mistake to Avoid
Using too much glue can create messy strings across the wreath. Work in small sections instead.
3. Cover All Ribs
Repeat the wrapping process across every vertical rib of the pumpkin frame.
Try to keep the spacing even so the wreath looks balanced from a distance. If one section looks thinner than the others, simply double-wrap the rope.
This stage takes the most patience, but it creates the cozy pumpkin shape that makes the wreath stand out.
Once finished, trim loose rope ends neatly.
4. Cut Mesh and Ribbon
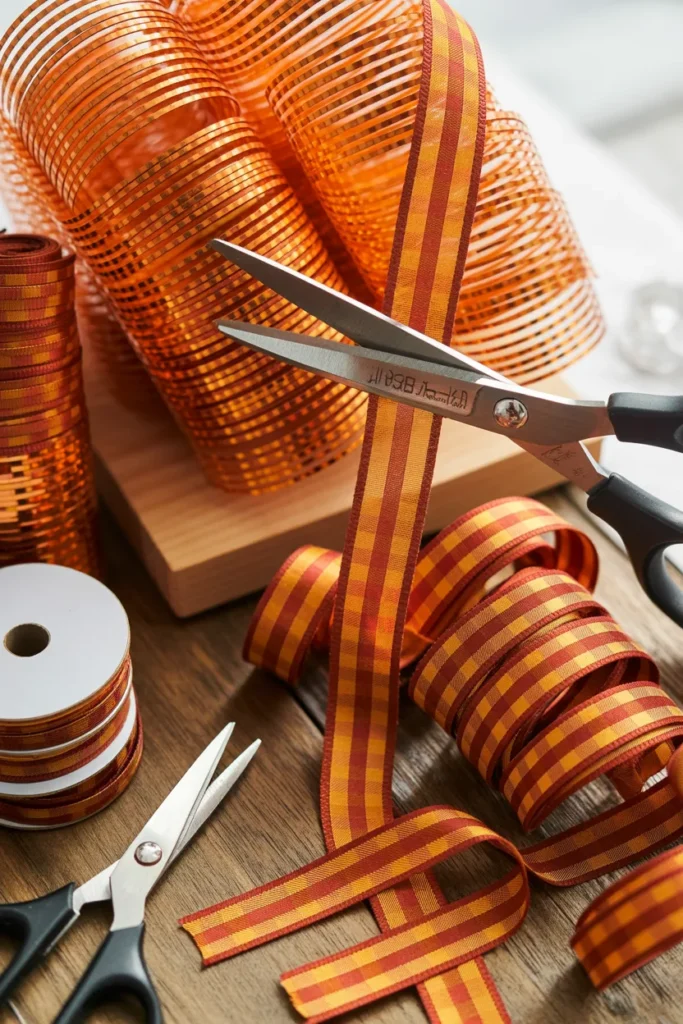
Now it’s time to create the decorative bundles.
Cut your deco mesh into equal strips. I usually make mine around 6 to 8 inches long because shorter pieces are easier to fluff.
Then cut ribbon strips about 10 to 12 inches long. Angle the ends into a dovetail shape for a cleaner look.
You can mix plaid ribbon, burlap ribbon, or seasonal prints depending on your style.
5. Make Mesh Bundles
Roll each mesh strip loosely into curls.
Gather several curls together with one ribbon strip in the center and pinch tightly. Secure the middle using a zip tie or pipe cleaner.
Repeat until you have enough bundles to spread evenly around the wreath.
This part always looks messy at first, but once attached and fluffed, the wreath starts coming together quickly.
Pro Tip
Fluff every mesh curl individually before attaching it. This makes the wreath look fuller without needing extra supplies.
6. Attach the Bundles
Attach the bundles directly onto the pumpkin frame using zip ties or floral wire.
I normally place two bundles at the bottom corners and one in the center first. After that, I fill any empty areas until the wreath looks balanced.
Step back every few minutes and look at the wreath from a distance. It helps you notice uneven spots faster.
If gaps still show, tuck in small greenery pieces instead of adding more mesh.
7. Add the Bow
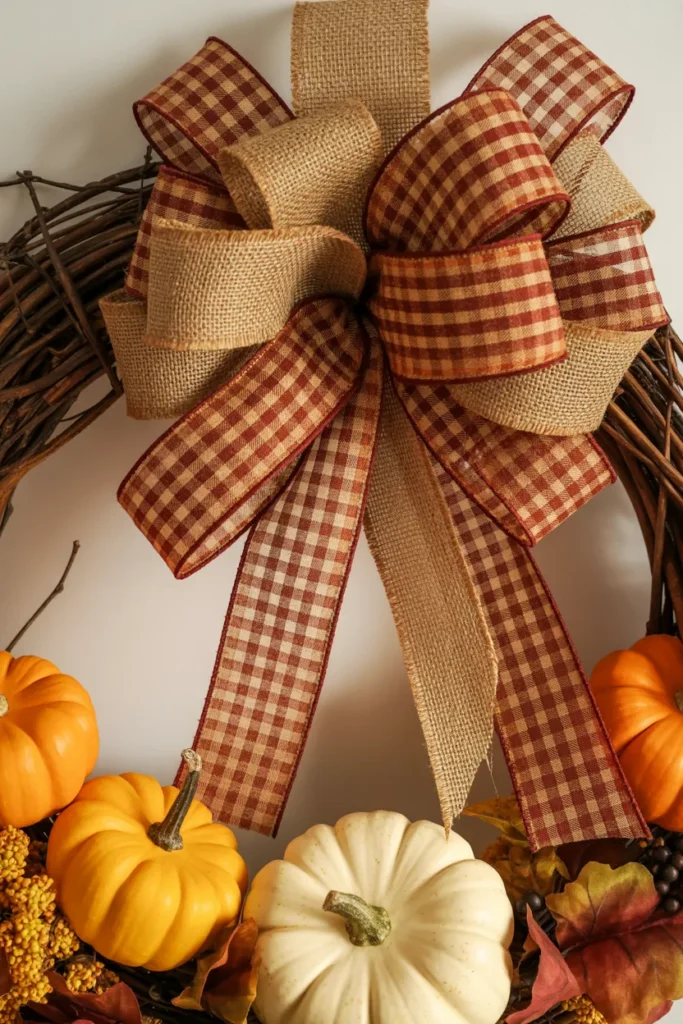
The bow becomes the main focal point of the wreath, so take your time here.
Make a large layered bow using wired ribbon. I like combining one solid ribbon with one patterned ribbon because it creates more depth.
Attach the bow near the pumpkin stem using floral wire or a pipe cleaner.
Trim the ribbon tails at an angle so they hang neatly.
Common Mistake to Avoid
Tiny bows often get lost inside the wreath. Make the bow slightly larger than you think you need.
8. Finish with Eucalyptus
This final step makes the wreath look polished and complete.
Tuck eucalyptus sprigs, faux leaves, or mini flowers behind the bow and around empty areas.
I usually use greenery to soften sharp edges and cover visible zip ties.
Once everything looks balanced, trim excess wire and fluff the mesh one last time.
Your wire pumpkin wreath is now ready to hang.
Styling & Color Ideas for Your Wreath
One thing I love about making a wire pumpkin wreath is how easy it is to customize.
For a classic fall look, combine orange mesh with sunflower accents and plaid ribbon.
If you prefer farmhouse decor, use cream burlap, muted greenery, and wooden bead details.
For Halloween, black mesh with purple ribbon creates a dramatic look without feeling overly spooky.
Neutral wreaths are also becoming more popular lately. White pumpkins, beige ribbons, and eucalyptus work beautifully for modern homes.
My Favorite Combination
Burnt orange mesh, cream ribbon, eucalyptus, and tiny white pumpkins create a balanced fall look that works from September through Thanksgiving.
Common Mistakes and Quick Fixes

Even simple wreath projects can go sideways if you rush.
One common problem is uneven mesh placement. To fix this, fluff the mesh outward evenly before tightening zip ties completely.
Another issue is decorations falling off after hanging the wreath. Hot glue alone often is not enough for heavier items. Use floral wire first, then reinforce with glue.
If your wreath looks flat, add greenery in layers instead of placing everything in one spot.
And if your ribbon bow keeps collapsing, the ribbon probably is not wired.
Budget Hacks & Seasonal Reuse Tips
One reason I enjoy this project is that it looks expensive without actually costing much.
Most of my wreath supplies come from dollar stores, thrift shops, or leftover craft bins. Reusing greenery and ribbon scraps can easily cut your cost in half.
I also recommend making the wreath reusable.
Instead of permanently gluing seasonal decorations, attach them with floral wire. That way, you can swap pumpkins for Christmas ornaments, spring flowers, or Easter decorations later.
A reusable wire frame can last for years if stored properly.
Budget-Friendly Tip
Buying mesh and ribbon in multipacks online is usually cheaper than purchasing single rolls from craft stores.
Conclusion
Learning how to make a wire pumpkin wreath is one of the easiest ways to create custom fall decor without spending a fortune.
The best part is that every wreath turns out different. You can keep it rustic, modern, farmhouse, or Halloween-themed depending on your style.
Once you make your first wreath, you’ll probably start thinking of ways to customize the next one before the glue even dries.
Gather your supplies, put on some music, and enjoy the process. It’s a simple project, but the finished result makes your front door feel ready for fall instantly.
FAQs
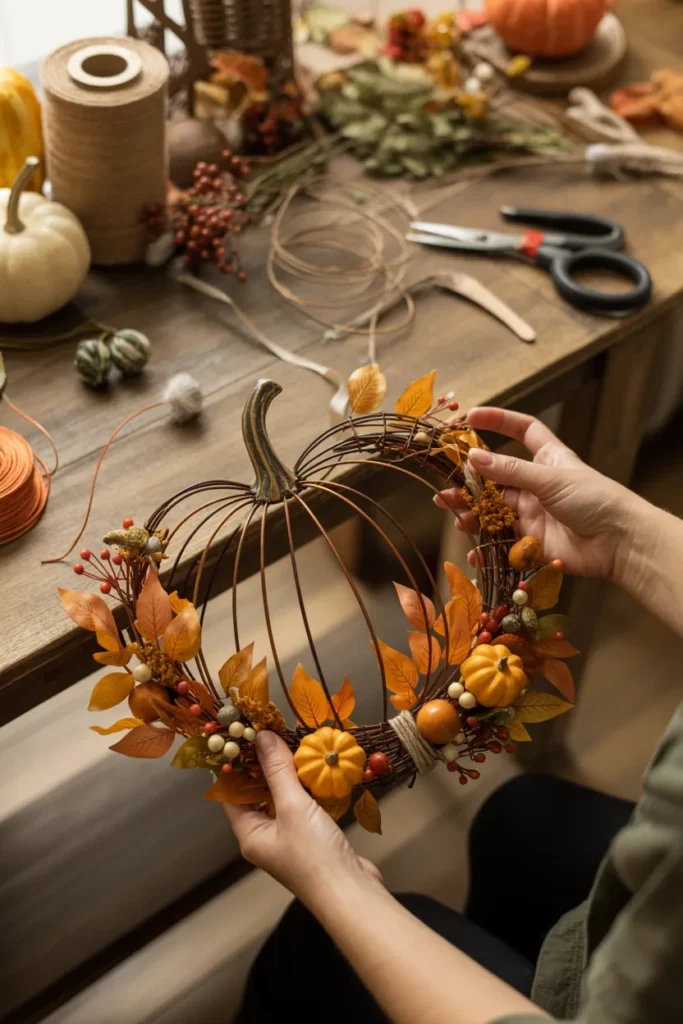
How long does it take to make a wire pumpkin wreath?
Most wire pumpkin wreaths take about 45 minutes to 1 hour to complete. More detailed designs with extra mesh or decorations may take slightly longer.
Can I hang the wreath outdoors?
Yes, but weather-resistant supplies work best outdoors. Use wired ribbon, artificial greenery, and durable mesh to help the wreath last longer.
What size wire pumpkin frame should I use?
A 12-inch to 16-inch frame works well for most front doors. Larger frames create a fuller statement look.
Can beginners make this wreath?
Absolutely. This is one of the easiest fall wreath projects for beginners because the wire frame already provides the pumpkin shape.