



I’ve always found store-bought backpacks a bit disappointing. Either they look good but fall apart too quickly, or they are sturdy but overpriced and not my style. That’s what pushed me to try making my own backpack from scratch.
Once I actually made one, I realized it’s not just about saving money—it’s about control. You decide the size, fabric strength, pocket layout, and comfort level. After a few attempts, I started getting consistent, durable results that genuinely last through daily use.
In this guide, I’ll walk you through exactly how I approach it in a practical, real-world way, so you can make one that actually holds up.
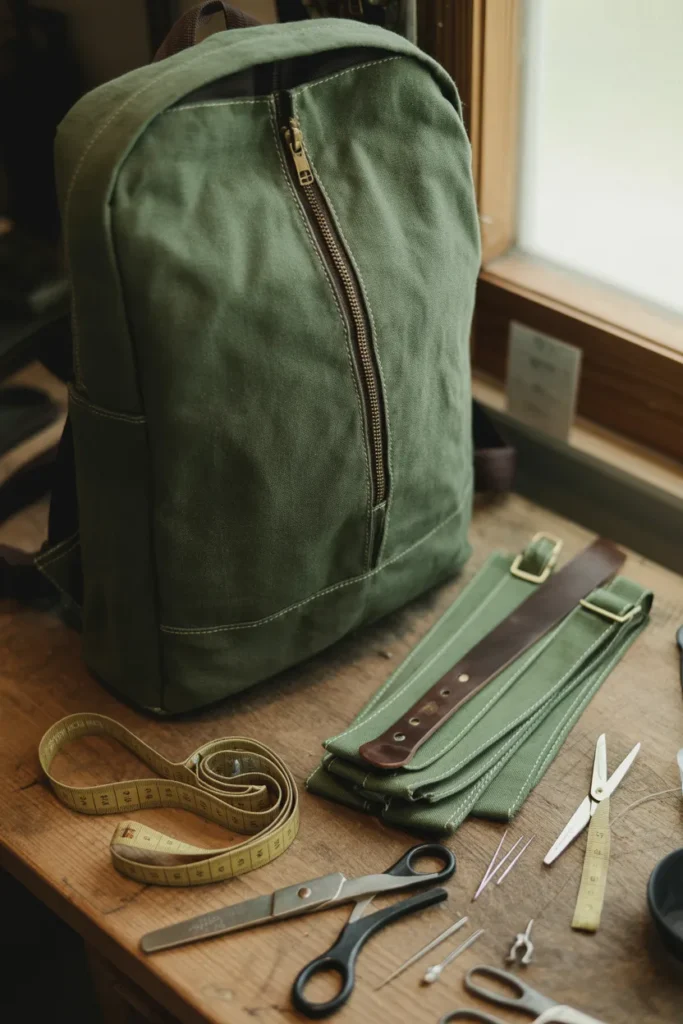
Quick Summary
- You’ll learn how to build a durable backpack from scratch at home
- Focus is on structure, stitching strength, and practical design
- Uses common sewing materials and basic tools
- Includes tips based on real sewing experience, not theory
- Ends with care, repair, and beginner-friendly advice
Key Takeaways
- Strong fabric choice matters more than fancy design
- Reinforcing stress points prevents early tearing
- A structured gusset gives the backpack proper shape
- Small mistakes are normal—fixing as you go is part of the process
- Proper finishing makes a handmade bag look professional
Materials You’ll Need
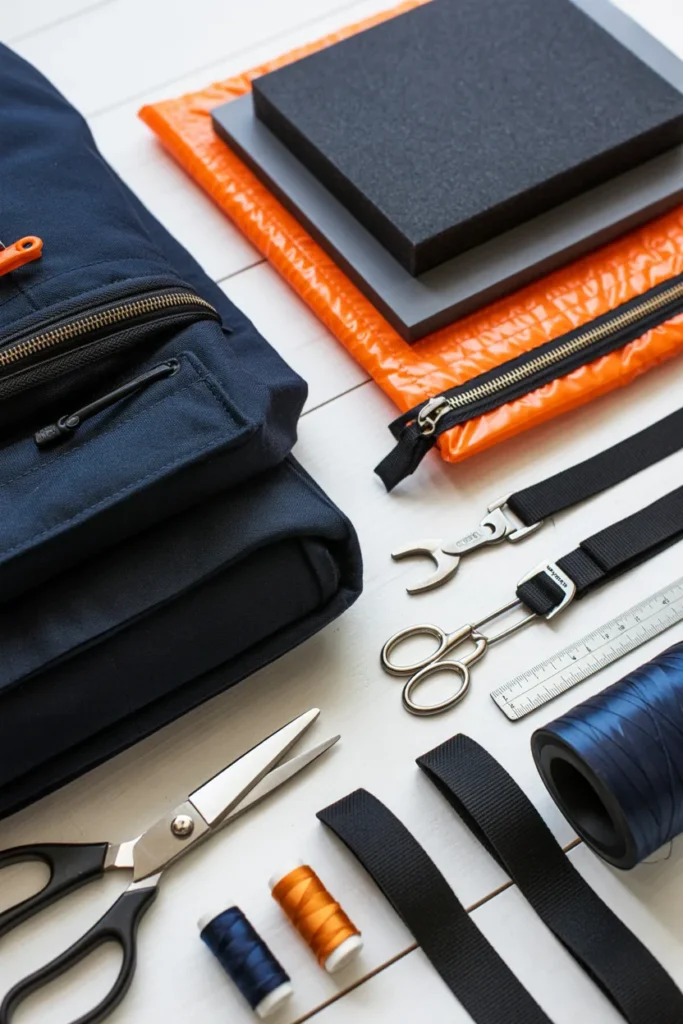
Before I start sewing anything, I always lay out everything in one place. It saves time and prevents mistakes halfway through.
For a solid DIY backpack, I usually go with heavy canvas or twill because they hold shape well. Lining fabric keeps the inside clean, and interfacing adds structure so the bag doesn’t collapse when empty.
Foam padding is something I never skip anymore. It makes a huge difference for comfort, especially for the back panel and straps.
You’ll also need:
- Main fabric and lining fabric
- Fusible interfacing
- Foam or batting
- One main zipper and one pocket zipper
- Webbing for straps and handle
- Adjustable hardware (sliders, D-rings or rectangles)
- Basic sewing tools like scissors, pins, thread, ruler, and iron
From my experience, using slightly stronger hardware than you think you need is always worth it. Weak clips are usually the first thing to fail.
Step-by-Step DIY Backpack Sewing Guide
This is the part where everything starts coming together. I usually work slowly here because accuracy matters more than speed.
Step 1: Gather and Cut Everything
I begin by laying out all fabric pieces and cutting them carefully. I’ve learned that uneven cutting creates problems later when aligning seams.
I cut two main body panels, side pieces (gussets), a base piece, pocket sections, straps, and a handle. After cutting, I press interfacing onto the outer fabric so the structure holds better during assembly.
This step feels basic, but it sets the foundation for the entire backpack.
Step 2: Build the Front Pocket
The front pocket is one of my favorite parts because it gives personality to the backpack.
I attach fabric pieces to a small zipper, flip it right side out, and press it flat. Then I top-stitch it so it stays crisp and durable.
Once done, I position it on the front panel. I usually keep it slightly below the top edge so it looks balanced and doesn’t interfere with the main zipper later.
Step 3: Make the Handle and Strap Anchors
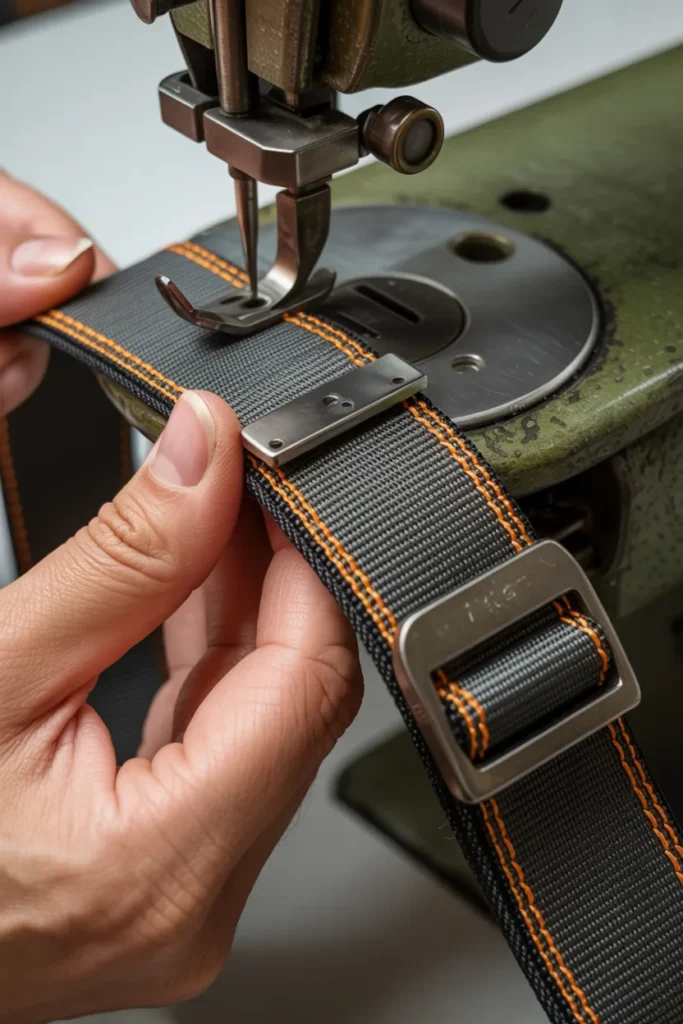
At this stage, strength matters more than appearance.
I fold and stitch the handle webbing first, then attach it to the back panel using a box stitch. This stitch is something I rely on heavily because it prevents tearing under weight.
For straps, I attach sliders and prepare D-ring tabs at the bottom corners. These small reinforcement points are what keep the bag usable long-term.
I also add foam padding to the back panel for comfort, especially if the backpack will be used daily.
Step 4: Assemble the Gusset
This step gives the backpack its depth.
I join the side and bottom gussets into a U-shape, pressing seams open so everything lays flat. It looks simple, but alignment here is critical.
If this part is off even slightly, the entire bag will look uneven later.
Step 5: Build the Outer Shell
Now things start looking like a real backpack.
I attach the gusset to the front panel first, carefully sewing around curves. Small notches help the fabric bend smoothly without puckering.
Then I repeat the process with the back panel. I always reinforce strap areas again at this stage because this is where most stress happens during use.
Step 6: Add the Main Zipper
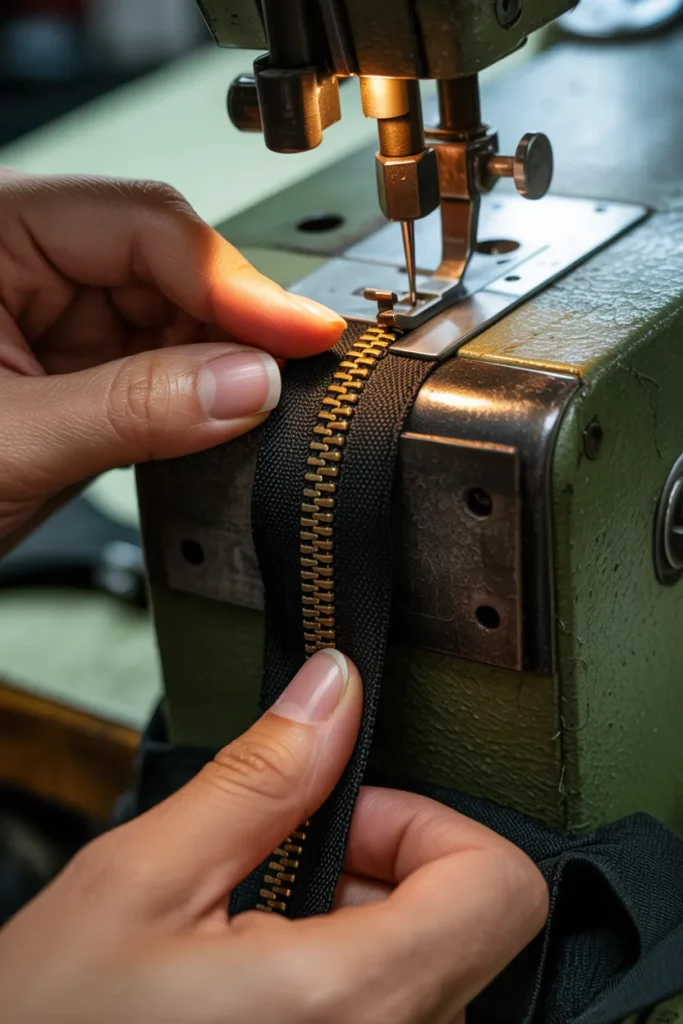
The main zipper is what brings everything together.
I center it along the top opening and sew it carefully on both sides. I always check alignment twice before stitching because mistakes here are hard to fix later.
After sewing, I flip and top-stitch it so it lies flat and looks clean.
Step 7: Sew the Lining and Join It In
I make the lining separately using the same structure as the outer shell.
I leave a small gap in the lining seam so I can turn the backpack later. This is a trick I learned after ruining a few early projects.
Then I insert the outer shell into the lining, sew around the top edge, and turn everything right side out through the gap.
Finally, I close the gap with a neat stitch so it looks seamless from the inside.
Step 8: Finish the Straps and Details
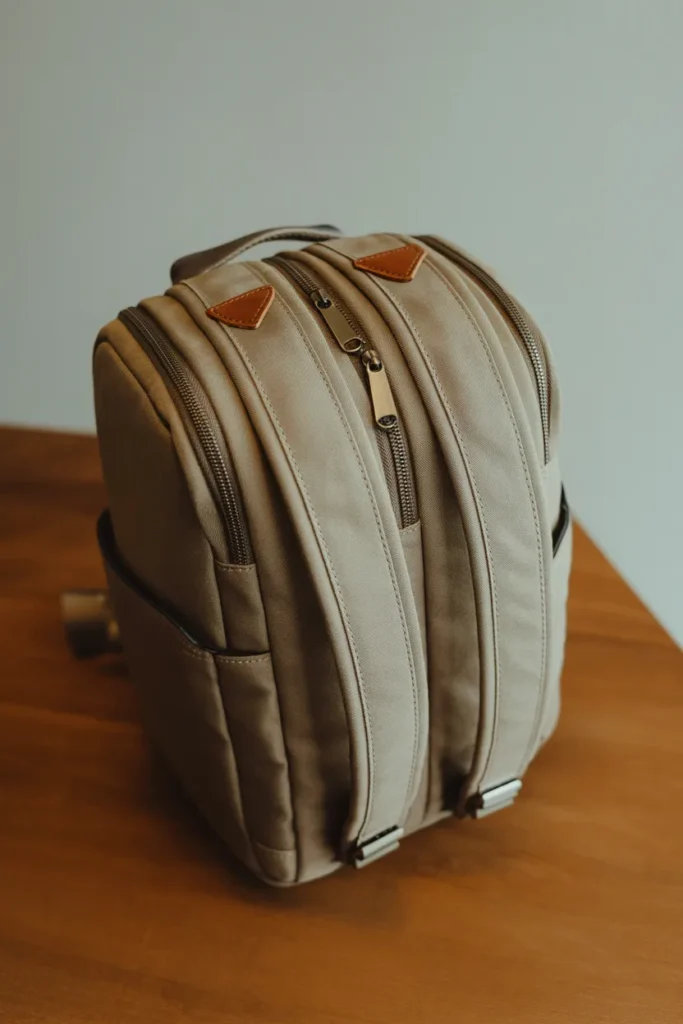
This is where the backpack becomes usable.
I thread straps through the hardware, adjust length, and secure everything tightly. I always double-check that both straps are even before final stitching.
I also add bar-tacks at stress points like strap bases and pocket corners. These small reinforced stitches significantly increase durability.
A final press gives everything a clean, finished look.
What Are the Best Repair and Care Tips for a DIY Backpack?
From my experience, even a well-made backpack needs basic maintenance over time.
If a zipper starts sticking, I lightly rub soap or wax along the teeth. It usually fixes the issue instantly.
Small tears should be repaired early before they expand. I usually stitch them from the inside or add a patch for extra strength.
Strap areas are the most important to monitor. If they start loosening, I reinforce them with extra stitching before they fail completely.
I also recommend using a waterproof spray. It helps protect fabric during unexpected rain and extends the life of the bag.
Hand washing works best. Machine washing can weaken seams over time, especially around stress points.
Conclusion
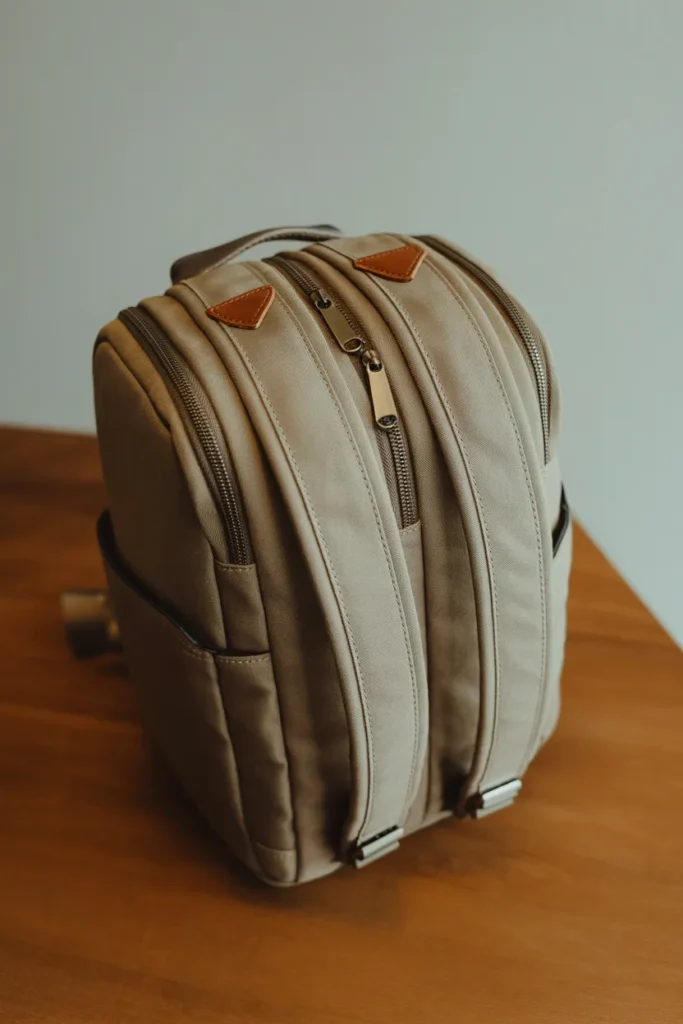
Making your own backpack is one of those projects that feels complicated at first but becomes very manageable once you understand the structure.
What helped me most was slowing down and focusing on strong construction rather than speed or decoration. A simple, well-built backpack always outperforms a fancy weak one.
If you’re trying this for the first time, don’t aim for perfection. Focus on learning each step properly. With practice, your results will improve quickly, and you’ll end up with something both practical and personal.
FAQs
Can I really make a durable backpack at home?
Yes, and durability mainly depends on your material choice and stitching strength. From my experience, heavy canvas or twill paired with reinforced seams (especially at straps) can last just as long as many store-bought backpacks. The key is not rushing the stitching on stress points.
What is the best fabric for a DIY backpack?
I personally prefer heavy canvas because it holds shape well and handles weight without sagging. Twill and denim also work, but they behave differently when sewing. If you want a lighter backpack, ripstop nylon is a good option, but it needs careful handling during stitching.
Do I need a sewing machine for this project?
You can sew a backpack by hand, but I wouldn’t recommend it for a full-size bag. A sewing machine gives you stronger, more consistent stitches, especially for straps and corners. Hand sewing works better for small repairs or very simple designs.
How can I make my backpack more comfortable to wear?
Adding foam padding to the back panel and straps makes a big difference. I didn’t realize this early on, but once I started using padding, the comfort level improved a lot, especially when carrying heavier items for long periods.
How do I stop my backpack straps from tearing?
Strap failure usually happens when stitching is too weak. I always use box stitches or bar-tacks at all strap connection points. Reinforcing those areas with extra fabric layers also helps distribute weight more evenly.
What’s the easiest way to make a DIY backpack waterproof?
The simplest method is using a waterproof spray after finishing the bag. If you want better protection, choose water-resistant fabric from the start and add a lined inner layer. That combination works well for light