
If you’ve ever built a DIY pin board that looked great on day one but started sagging, peeling, or falling off the wall later, you’re not alone. I’ve been there too—more than once.
After testing different materials in my own workspace, I realized most tutorials skip the details that actually matter: glue choice, foam safety, fabric tension, and proper mounting. Those small things decide whether your board lasts weeks or years.
In this guide, I’ll walk you through how I personally build a DIY pin board that stays flat, holds pins properly, and doesn’t fail after a few days. Everything here is based on real trial-and-error, not theory.
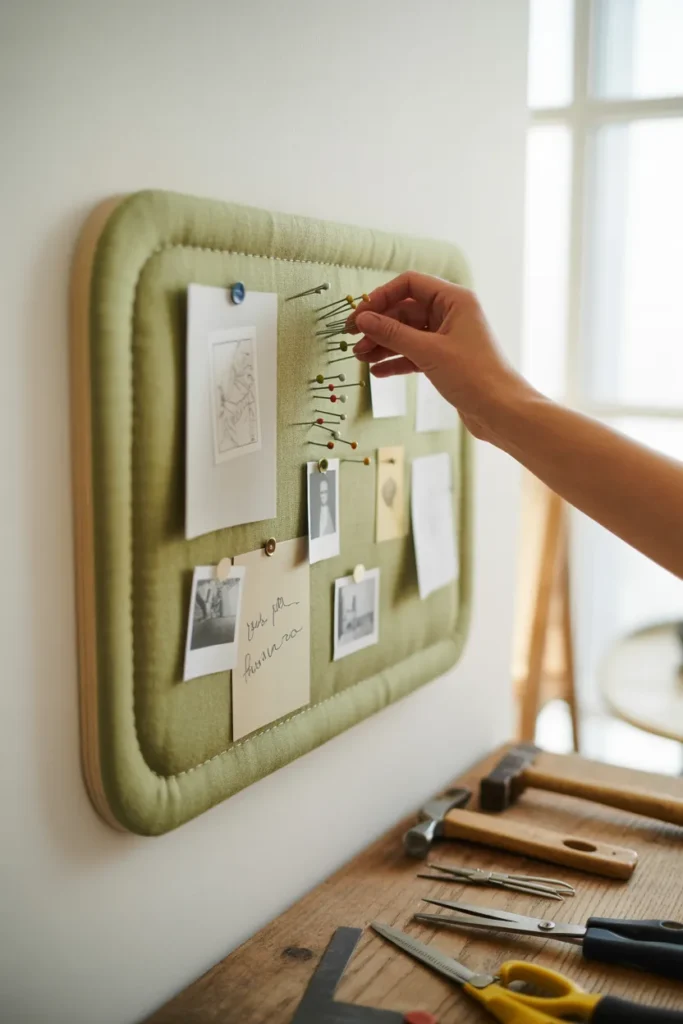
Quick Summary
A DIY pin board works best when you combine the right core materials (MDF + foam + thick fabric) with strong adhesive and proper wall mounting. Most failures happen due to weak glue, thin cork, or poor hanging methods.
Key Takeaways
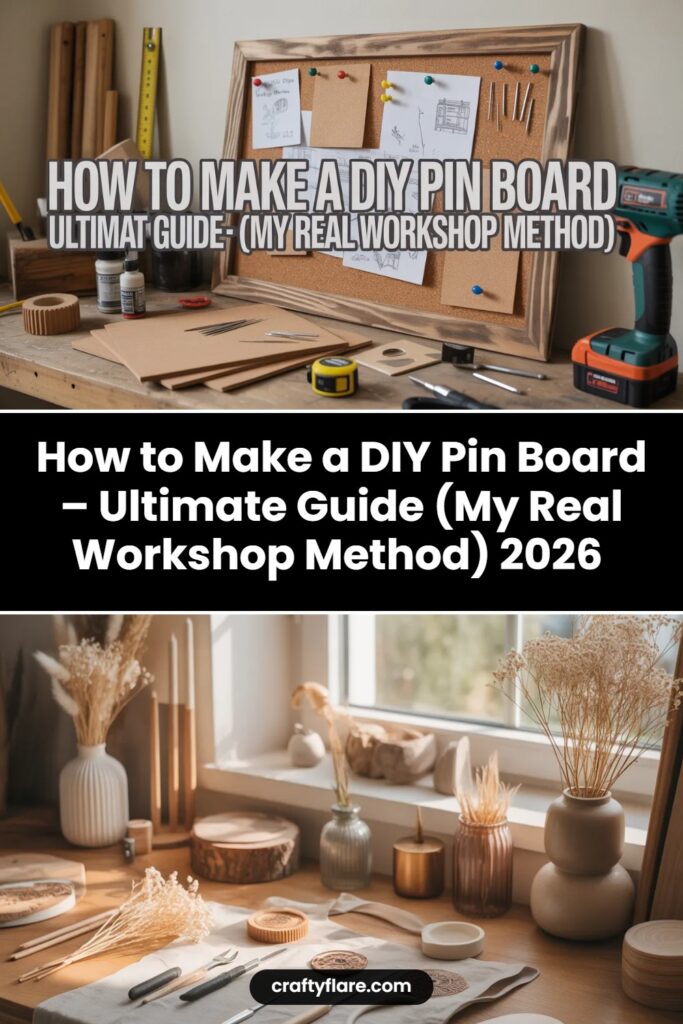
How to Make a DIY Pin Board,Ultimate Guide (My Real Workshop Method)
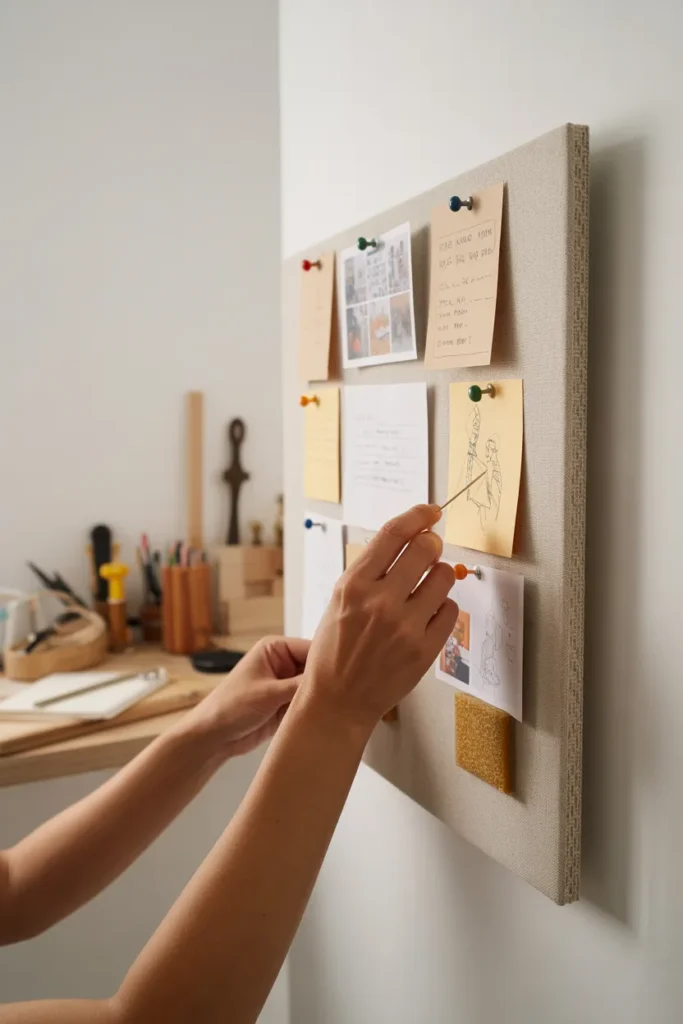
If you’ve ever built a DIY pin board that looked great on day one but started sagging, peeling, or falling off the wall later, you’re not alone. I’ve been there too—more than once.
After testing different materials in my own workspace, I realized most tutorials skip the details that actually matter: glue choice, foam safety, fabric tension, and proper mounting. Those small things decide whether your board lasts weeks or years.
In this guide, I’ll walk you through how I personally build a DIY pin board that stays flat, holds pins properly, and doesn’t fail after a few days. Everything here is based on real trial-and-error, not theory.
Key Takeaways
Which Adhesives Should You Use?
This is the part most people underestimate. I’ve seen perfectly built boards fall apart just because the wrong glue was used.
For MDF-to-cork or MDF-to-foam bonding, I personally rely on PVA wood glue or contact cement. They create a strong, even hold that doesn’t shift over time.
I apply the glue in thin, even layers using a brush or roller. Then I always place weight on top while it dries. A stack of books works surprisingly well.
For foam layers, things get tricky. Regular spray adhesives can damage foam over time. I learned this the hard way when a board started crumbling underneath the fabric.
Now I stick to foam-safe adhesives or light hot glue around edges only. It keeps the structure stable without melting the material.
Pro Tip:
Let each glued layer dry fully before moving to the next step. Rushing this is the fastest way to get air bubbles and uneven surfaces.
Materials That Actually Work
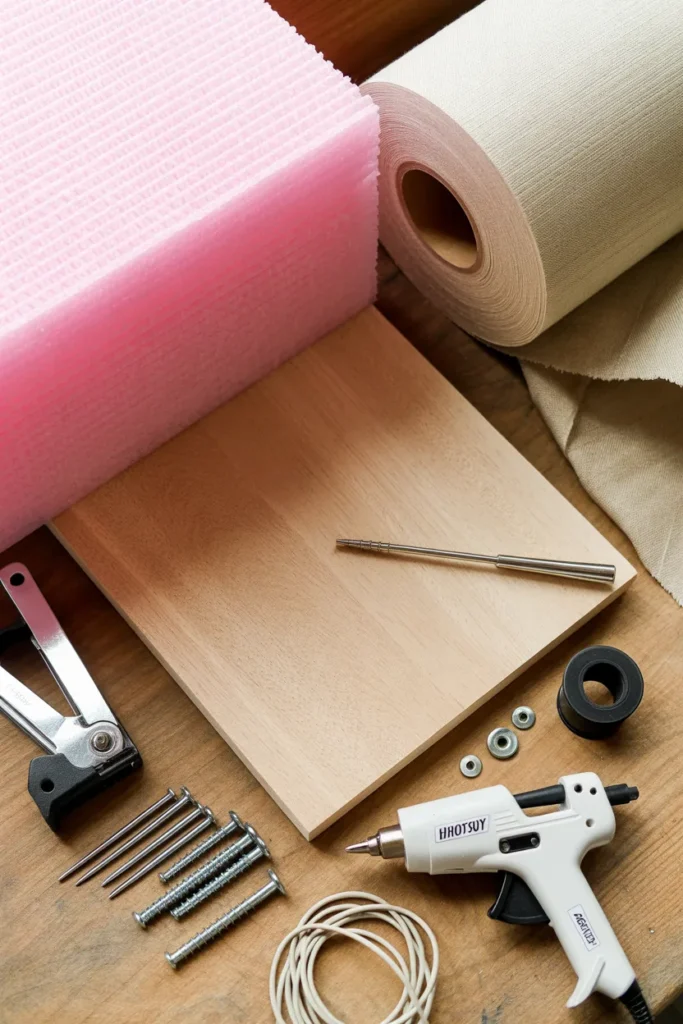
Over time, I stopped experimenting with random supplies and stuck to a reliable combo:
The MDF + foam + fabric combination gives a balanced mix of firmness and softness. Pins go in easily but don’t loosen the structure.
Step-by-Step Method to Make a DIY Pin Board
This is the exact method I follow in my own projects. It’s simple, but each step matters more than it looks.
1) Glue foam to the MDF
Lay your MDF flat on a clean surface. Apply small lines or dots of glue across the board.
Place the foam sheet carefully on top and press it down evenly. Make sure edges line up perfectly.
I always press it with my hands for a few minutes so it bonds well before moving on.
2) Prep the fabric
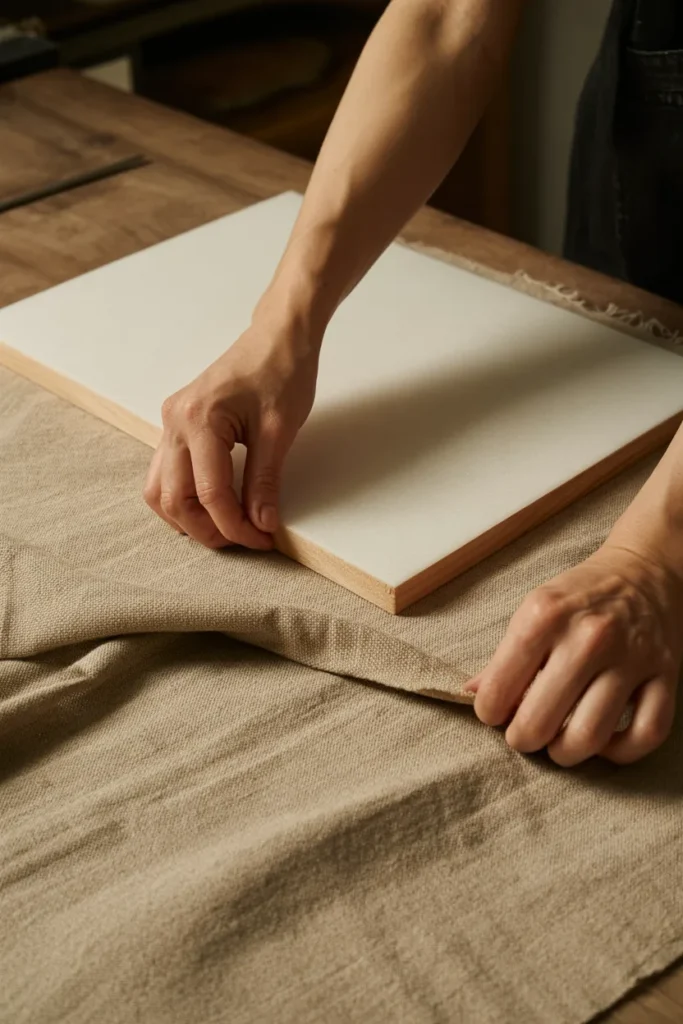
Lay your fabric face-down on a large clean surface. Smooth out every wrinkle because even small folds show later.
Place your board on top with the foam side touching the fabric.
3) Start stapling the long sides
Pull the fabric tightly from the center of one long side and place your first staple.
Then move outward gradually, keeping tension even.
Repeat on the opposite side. If you rush this step, you’ll get ripples on the front surface.
4) Wrap the short ends like a gift
Corners are where most beginners struggle.
Instead of folding randomly, I treat it like wrapping a gift box. Tuck the fabric neatly, fold it cleanly, and then staple.
This keeps the corners flat and professional-looking.
5) Finish the perimeter
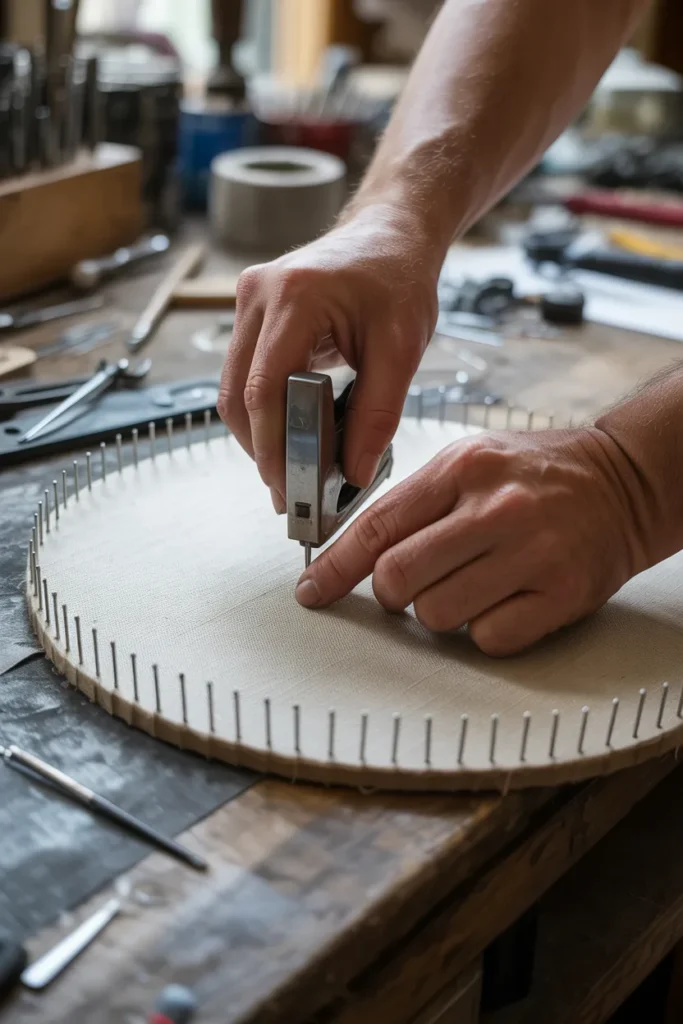
Now go around the entire board and secure all edges.
Keep checking the front side as you go. If you see a wrinkle, stop and adjust before stapling further.
6) Mark mounting points
Flip the board and mark points about 1 inch from each corner.
This gives you balanced support when you mount it.
7) Mount with screws + washers
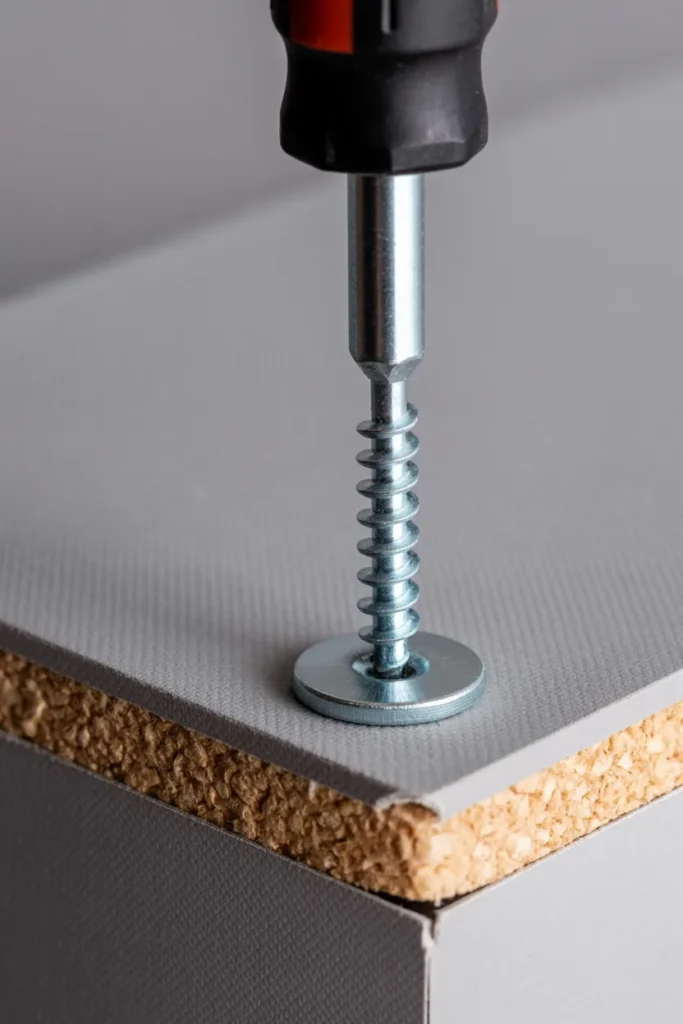
Hold the board against the wall and drive screws through flat washers into your marked points.
Don’t overtighten. The washer should sit snug without sinking into the foam.
This method spreads pressure and prevents tearing.
8) Style and use
Now the fun part—using it.
I usually pin notes, sketches, or project ideas. Over time, it naturally becomes a visual workspace.
The best part is how flexible it is—you can rearrange everything anytime without damaging the board.
How to Hang Your Pin Board Securely?
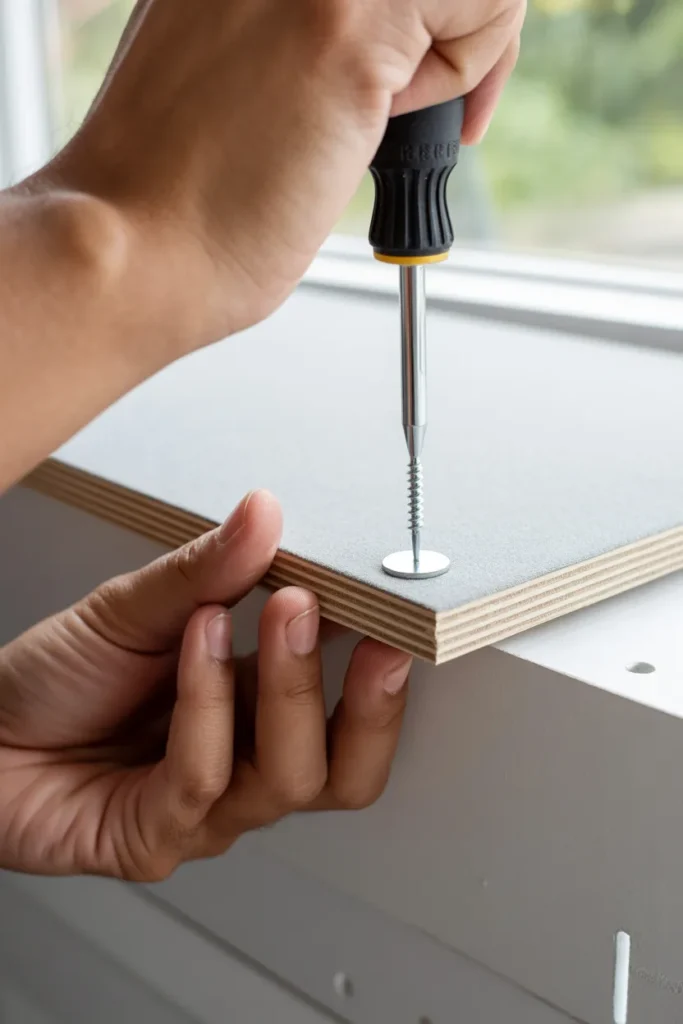
This is where I see most DIY boards fail completely.
For small boards, strong adhesive strips can work, but only if the surface is smooth and weight is light.
For medium boards, I prefer D-rings or picture wire. It distributes weight better and keeps the board stable.
For larger boards, nothing beats a French cleat system. It locks the board into the wall securely and prevents tilting over time.
Real experience tip:
If your board feels even slightly heavy, don’t risk adhesive hooks. They almost always fail eventually.
Different DIY Pin Board Styles You Can Try
Once you understand the basic build, you can experiment.
A foam-core oversized board works well for temporary setups or creative studios. It’s lightweight and easy to move.
Felt tile boards are a smart choice for renters since they peel off cleanly without wall damage.
If you want durability, cork-linoleum boards last longer and recover from pin holes better than cheap cork sheets.
You can even create a hybrid board by adding a thin metal sheet under fabric for a magnetic + pin combo setup.
Common Mistakes to Avoid
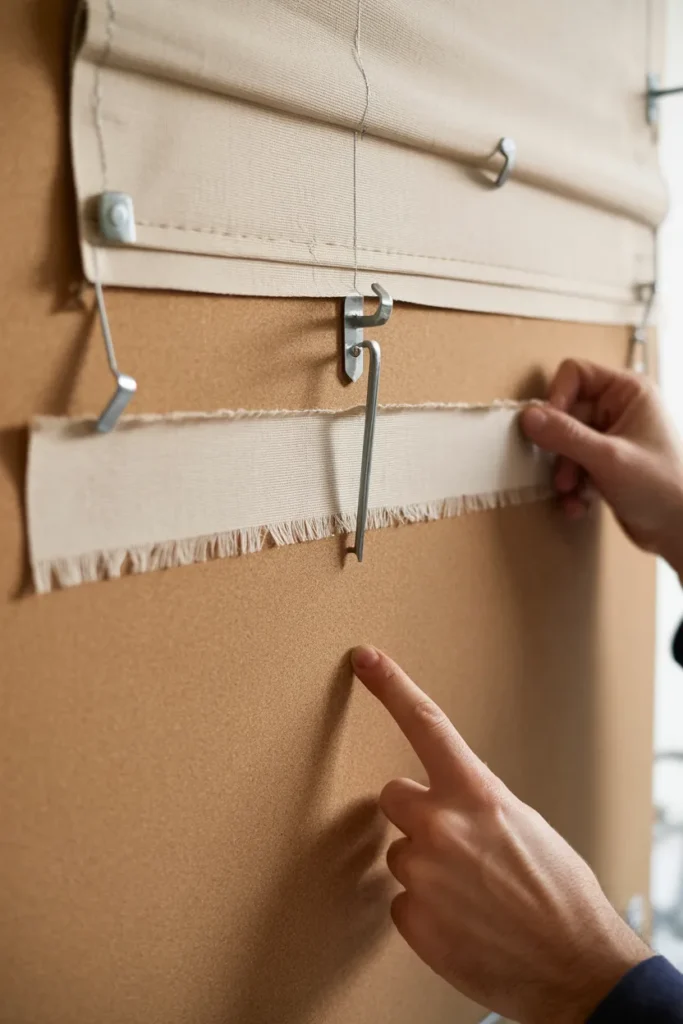
I’ve made almost all of these mistakes at some point:
- Using thin cork that doesn’t hold pins properly
- Applying the wrong glue that damages foam
- Not stretching fabric tightly enough
- Skipping a solid backing board for large sizes
- Using weak wall hooks for heavy boards
If you avoid these, your board instantly becomes more reliable.
Conclusion
A DIY pin board is simple in theory, but the details decide everything.
When I started, my boards looked fine but never lasted. Once I focused on strong adhesives, proper layering, and secure mounting, everything changed.
Now my boards stay flat, hold pins firmly, and actually look clean even after months of use.
If you follow the same method, you’ll end up with a board that doesn’t just decorate your wall—it actually works as a daily tool.
FAQs
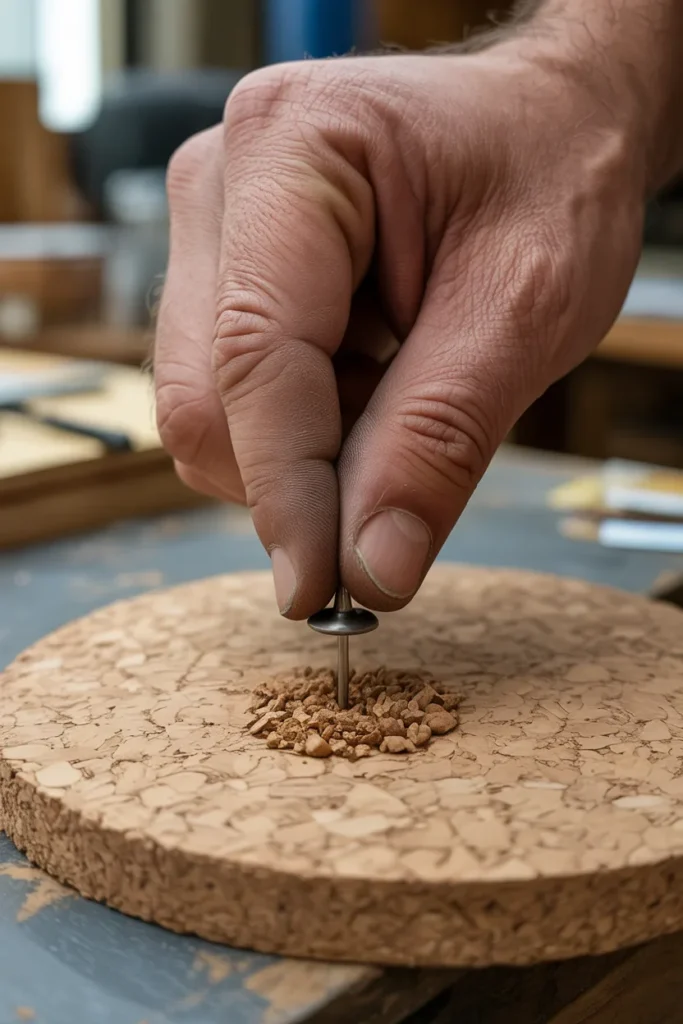
Why don’t my pins stay on the board?
Usually the cork or foam layer is too thin. I recommend at least ¼ inch thickness for proper grip and durability.
Can I make a pin board without cork?
Yes, you can use felt or foam, but they wear out faster. In my experience, cork or cork-linoleum lasts the longest and performs better over time.