
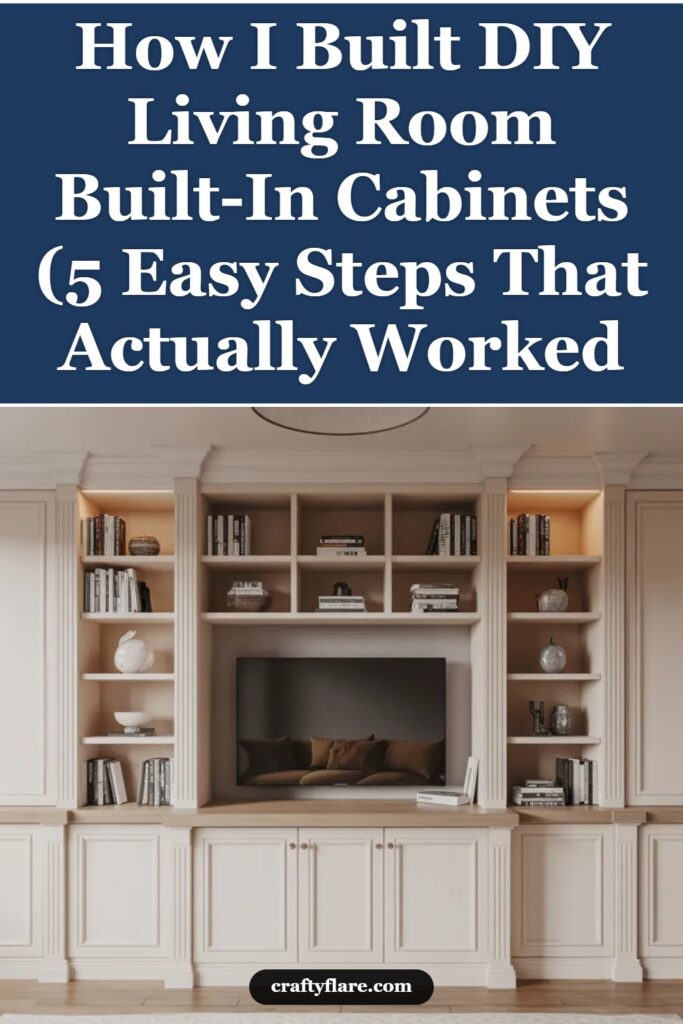
When I first tried to fix my messy living room, I didn’t expect built-in cabinets to be the solution. Store-bought furniture never fit properly, and custom carpentry was way out of my budget. So I decided to build my own DIY built-in cabinets using a simple, practical approach.
In this guide, I’m sharing exactly how I planned and built them step by step in my own space, along with mistakes I made, what saved me time, and what I’d do differently next time.
Quick Summary
I built custom-looking living room built-in cabinets using basic tools, stock materials, and careful planning. The goal was to create storage that looked expensive but stayed budget-friendly and beginner-friendly.
The process focused on:
- Choosing the right wall and layout
- Building a strong, level base
- Installing shelves with proper support
- Adding trim for a finished look
- Styling to make everything feel intentional
Key Takeaways
- A solid, level base is the most important part of the whole project
- Stock cabinets or MDF/plywood work perfectly for DIY built-ins
- Wall studs matter more than anything for safety and strength
- Shelf spacing should match real-life storage needs, not just design
- Trim and paint are what make DIY look “custom-built”
Why DIY Built-Ins Make Sense Today
The main reason I went with built-ins was simple: nothing else worked in my space. My living room had awkward gaps, and every bookshelf I bought either looked too small or wasted space.
What surprised me most was how much storage I gained. Once installed, everything from books to baskets finally had a proper place. It also reduced clutter instantly, which made the room feel larger without actually changing its size.
Another thing I noticed is how much value built-ins add visually. Even simple materials, once installed wall-to-wall, look like expensive custom furniture if done neatly.
I also kept my budget under control by using pre-made cabinets and MDF boards instead of solid hardwood. That decision alone saved me a significant amount compared to hiring a carpenter.
Choose the Right Wall and Built-In Type
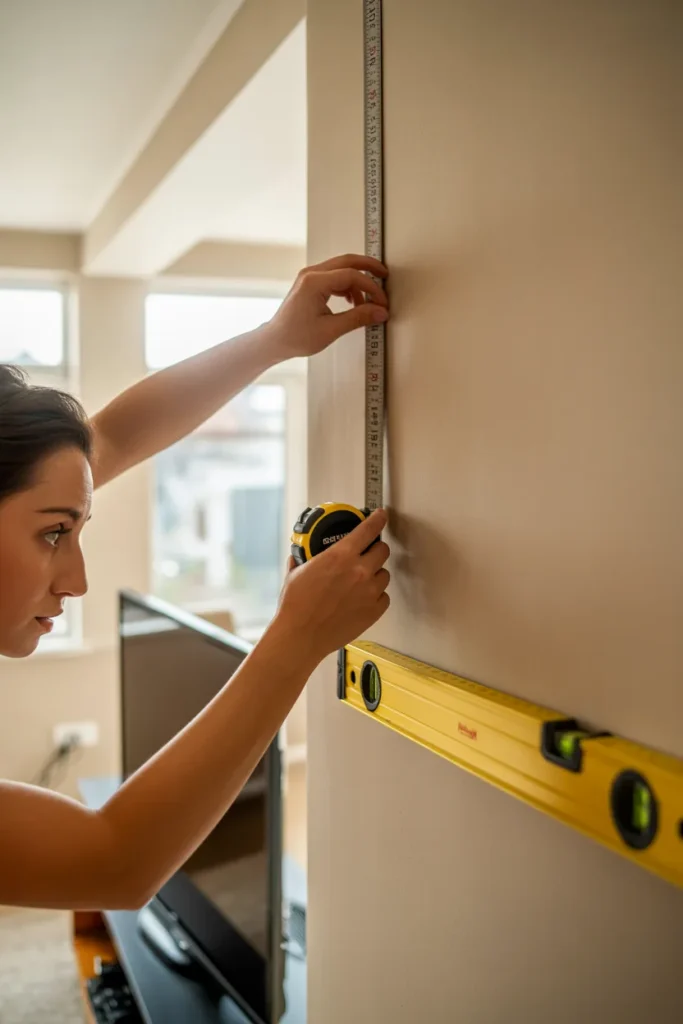
This step decided everything for me. I made the mistake early on of picking a wall that looked “empty,” but later realized it didn’t have proper balance with the room.
The best walls that work well are:
- Behind the TV
- On both sides of a fireplace
- Around a window with symmetry
One thing I learned quickly is to avoid high-traffic pathways. Built-ins can make a room feel cramped if they interrupt movement.
For my space, I chose a TV wall because it naturally created a focal point. I also kept the design symmetrical, which instantly made the room feel more structured.
If your room is small, vertical cabinets on both sides of a feature work better than full-wall units. They give storage without overwhelming the space.
Materials and Tools You Actually Need
I didn’t use any fancy woodworking equipment. Most of what I used came from a basic home improvement store.
Here’s what actually worked for me:
- MDF boards and plywood sheets for structure
- Stock base cabinets (optional but helpful)
- Drill and wood screws
- Spirit level
- Stud finder for wall anchoring
- Wood glue + clamps
- Caulk, primer, and paint
The biggest lesson here is that straight cuts and level alignment matter more than expensive tools. Even small mistakes show once everything is painted.
I also recommend labeling every cut piece. It saves a lot of confusion later when everything starts looking similar.
Build the Base Because Foundation is Important
This was the most time-consuming but also the most important part. If the base is off, everything above it will look crooked.
Step 1: Mark Your Base Area
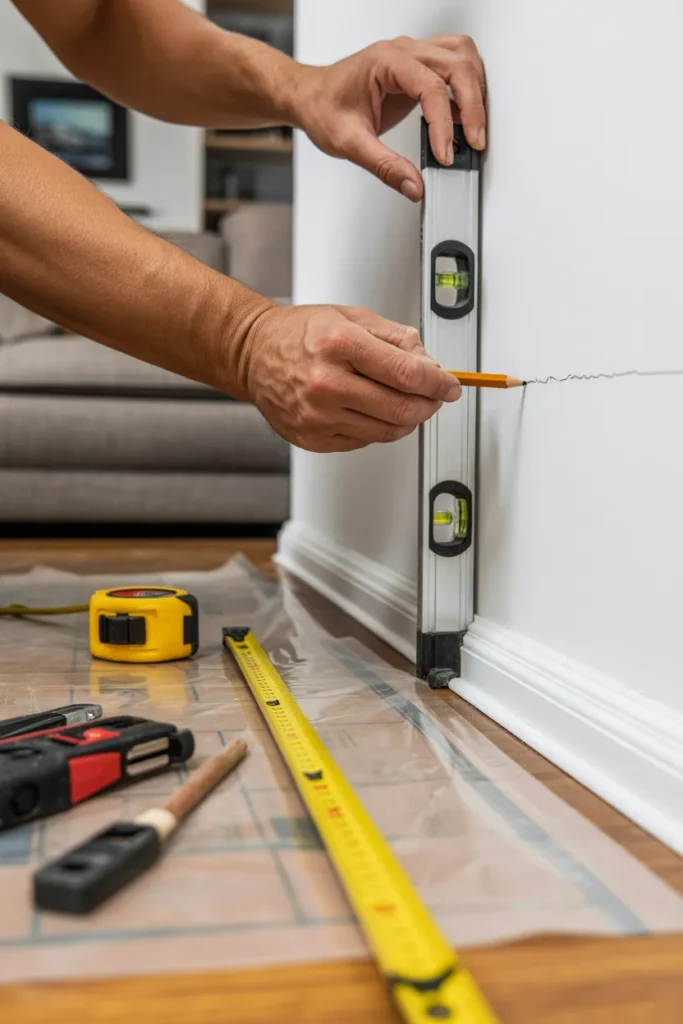
I measured the full length of the wall and marked everything using a pencil and level. I double-checked spacing because even a small error creates gaps later.
Step 2: Build or Place the Base Frame
I used a simple 2×4 wooden frame to create a toe-kick platform. It raised the cabinets slightly, which made them look built-in rather than just placed.
Step 3: Level Everything Out
This step saved my entire project. My floor wasn’t perfectly even, so I used shims to correct it. Without this, the shelves would have tilted slightly.
Step 4: Secure the Base to Wall and Floor
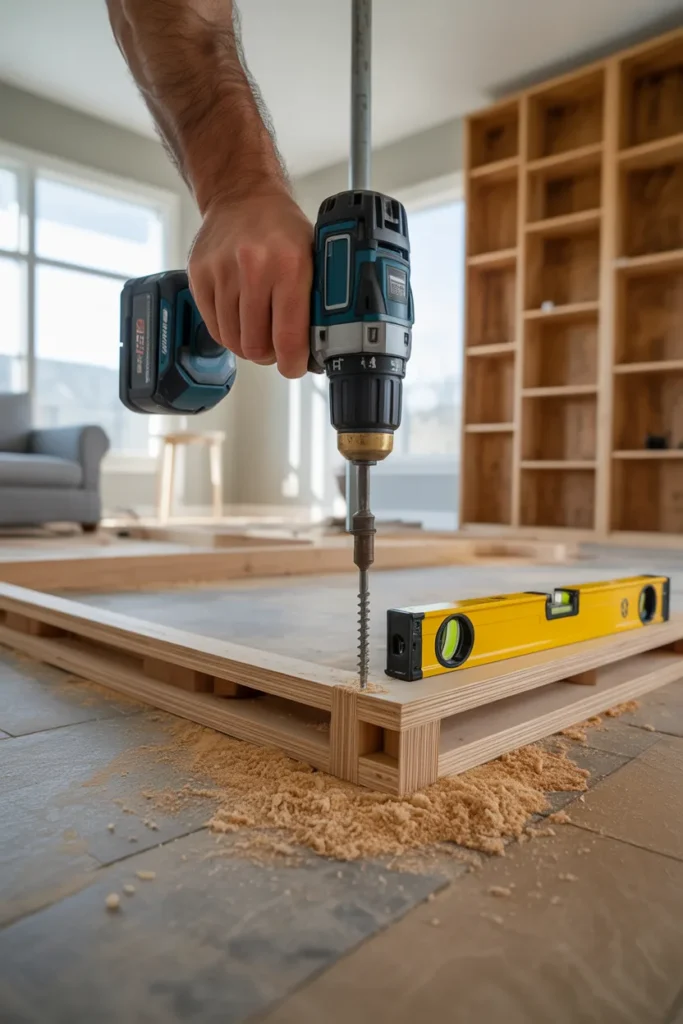
I anchored everything into wall studs using long screws. I didn’t rely on drywall alone because it would never hold the weight safely.
Step 5: Leave Space for Trim
I left a small gap at the front edge for trim installation later. This helped the final result look more seamless and built-in.
Add Shelves and Supports Like a Pro
This is where the structure starts looking like real furniture.
I began with vertical side panels made from MDF, fixed directly into studs. These panels carried most of the weight.
For shelves, I used ¾-inch plywood because thinner boards started bending in my early test setup.
Before installing anything, I marked all shelf heights first. That helped keep spacing consistent and avoided uneven lines.
I also added wooden cleats under each shelf for support. It’s a simple trick but makes a huge difference in strength.
For finishing, I added a thin trim strip on the front edge of each shelf. It instantly made everything look cleaner and more professional.
My spacing rule:
- 12–15 inches for books and décor
- 18+ inches for tall items
- No shelf longer than 36 inches without center support
Make It Beautiful: Styling Tips That Works
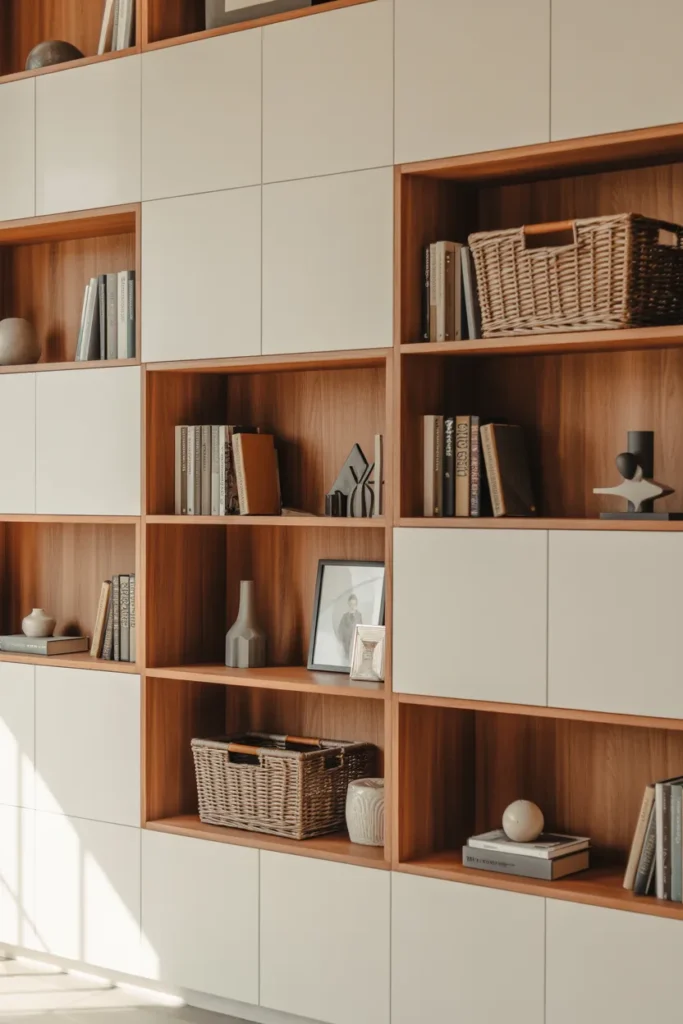
Once everything was built, styling made a bigger difference than I expected.
I followed a few simple rules:
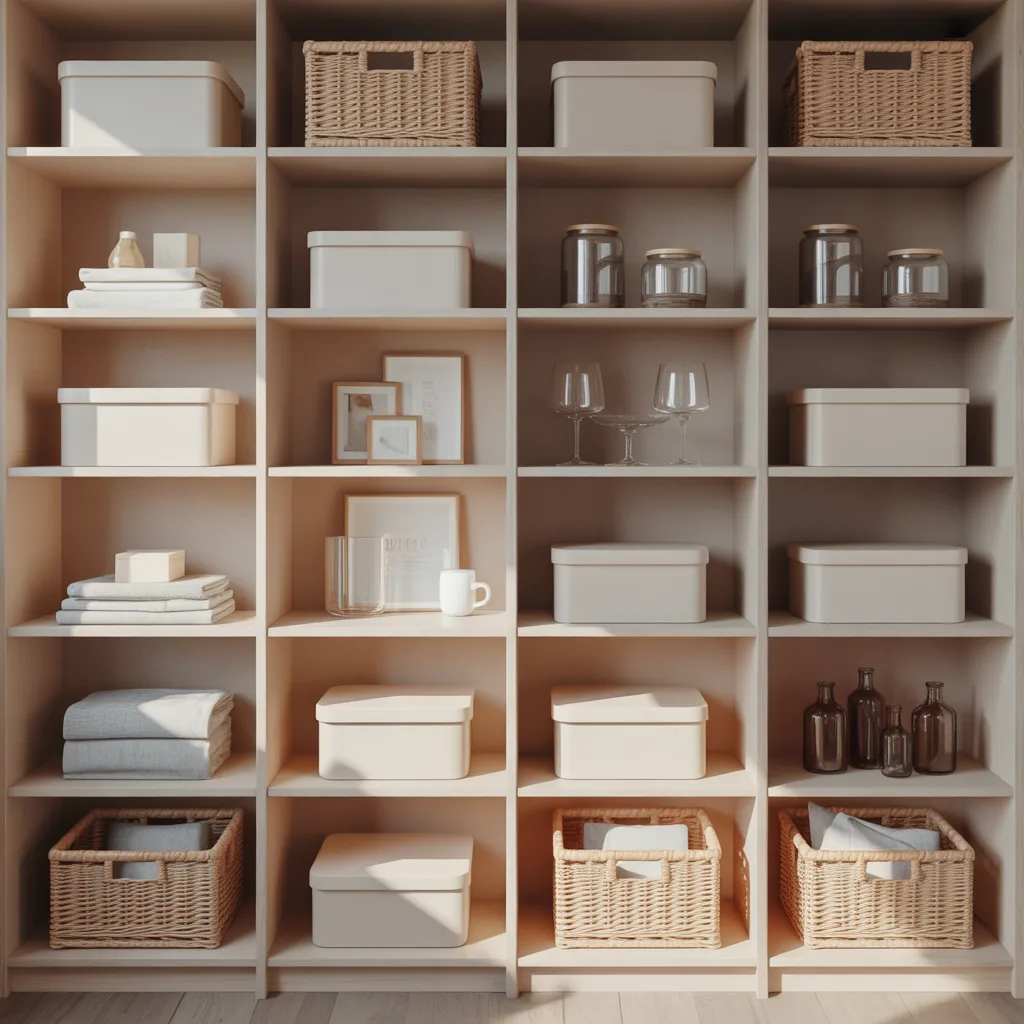
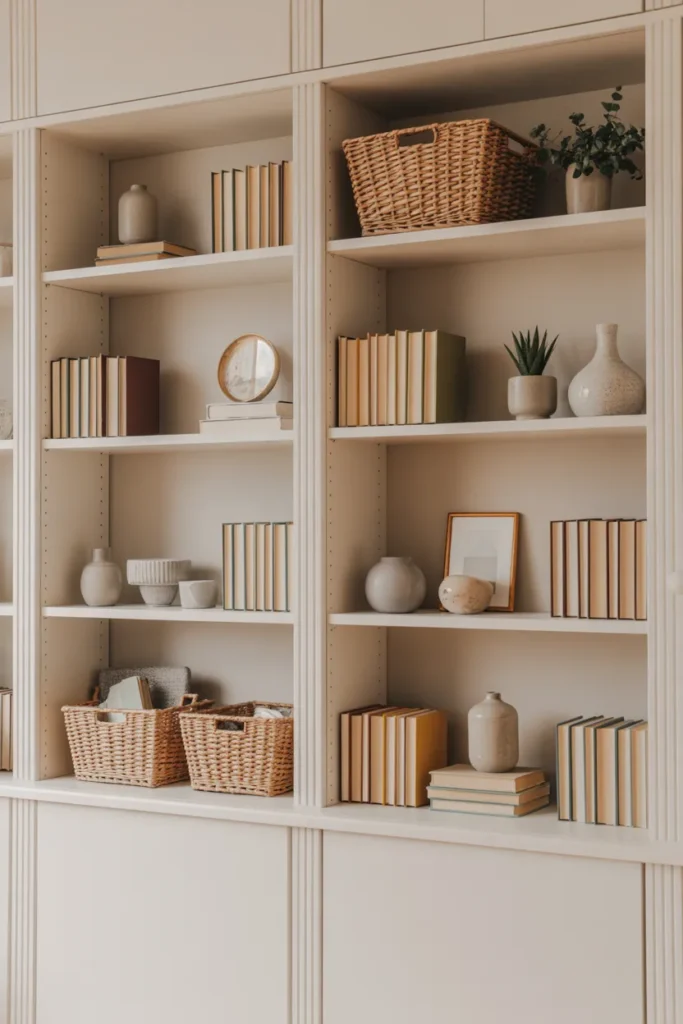
- I grouped items in threes for balance
- I mixed tall and short objects for variation
- I left empty space instead of overcrowding shelves
- I used only 2–3 main colors for consistency
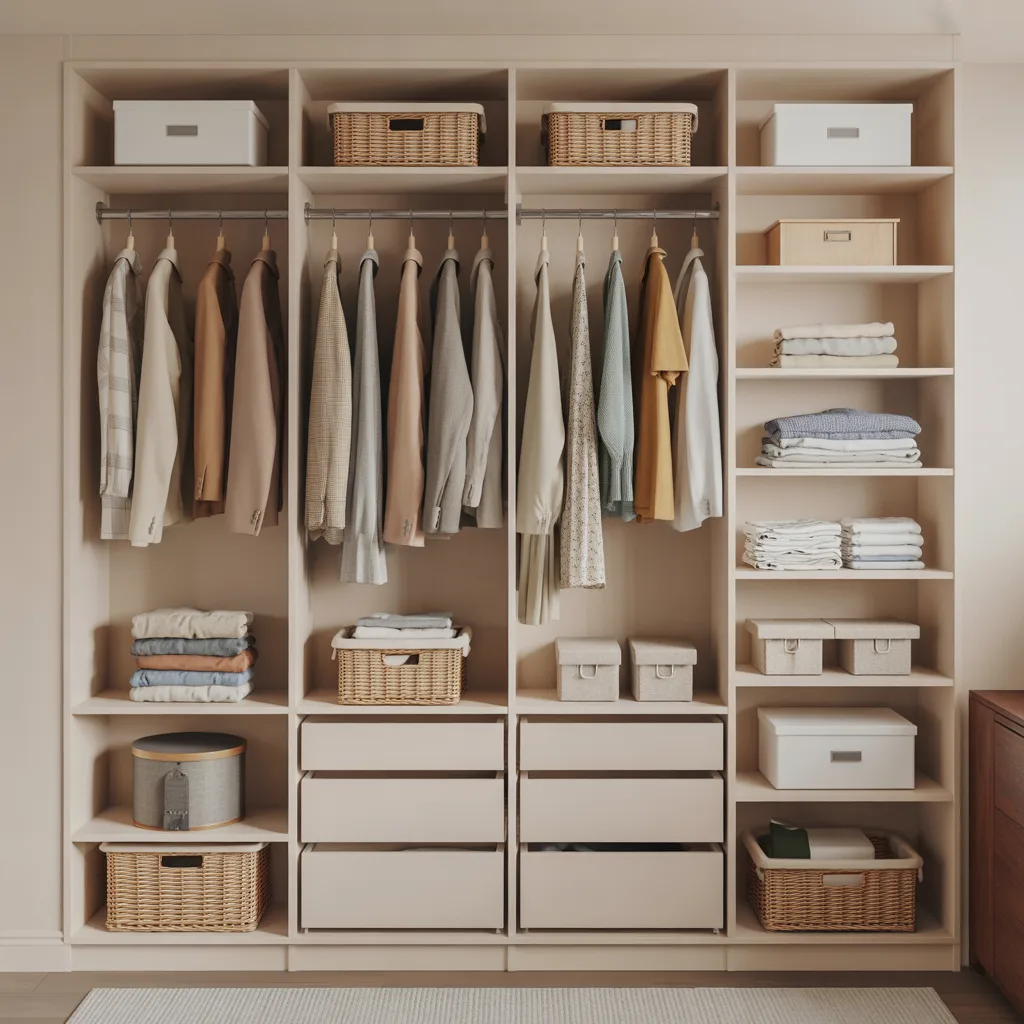
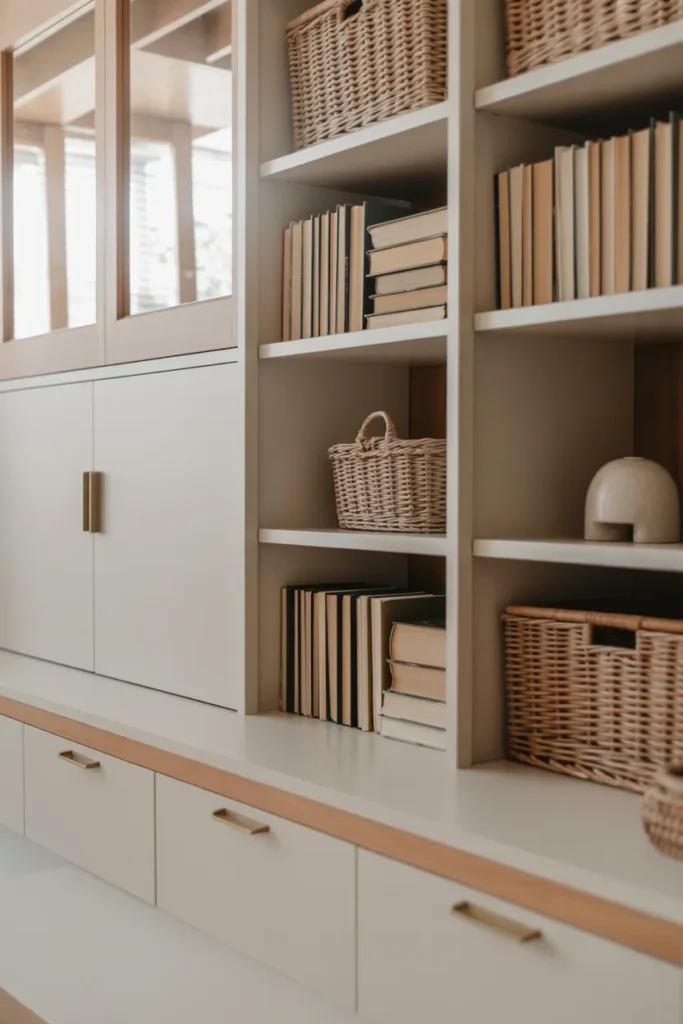
- I hid clutter in baskets on lower shelves
One thing I learned is that shelves don’t need to be full to look good. Empty space actually makes the design feel more intentional and clean.
Built-In Ideas for Every Space
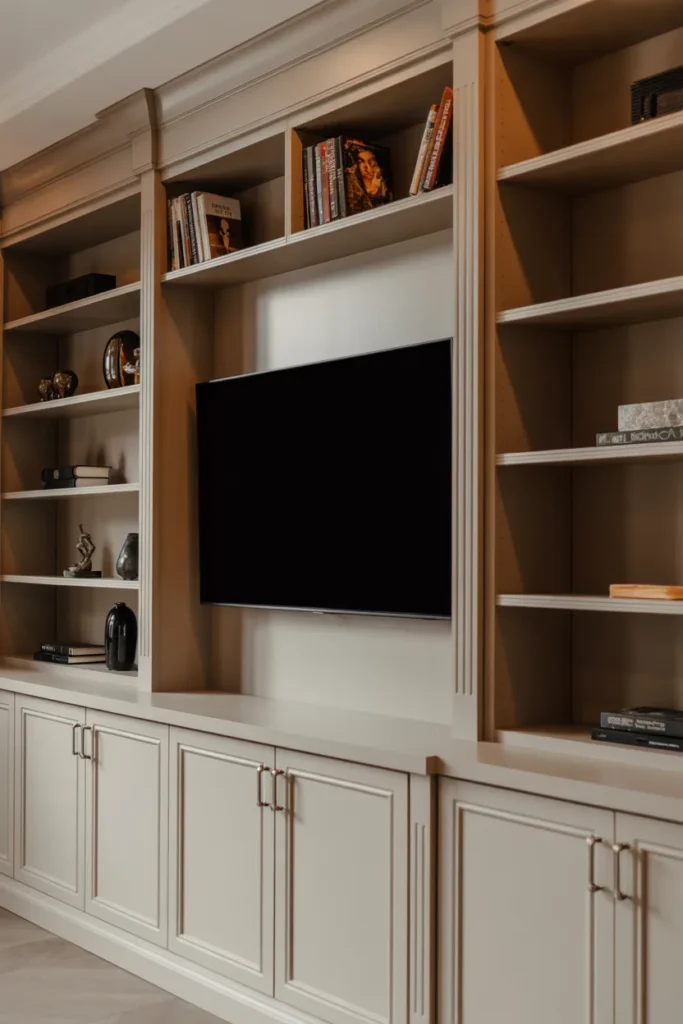
Here’s what worked best depending on room layout:
- TV wall: balanced shelves on both sides for symmetry
- Fireplace: matching cabinets that frame the focal point
- Full wall: floor-to-ceiling storage for maximum use
- Window area: narrow shelves that don’t block light
- Corners: tall vertical cabinets for tight spaces
In my case, symmetry made the biggest visual difference. It made the room feel intentional instead of random.
Don’t Mess Up These Common Steps
I made a few mistakes during my first attempt, and these are the ones I now always avoid:
- Skipping leveling
- Not anchoring into studs
- Measuring only once instead of twice
- Painting after full assembly
- Forgetting trim space in early planning
- Rushing the base work
The biggest improvement came when I slowed down and focused on the foundation.
Conclusion
Building DIY living room built-in cabinets wasn’t as complicated as I expected, but it did require patience and planning. Once I focused on leveling, strong support, and clean finishing, the project started to look like something professionally made.
Now I have storage that actually fits my space, and the room finally feels organized without constantly fighting clutter.
FAQs
How much does it cost to build DIY living room built-in cabinets?
In my experience, the cost depends on materials and size, but most DIY built-ins fall between a budget-friendly range compared to custom carpentry. Using MDF or stock cabinets keeps expenses much lower, especially if you already own basic tools. Paint, trim, and hardware usually take a noticeable part of the budget.
Do I need professional carpentry skills to build built-ins?
No, you don’t need advanced skills. I’m not a professional carpenter, and I still managed it by focusing on measurements, leveling, and patience. The key is not rushing the base and making sure everything is square before moving forward.
What is the best material for DIY built-in cabinets?
MDF and plywood worked best for me. MDF gives a smooth finish for painting, while plywood adds strength for shelves. A combination of both is ideal if you want durability and a clean look without spending too much.
How do I make built-in cabinets look expensive?
The finishing details make the biggest difference. I noticed that caulking seams, using proper trim, and applying multiple thin coats of paint instantly made everything look custom-made. Also, keeping shelf styling minimal and balanced helps a lot.
How do I make sure the built-ins are strong and safe?
The most important step is anchoring everything into wall studs. I used a stud finder and long screws to secure the structure. Also, leveling the base properly prevents pressure imbalance that can weaken the entire setup over time.
Can I build built-ins in a small living room?
Yes, and small spaces actually benefit the most. In tighter rooms, I prefer vertical cabinets or narrow shelving units on each side of a focal point like a TV or window. It adds storage without making the room feel crowded.
What is the biggest mistake to avoid?
The biggest mistake I made early on was skipping proper leveling. Even a small uneven base can ruin the entire look. Another common issue is not planning trim space early, which affects the final fit and finish.