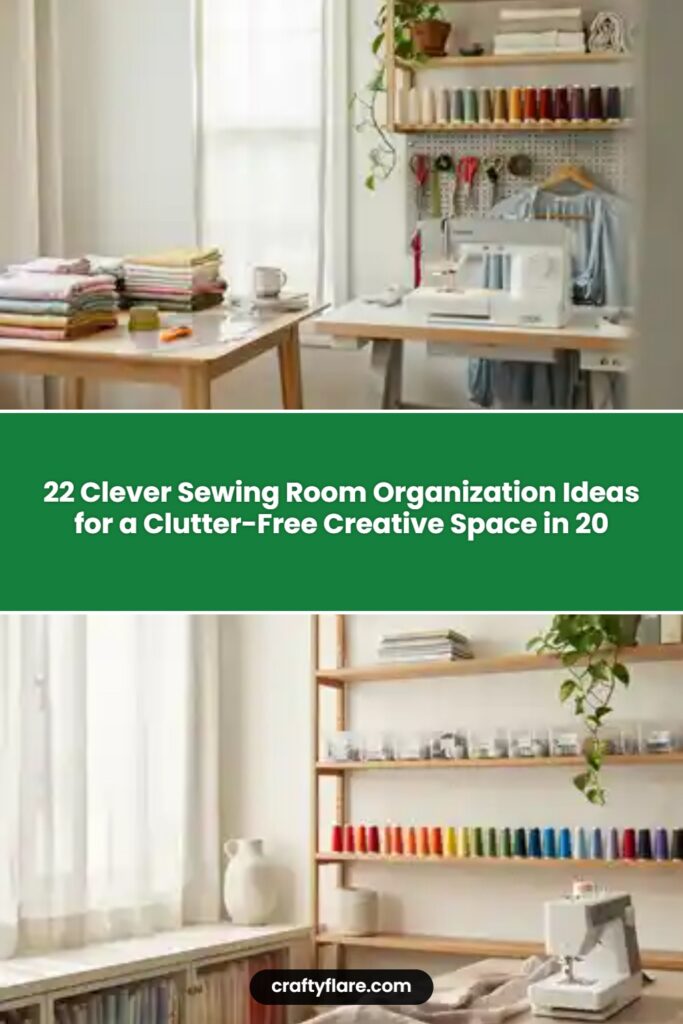
22 Clever Sewing Room Organization Ideas for a Clutter-Free Creative Space in 2026
Creating in a messy sewing room can quickly become frustrating. I’ve found that when fabric piles up, scissors disappear, and thread ends up everywhere, even simple sewing projects take longer than they should. The good news is that you don’t need a bigger room to stay organized—you just need a better system.
The best sewing rooms are designed around how you actually sew. When fabrics, tools, patterns, and ongoing projects each have a dedicated place, your workspace becomes easier to use and much more enjoyable. These sewing room organization ideas will help you maximize space, reduce clutter, and create a room that supports your creativity.
Key Takeaways
- Organize supplies based on tasks, not appearance.
- Store frequently used tools within easy reach.
- Use vertical storage to maximize wall space.
- Create separate zones for sewing, cutting, and pressing.
- Keep unfinished projects organized in dedicated containers.
- Use clear storage to quickly identify supplies.
- Establish a simple daily reset routine.
- Design your sewing room around your workflow.
How Do You Organize a Sewing Room From Scratch?
Starting fresh begins with removing everything from the space and sorting supplies into categories. I like grouping fabrics, cutting tools, sewing tools, patterns, and projects separately. This makes it easy to see what I use most often and what can be stored away. Building storage around these categories creates a sewing room that stays functional over time.
Pro Tip: Before buying organizers, sort everything first so you only purchase storage you actually need.
What Is the Smartest Way to Organize Sewing Supplies?
The smartest method is organizing supplies by the task they support. Keeping sewing tools near the machine, cutting tools near the cutting table, and pressing supplies near the ironing area saves time and prevents unnecessary movement. When every item has a home, cleanup becomes much easier.
Pro Tip: Store your most-used supplies within arm’s reach of your main workstation.
Center Island
A central worktable creates a dedicated area for cutting fabric, planning projects, and organizing materials. Storage underneath keeps rulers, books, and supplies accessible without crowding the work surface. This setup works especially well in medium and large sewing rooms where movement around the table is easy.
Pro Tip: Choose a table height that feels comfortable for both cutting and project planning.
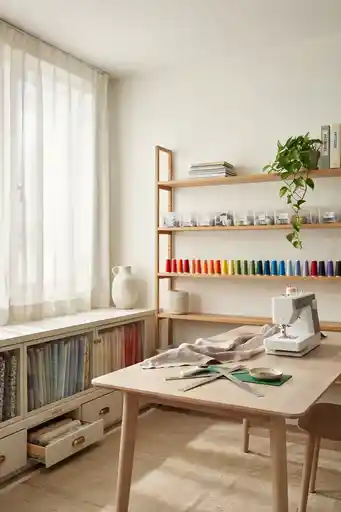
Fabric Library
Organizing fabric on open shelves transforms your collection into an easy-to-use resource. Seeing colors, patterns, and textures at a glance helps speed up project decisions and reduces forgotten fabric purchases. This method works particularly well for quilters and frequent fabric buyers.
Pro Tip: Fold fabrics to the same size for a cleaner and more organized appearance.
Mobile Cutting
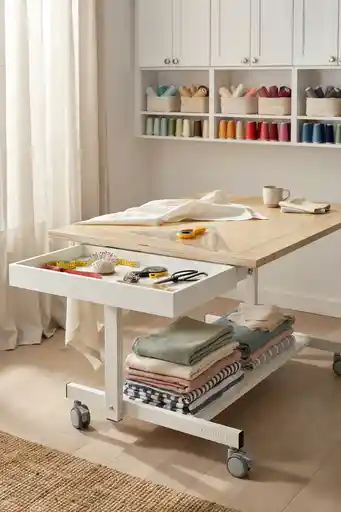
A rolling cutting station provides flexibility without requiring permanent floor space. It can move into the center of the room during projects and be stored away afterward. Fabric storage underneath keeps materials close while maintaining a tidy workspace.
Pro Tip: Use locking wheels to keep the cutting table stable while working.
Dual Zones
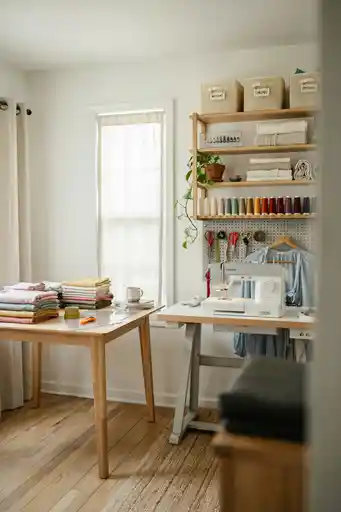
Creating separate areas for cutting and sewing reduces interruptions during projects. One station handles cutting tasks while another remains dedicated to sewing. This setup keeps materials organized and prevents constant clearing and rearranging.
Pro Tip: Place frequently used fabrics between both zones for easier access.
Vertical Command
Wall storage helps free up valuable floor and desk space. Pegboards, wall organizers, and slim cabinets keep tools visible while storing bulk supplies neatly out of sight. This arrangement works especially well in smaller sewing rooms.
Pro Tip: Reserve wall space closest to your machine for the tools you use daily.
Closet Studio
A closet can become a complete sewing station when organized properly. Cabinets, shelves, and fold-out workspaces keep supplies accessible during projects and hidden when not in use. This solution is perfect for multipurpose rooms.
Pro Tip: Add task lighting inside the closet to improve visibility while sewing.
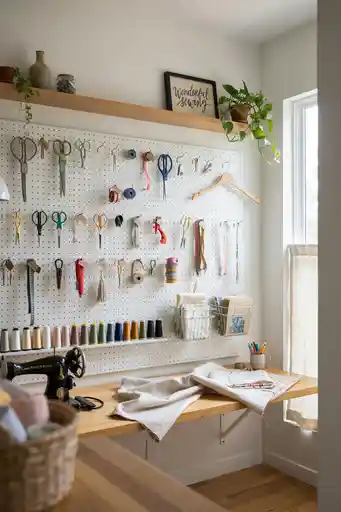
Tool Wall
A dedicated tool wall keeps scissors, rulers, measuring tapes, and small accessories visible and easy to reach. This reduces clutter on the worktable and prevents tools from getting lost in drawers.
Pro Tip: Arrange tools by frequency of use rather than size.
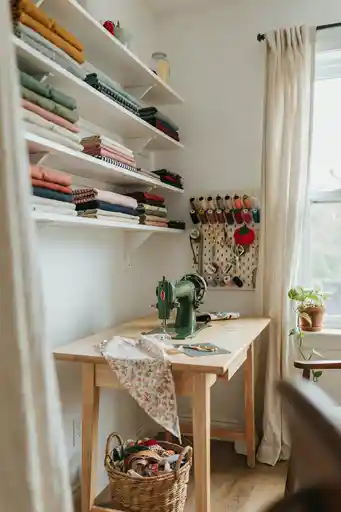
Shelf Stacks
Shallow shelving keeps folded fabrics visible and easy to access. Thread racks mounted nearby add even more organization while keeping work surfaces clear. This setup helps maximize wall space without overwhelming the room.
Pro Tip: Use shelf dividers to prevent fabric stacks from falling over.
Wire Shelving
Wire shelving systems offer flexible storage that can grow with your collection. Adjustable shelves make it easy to accommodate different fabric sizes, while clear bins help organize smaller supplies.
Pro Tip: Sort fabrics by color family to make project planning easier.
Upper Cabinets
Installing cabinets above your workspace provides additional storage without taking up floor space. Frequently used supplies remain accessible while larger or seasonal materials stay neatly tucked away.
Pro Tip: Store heavier items on lower shelves for safer access.
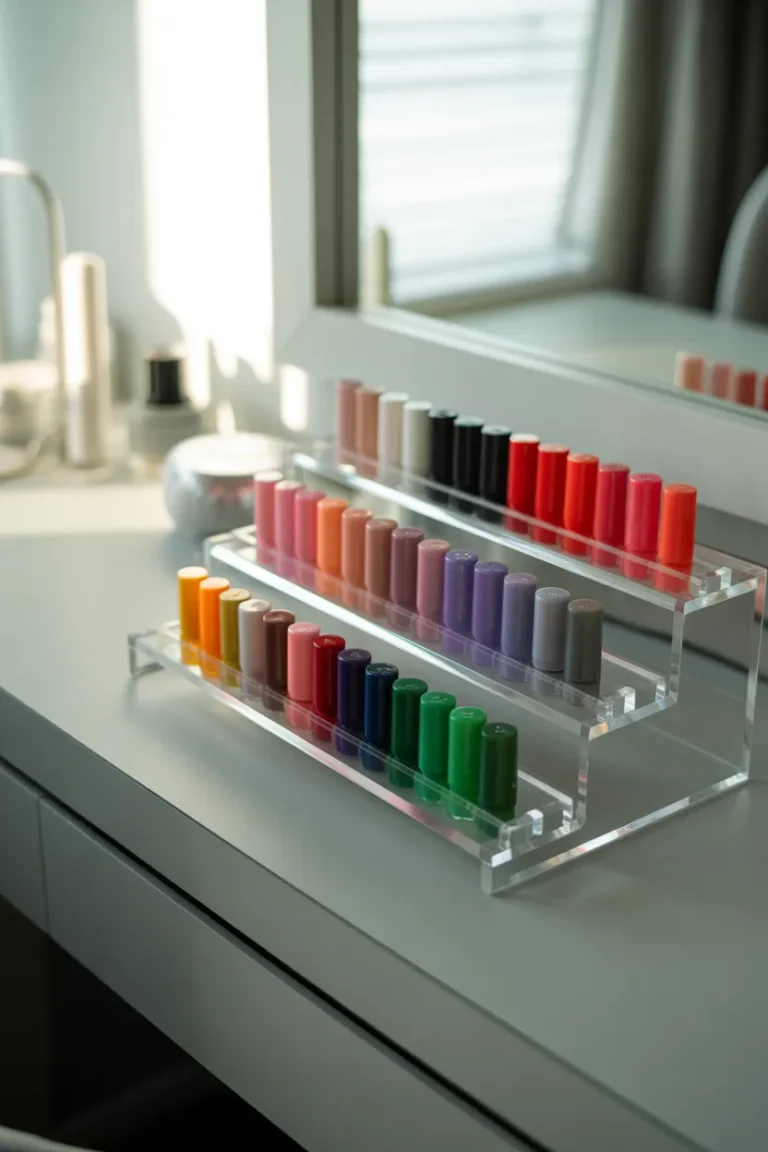
Thread Ledge
A dedicated thread shelf keeps spools visible, organized, and easy to grab. Having colors displayed openly makes matching thread faster and reduces time spent searching through containers.
Pro Tip: Organize thread by color groups to speed up project setup.
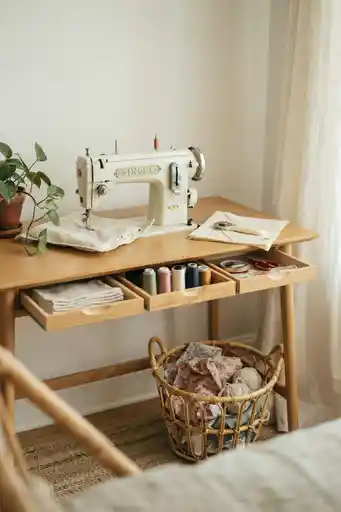
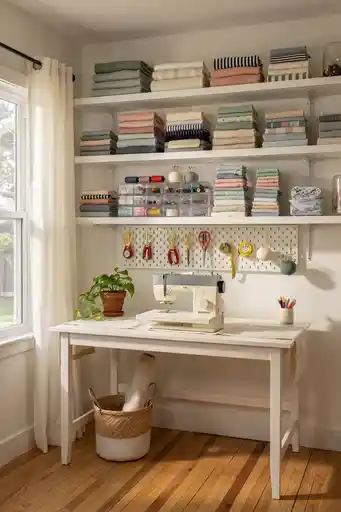
Compact Desk
A narrow sewing desk provides a functional workstation without dominating the room. Supplies stored below and wall organizers above help maximize every inch of available space.
Pro Tip: Choose a desk with built-in storage whenever possible.
Color Blocks
Sorting fabric by color simplifies planning and encourages creativity. It becomes easier to compare shades, coordinate projects, and see gaps in your collection.
Pro Tip: Arrange colors from light to dark for a visually appealing display.
Pegboard Hub
A pegboard system creates a flexible storage center for scissors, thread, rulers, and frequently used accessories. Because the layout can change over time, it adapts easily to new projects and tools.
Pro Tip: Leave extra pegboard space available for future supplies.
Cozy Corner
Even small sewing spaces can be highly functional when storage wraps around the workspace. Shelves, pegboards, and rolling carts work together to keep tools organized without taking over the room.
Pro Tip: Utilize corner walls that often go unused in small rooms.
Storage Wall
One dedicated storage wall can hold most of your sewing supplies while keeping the rest of the room uncluttered. Cabinets, drawers, and shelves provide separate spaces for fabrics, notions, and tools.
Pro Tip: Label storage categories to maintain long-term organization.
Pattern Filing
Paper patterns become much easier to manage when stored vertically like files. Organizing them by garment type, size, or project category prevents stacks from becoming overwhelming.
Pro Tip: Use clear file folders to quickly identify patterns.
WIP Parking
Unfinished projects often create the most clutter. Giving each project its own bin or container keeps materials together and makes it easy to resume work later.
Pro Tip: Include notes and instructions inside each project bin.
Scrap Control
Fabric scraps can quickly overwhelm a sewing room if left unmanaged. Sorting scraps by size instead of fabric type makes them easier to reuse and helps determine what should be saved.
Pro Tip: Set a minimum scrap size to avoid keeping unusable pieces.
Press Station
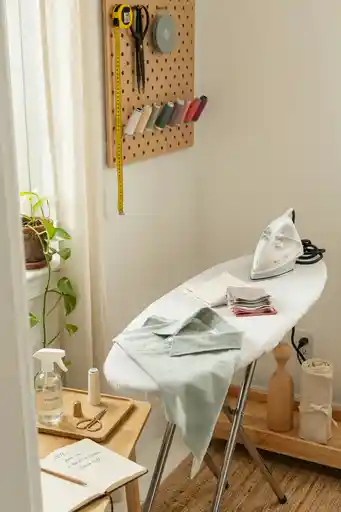
A dedicated ironing and pressing area streamlines sewing projects. Keeping ironing tools, pressing cloths, and supplies together eliminates the need to set up and put away equipment repeatedly.
Pro Tip: Store pressing tools directly beneath the ironing station.
Measurement Zone
Keeping measuring tapes, rulers, and marking tools together improves accuracy and efficiency. Locating these supplies near the cutting area minimizes mistakes and speeds up project preparation.
Pro Tip: Hang frequently used rulers vertically for quick access.
Reset Routine
The easiest way to maintain an organized sewing room is through a simple end-of-day reset. Spending just a few minutes returning tools, clearing surfaces, and organizing projects prevents clutter from building up.
Pro Tip: Set a timer for five minutes at the end of every sewing session.
FAQs
How do I keep my sewing room organized once it’s finally clean?
The key is making organization easy to maintain. Give every tool a permanent home, put items back after use, and complete a quick cleanup routine after each sewing session.
Should I organize my sewing room for looks or for how I sew?
Always organize for function first. A beautiful sewing room is helpful, but a room designed around your actual workflow will stay organized longer and support your creativity better.