24 Smart Art Studio Organization Ideas to Create a More Productive Creative Space in 2026
Creating art becomes much easier when your workspace supports your creative process instead of slowing it down. Many artists assume they need a larger studio, but in most cases, the real issue is disorganization. When supplies are scattered, valuable time gets wasted looking for tools instead of creating.
A well-organized art studio helps you stay focused, reduce stress, and make better use of your space. Whether you work in a dedicated studio, a spare room, or a small corner of your home, the right storage system can make a significant difference.
Key Takeaways
- Store frequently used supplies within arm’s reach.
- Use wall space to free up work surfaces.
- Organize materials by function, not appearance.
- Create dedicated zones for different creative tasks.
- Use clear storage to reduce duplicate purchases.
- Keep unfinished projects organized and accessible.
- Make cleanup quick with simple storage systems.
- Design your studio around your workflow.
How Can You Set Up an Art Studio in a Small Space?
A small studio can work surprisingly well when every area serves a purpose. I always start by creating one dedicated work zone and then build storage around it. Wall-mounted shelves, pegboards, and vertical organizers help maximize space without crowding the room. Even a compact area can feel functional when supplies are stored efficiently and surfaces remain clear.
Pro Tip: Keep your main workspace within a few steps of your most-used supplies to reduce interruptions while creating.
How Do You Organize an Art Studio Without Killing Creativity?
The goal is not to create a perfectly staged room. I focus on making tools easy to access so ideas can turn into action quickly. Creative work flows better when brushes, paints, sketchbooks, and materials are organized in logical locations. A little creative mess is fine, but storage systems should remain simple and consistent.
Pro Tip: Leave one small area open for active projects while keeping the rest of the studio organized.
Vertical Harmony
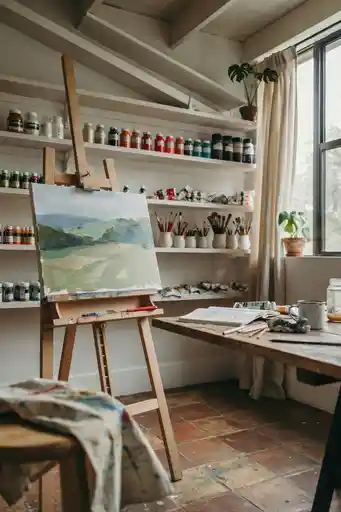
Using vertical shelving allows art supplies to stay visible without taking over valuable desk space. Paints, brushes, markers, and mediums become easier to access when displayed at eye level. This setup also helps reduce clutter because everything has a designated location.
Pro Tip: Place your most frequently used supplies on middle shelves for the quickest access.
Living Gallery
An art studio can also serve as a source of inspiration. Displaying finished artwork and current projects on the wall keeps ideas visible while freeing up table space. Rotating pieces regularly helps maintain motivation and encourages fresh creativity.
Pro Tip: Dedicate one wall to inspiration and update it monthly with new work.
Color Stations
Grouping supplies by color creates a system that saves time during projects. When paints, papers, markers, or vinyl are organized by color families, selecting materials becomes much faster. This approach works especially well in busy studios and shared creative spaces.
Pro Tip: Use matching containers to make color categories easier to identify at a glance.
Modular Storage
Flexible storage systems adapt as your collection of supplies grows. Modular cubes, stackable bins, and interchangeable drawers allow you to rearrange storage whenever your creative needs change. This helps prevent expensive reorganizations later.
Pro Tip: Choose storage units that can expand vertically to maximize floor space.
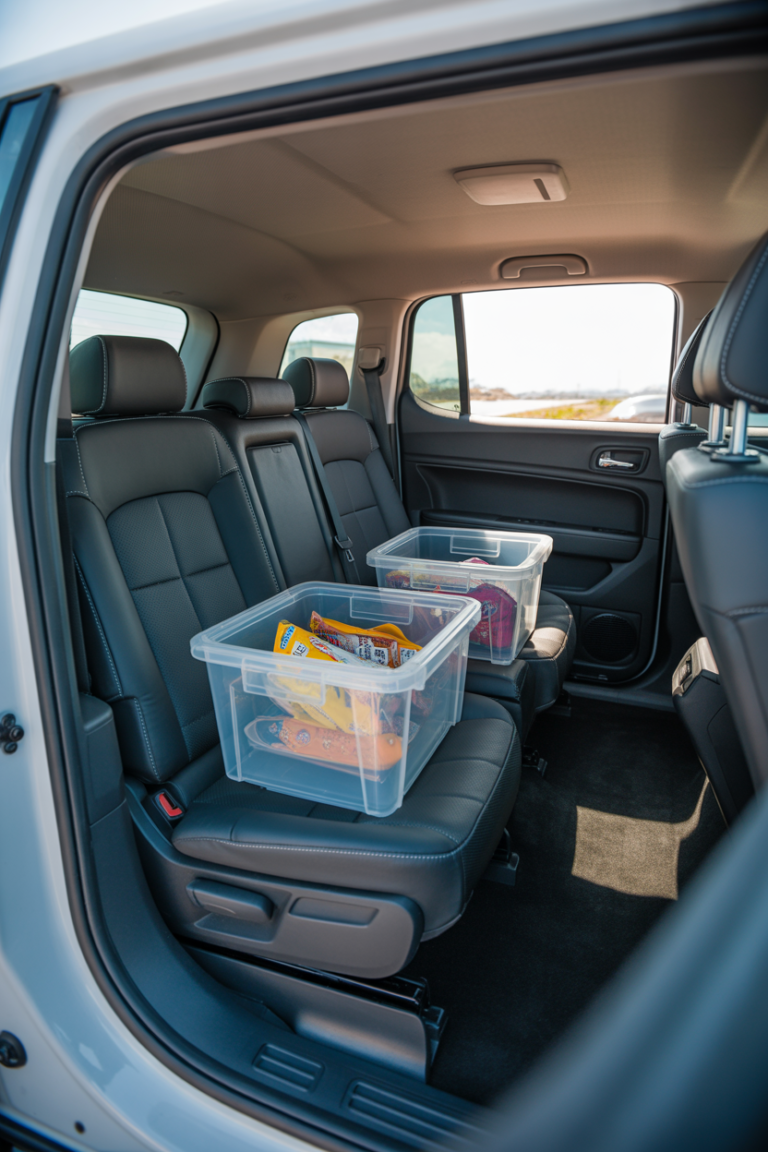
Mobile Carts
Rolling carts bring supplies directly to your workspace and can be moved away when projects are finished. I find this especially useful when working with multiple mediums because each cart can serve a different purpose.
Pro Tip: Assign one cart to a specific category such as painting, drawing, or crafting.
Pegboard Flow
A pegboard keeps essential tools visible while freeing up desk and drawer space. Brushes, rulers, scissors, and frequently used supplies stay within reach without creating clutter. The layout can also change as your projects evolve.
Pro Tip: Leave extra space on your pegboard so new tools can be added easily.
Reach Control
When creative tools are visible, it becomes easier to stay focused on the project. Hanging supplies on a pegboard or wall organizer removes unnecessary searching and keeps momentum flowing. This setup works particularly well for paints, brushes, and markers.
Pro Tip: Organize supplies based on usage frequency rather than size.
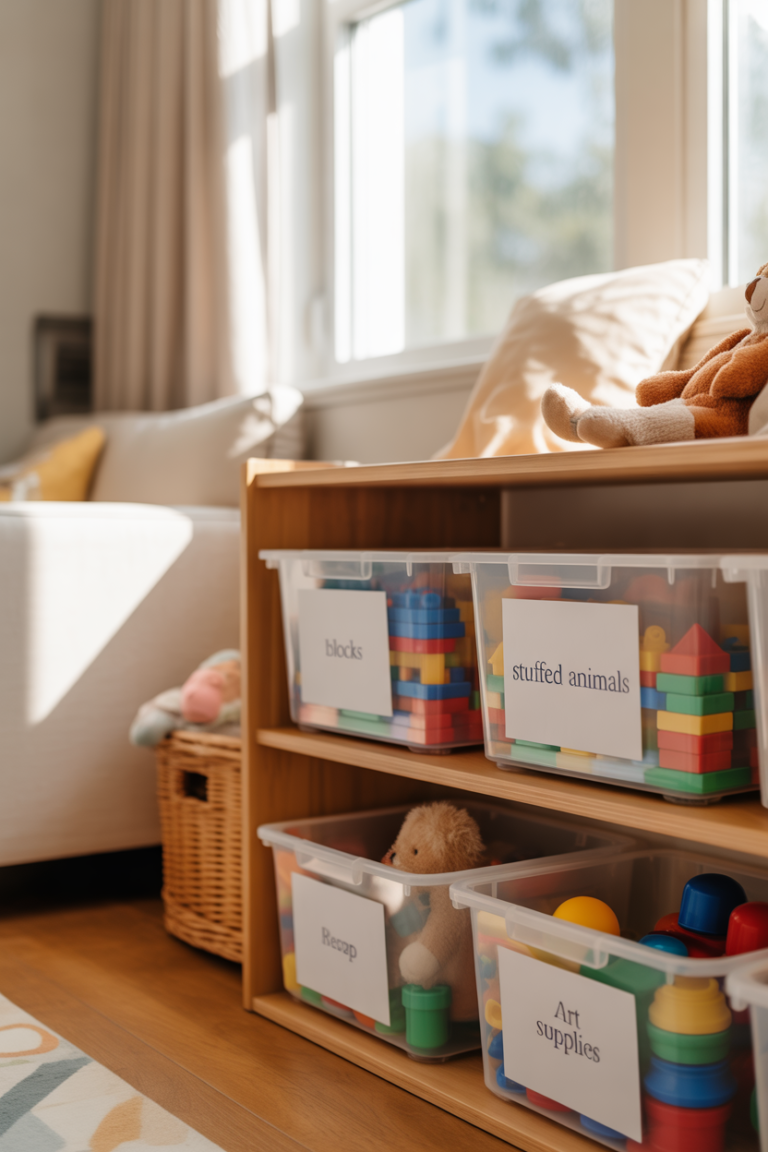
Clear Layers
Transparent drawers eliminate guesswork. Seeing exactly what you own prevents duplicate purchases and makes it easier to locate supplies. Clear storage works especially well for small items that often disappear in traditional drawers.
Pro Tip: Label every drawer even if it is transparent for faster organization.
Clean Station
A dedicated cleanup area helps maintain order during creative sessions. Keeping cleaning supplies, water containers, paper towels, and maintenance tools together reduces the effort required after each project. The easier cleanup becomes, the more likely you are to stay organized.
Pro Tip: Place cleaning supplies near a sink whenever possible.
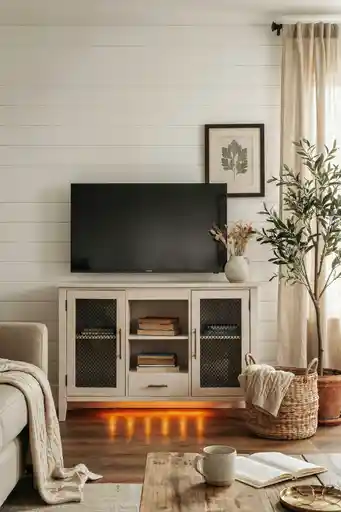
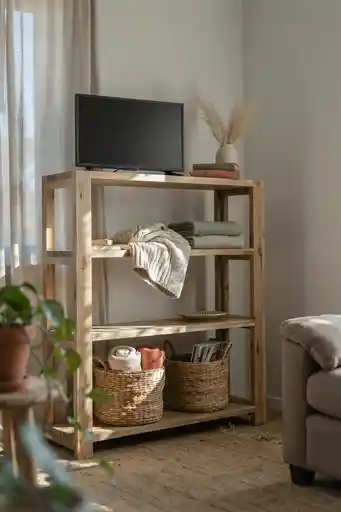
Display Storage
Storage can be functional and attractive at the same time. Shelves that showcase artwork while storing supplies underneath help maximize limited space. This setup works especially well in shared rooms where art is part of the decor.
Pro Tip: Keep display shelves simple to avoid visual clutter.
Hidden Workshop
Closets and concealed storage areas allow creative supplies to disappear when not in use. This solution is ideal for bedrooms, apartments, and shared living spaces where a studio must blend with everyday life.
Pro Tip: Store daily-use items at waist height and seasonal supplies on upper shelves.
Worktable Core
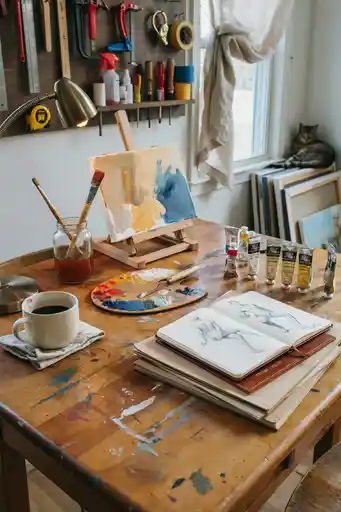
The worktable is often the center of the entire studio. Keeping tools, materials, and storage close to the main work surface reduces unnecessary movement and helps maintain focus. A strong central workspace supports larger and more complex projects.
Pro Tip: Add under-table storage to increase efficiency without taking up more room.
Idea Wall
An idea wall keeps inspiration visible and accessible. Sketches, reference photos, color palettes, and project plans can be displayed where they are easy to see. This creates a constant source of motivation without cluttering the workspace.
Pro Tip: Update your idea wall regularly to keep inspiration fresh.
Color Archives
Organizing supplies by color allows you to identify what you have immediately. This method works particularly well for paper collections, vinyl sheets, fabric, and specialty materials where color selection is important.
Pro Tip: Use shallow containers so every color remains visible.
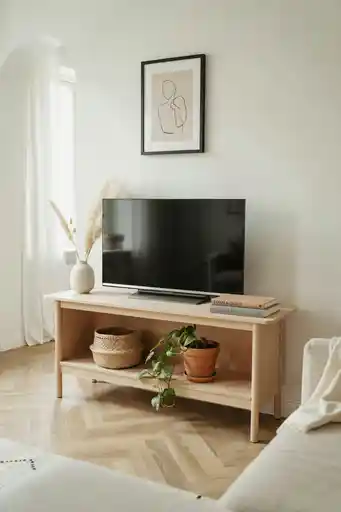
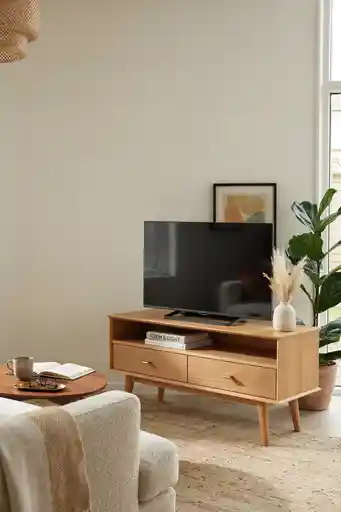
Shelf Rhythm
Well-organized shelving creates balance between storage and inspiration. Books, completed artwork, and reference materials remain accessible without overwhelming the room. Strategic shelf placement keeps creative resources nearby while maintaining a clean workspace.
Pro Tip: Reserve eye-level shelves for items you reference most often.
Compact Loop
A compact layout reduces wasted movement. When supplies, tools, and materials surround the workspace logically, projects flow more smoothly. This setup is particularly effective in smaller studios where efficiency matters.
Pro Tip: Arrange your workspace so commonly used tools are within one chair turn.
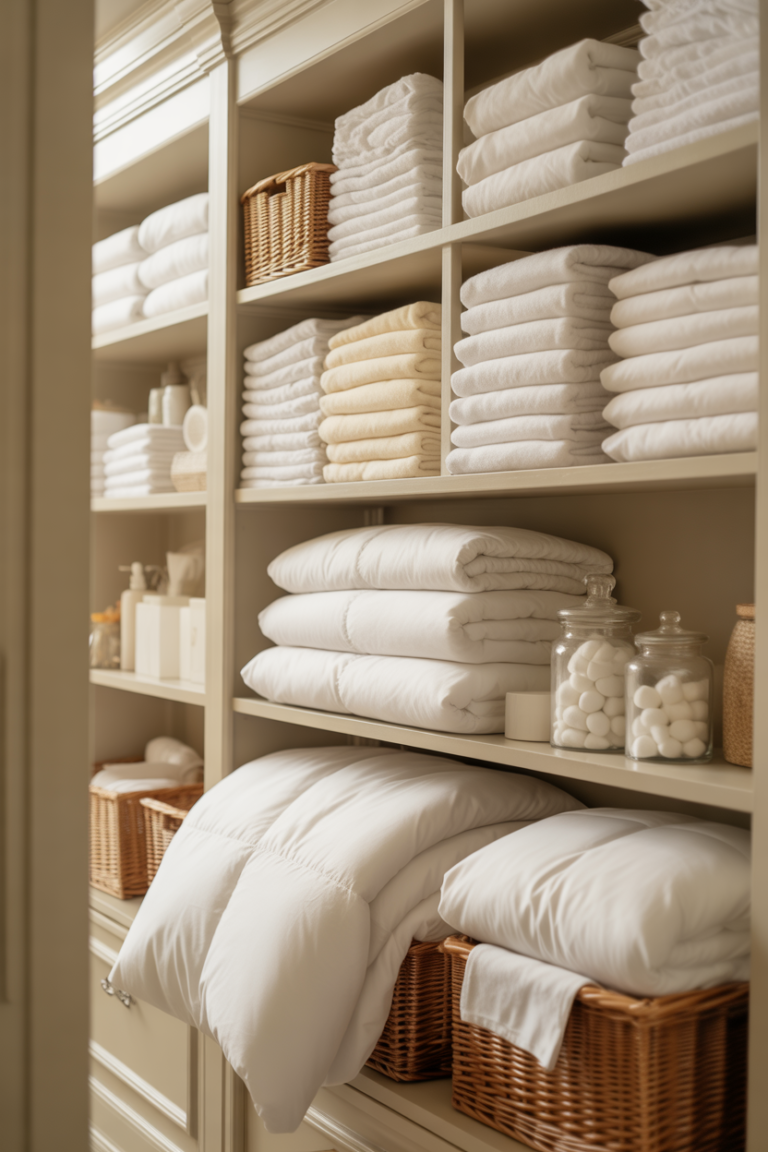
Open Library
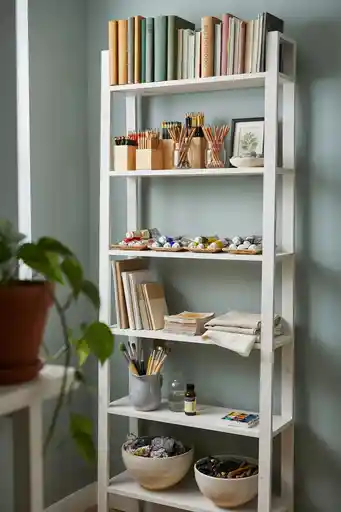
Open shelving keeps supplies visible and easy to access. Unlike closed cabinets, open storage reduces the chances of forgetting what you own. This encourages better use of materials and less unnecessary buying.
Pro Tip: Group shelves by category to maintain a tidy appearance.
Rolling Islands
Mobile work surfaces provide flexibility for artists handling multiple projects. Rolling tables allow the studio layout to change as needed while keeping supplies and active work together.
Pro Tip: Choose locking wheels to prevent movement during detailed work.
Tool Rotation
Not every tool needs to stay visible all year. Rotating supplies based on current projects keeps the workspace focused and less overwhelming. This method is particularly useful for artists who work with several mediums.
Pro Tip: Store inactive tools in clearly labeled containers for easy retrieval.
Project Parking
Unfinished projects often create the most clutter. A dedicated storage area for active work allows projects to pause without taking over the studio. This helps keep work surfaces available for new ideas.
Pro Tip: Use vertical racks to store ongoing projects safely.
Surface Reset
A designated reset area helps prevent clutter from spreading. I use one clear surface for sorting, organizing, and temporary storage. Resetting this area daily keeps the entire studio under control.
Pro Tip: Spend five minutes resetting your workspace at the end of every session.
Supply Shadows
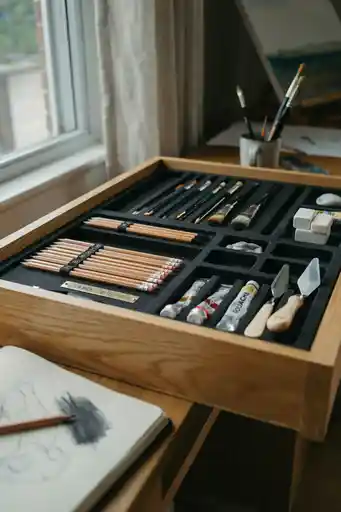
Outlining tools inside drawers or trays creates a visual reminder of where everything belongs. This simple technique makes cleanup faster and highlights missing items immediately.
Pro Tip: Use removable tape for flexible tool outlines.
Medium Batching
Grouping supplies by artistic medium simplifies setup and cleanup. Painting materials stay together, drawing supplies remain separate, and crafting tools have their own container. This approach reduces project preparation time.
Pro Tip: Store each medium in a portable container for flexibility.
Creative Buffer
A small transition space between storage and the main workspace helps manage active tools. This area acts as temporary holding space during projects and prevents the worktable from becoming overloaded.
Pro Tip: Use a side table or tray to create a simple creative buffer zone.
FAQs
How do I stop my art studio from getting messy again after organizing it?
The best solution is creating systems that match your workflow. Keep frequently used supplies nearby, limit visible clutter, and make cleanup easy enough to complete in a few minutes.
Is it better to organize art supplies by type or by project?
It depends on how you work. Artists who focus on one medium often benefit from organizing by supply type, while those handling multiple projects may prefer organizing by project.