


I’ve been working with IKEA furniture for years, and one thing I’ve consistently noticed is how quickly people start customizing it. The pieces are practical, affordable, and easy to assemble, but they often look too similar from one home to another.

Why Everyone Is Hacking IKEA Furniture in 2026
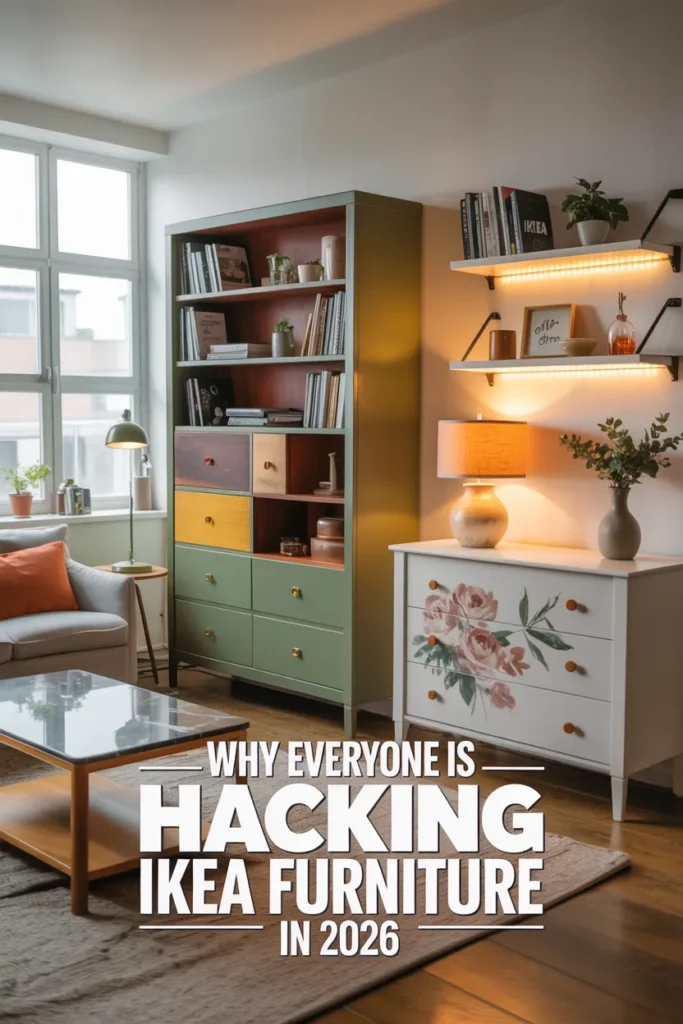
That’s why IKEA hacking has grown so much in 2025. People aren’t just using furniture as it comes out of the box—they’re reshaping it into something that actually fits their space, style, and daily needs.
In this article, I’m sharing what I’ve learned from hands-on DIY projects, including simple hacks, tools that actually matter, and mistakes that can ruin your work if you’re not careful.
Quick Summary
IKEA hacks are simple DIY upgrades that turn basic furniture into custom-looking pieces using low-cost tools and creativity. Most projects are beginner-friendly and highly practical for small spaces.
Key Takeaways
- IKEA furniture is popular for hacking because it’s affordable and modular
- Simple upgrades like paint and contact paper make a big difference
- Beginner-friendly pieces like LACK and KALLAX are easiest to start with
- Proper surface prep matters more than expensive materials
- Small mistakes (like skipping sanding) can ruin durability
Why IKEA Hacks Are So Popular Right Now
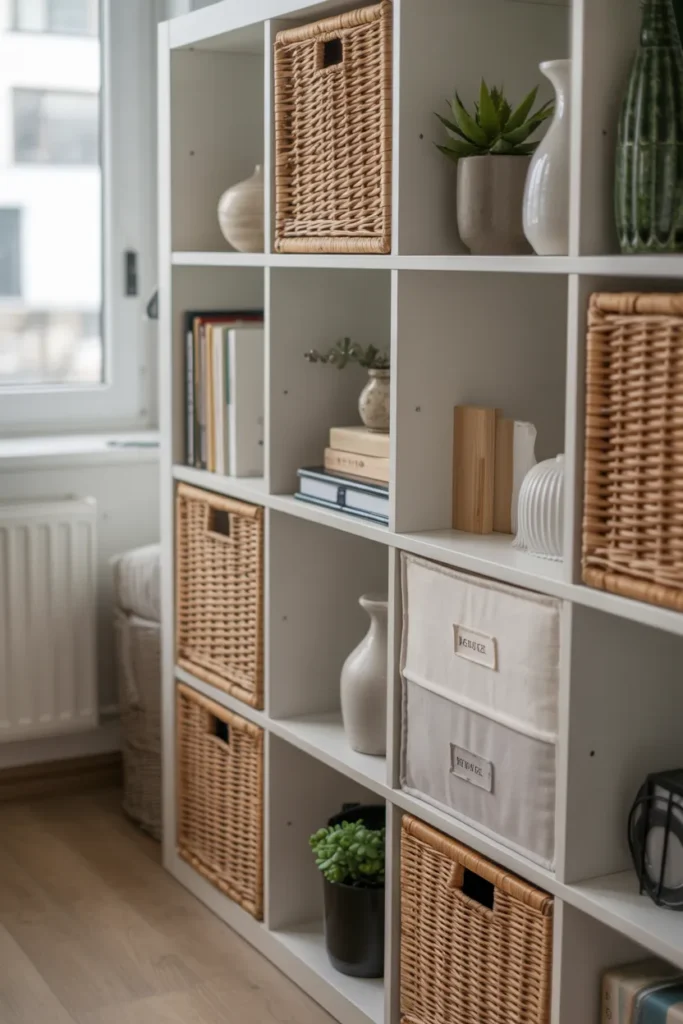
From my experience, the biggest reason people hack IKEA furniture is control. You start with something basic, but you don’t want your home to look like everyone else’s.
Many homes I’ve seen use the same items again and again, especially storage units and tables. They’re functional, but not personal.
Another big reason is space limitations. In smaller apartments, every inch matters. I’ve personally had to modify furniture just to make it fit awkward corners or double as storage.
What makes IKEA furniture so hackable is its simplicity. For example, a basic shelf can become a bench, a storage unit, or even a media console with just a few changes.
Popular pieces like KALLAX Shelf Unit and LACK Side Table are especially common because they’re easy to modify without advanced tools.
Common Problems People Face with IKEA Furniture
When I first started using IKEA furniture, I quickly realized it’s not perfect for every situation.
The biggest issue is repetition. You see the same designs everywhere, which makes spaces feel less unique.
Another issue is function. Many items are designed for single-purpose use, which doesn’t always work for modern homes where storage and flexibility matter more.
I also noticed that matching IKEA pieces with existing décor can be tricky. The finishes are clean but sometimes feel too “flat” in more personalized interiors.
And finally, storage limitations show up fast. What looks like enough space at first often becomes tight once you actually start using it daily.
Tools and Materials You’ll Need
One thing I always tell beginners is this: don’t overcomplicate your tool kit.
Most IKEA hacks only require basic, affordable tools:
- Screwdriver or drill for assembly and adjustments
- Sandpaper for surface prep (this step matters a lot)
- Primer and paint for long-lasting finishes
- Foam roller or brush for smooth application
- Measuring tape for accuracy
- Wood glue for stronger bonds
- Utility knife or scissors for trimming materials
- Contact paper or vinyl for fast surface upgrades
- Optional: knobs, handles, or furniture legs for customization
In my own projects, I’ve learned that preparation is more important than tools. Even a cheap project can look premium if the surface is properly prepped.
Most Hackable IKEA Pieces (And Why)
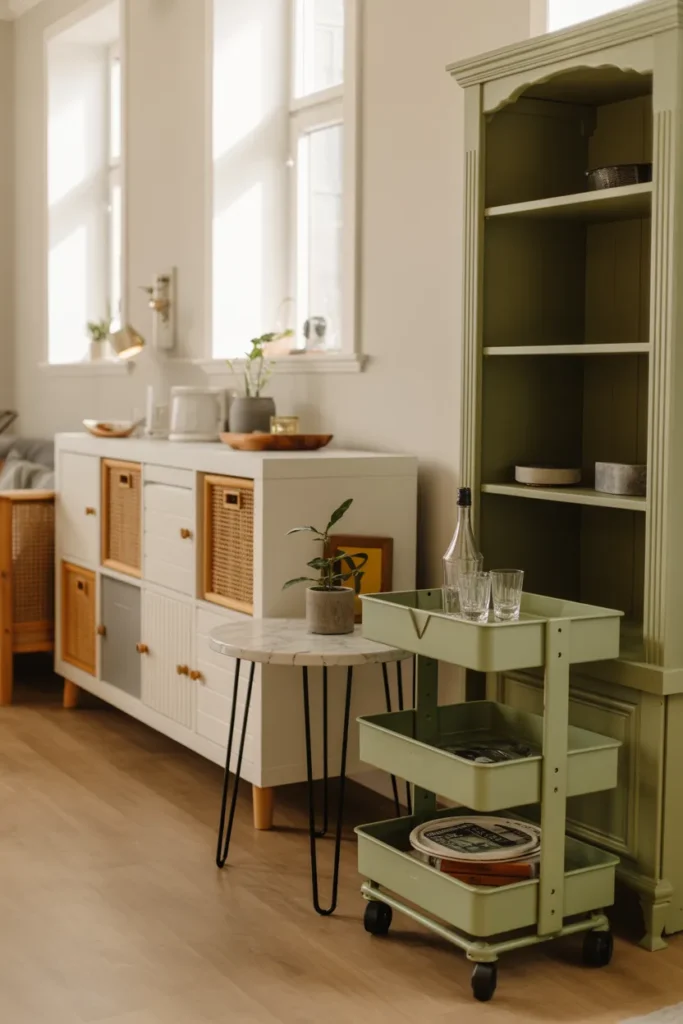
Not every IKEA item is equally DIY-friendly. Some are far easier to modify than others.
KALLAX Shelf Unit is one of the most versatile pieces. I’ve seen it turned into benches, TV stands, and even room dividers.
IVAR Storage System is another strong option because it’s real wood. That means you can sand, stain, and modify it freely.
BILLY Bookcase works well for built-in wall designs or hidden storage setups.
LACK Side Table is perfect for beginners since it’s simple and easy to repaint or cover.
RÅSKOG Utility Cart is great for kitchens, bathrooms, or craft areas because it’s already mobile.
HEMNES Furniture Series is more durable and works well for repainting or hardware upgrades.
BEKVÄM Spice Rack is small but extremely flexible for creative wall storage ideas.
How to Transform an IKEA LACK Table Into a Stylish Marble-Look Accent Table
I’ve personally done this hack, and it’s one of the easiest ways to upgrade a plain table into something that looks expensive.
What You Will Need
- LACK Side Table
- Marble-look contact paper
- Matte spray paint
- Utility knife or scissors
- Smoothing tool (credit card works fine)
- Optional: decorative legs or knobs
Step 1: Prepare and Paint the Legs
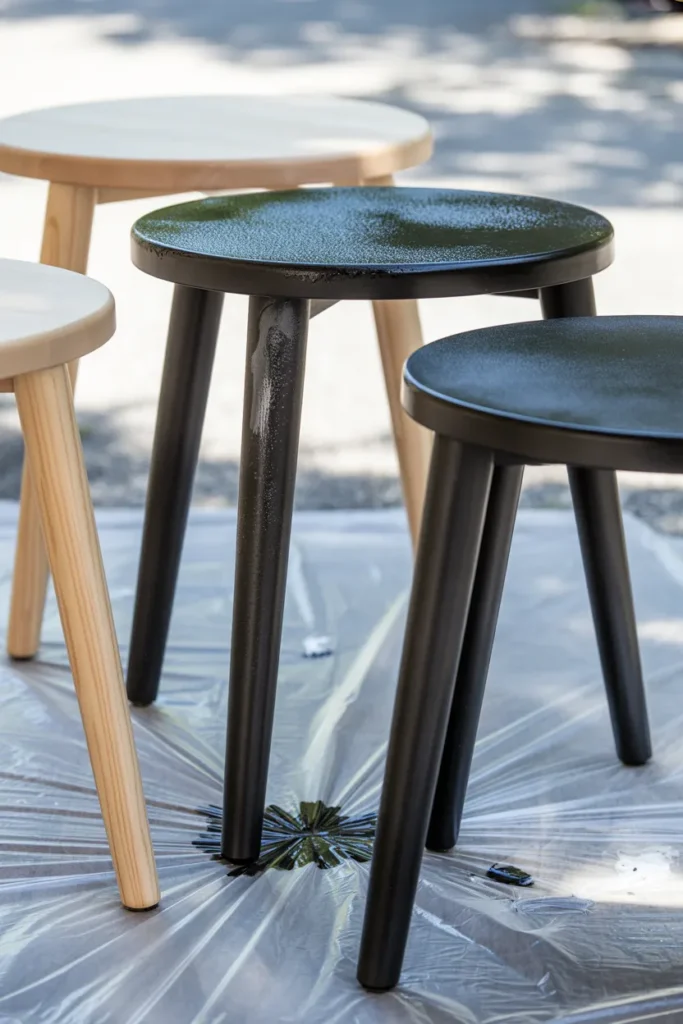
I usually start by separating the tabletop from the legs. It makes everything easier to manage.
Then I spray paint the legs in light, even coats. I prefer matte finishes because they hide imperfections better and look more modern.
Drying time is important here. If you rush it, the paint can become sticky or uneven.
Step 2: Apply Marble Contact Paper
This step requires patience more than skill.
I slowly apply the contact paper from one side and smooth it outward. Air bubbles are the biggest issue, so I always press from the center outward.
A small trick I use is warming the sheet slightly with my hands so it sticks more evenly.
Step 3: Reassemble the Table
Once everything is dry, I reattach the legs carefully.
At this stage, the transformation is already noticeable. The contrast between the marble top and darker legs gives it a premium look.
Step 4: Optional Upgrades
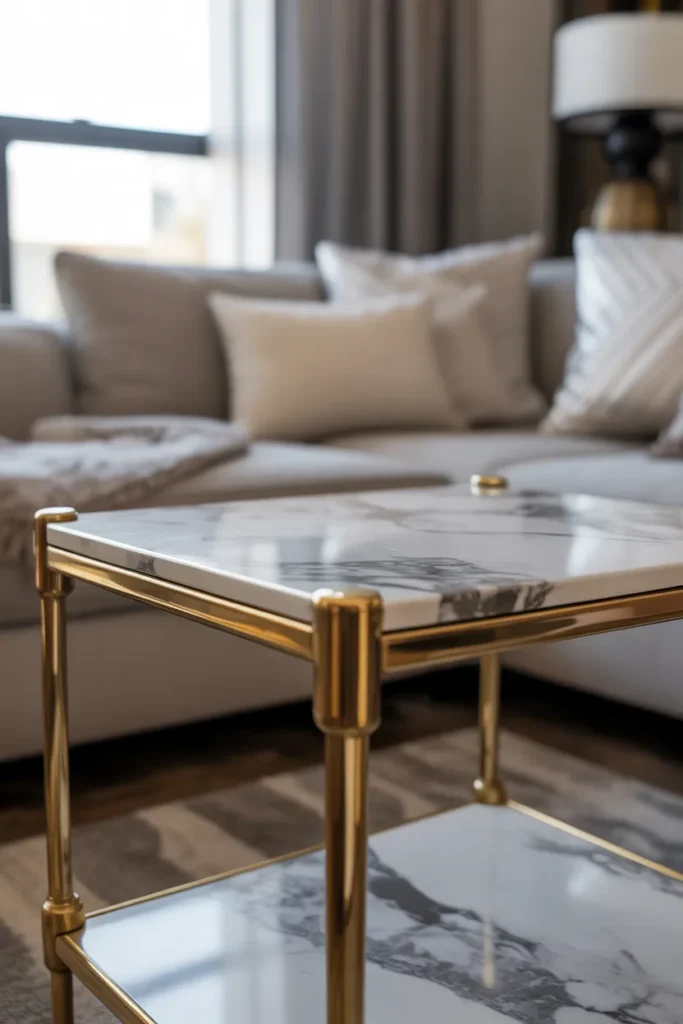
If I want to go further, I sometimes add metallic feet or small decorative trims around the edges.
These tiny details make a big difference in how “finished” the piece looks.
Time, Skill, and Cost
- Time: 40–60 minutes
- Skill level: Beginner
- Cost: Under $25 in most cases
Avoid These Common Mistakes
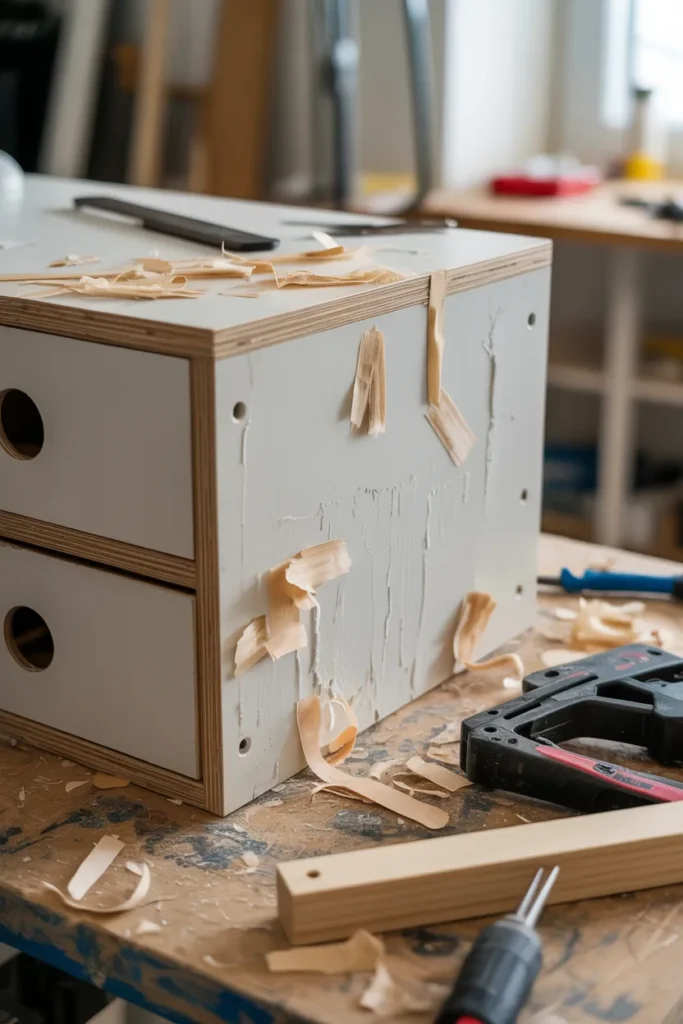
Over time, I’ve seen the same mistakes ruin otherwise good IKEA hacks.
Skipping primer is one of the worst. IKEA surfaces are smooth, and paint won’t stick properly without it.
Using hot glue instead of wood glue is another common issue. It might hold temporarily, but it fails over time.
Not sanding the surface is a mistake I made early on. Even light sanding helps paint grip properly.
Overloading furniture is also risky, especially with hollow-core designs.
Measuring incorrectly before drilling can permanently damage the piece.
And finally, rushing drying time almost always leads to poor results.