

Rolling Under Bed Storage DIY
If you live in a small apartment like I do, you quickly learn that every inch of space matters. One area I ignored for years was the empty space under my bed. I used to shove random bags and old storage bins under there, but it always turned into a dusty mess that was impossible to organize.
After getting frustrated with flimsy plastic containers that cracked and jammed on my carpet, I finally built my own rolling under bed storage boxes. Honestly, it ended up being one of the most useful DIY projects I have done for my bedroom.
The best part is that you do not need expensive tools or woodworking experience. With a few simple materials and careful measurements, you can create sturdy rolling storage that actually fits your space and slides out smoothly.
Quick Summary
- Rolling under bed storage helps maximize space in small apartments
- DIY storage boxes are sturdier than most store-bought bins
- Custom sizing prevents wasted space and awkward fitting
- Rubber caster wheels work best on both carpet and hardwood
- Simple plywood builds can last for years with proper finishing
- Great for clothes, shoes, blankets, seasonal items, and toys
Key Takeaways
- Always measure under your bed carefully before buying materials
- Leave at least one inch of clearance for smooth rolling
- Use strong plywood instead of thin particle board
- Sand every edge to avoid splinters and rough corners
- Lightweight wheels usually fail faster on carpet
- Adding handles makes daily use much easier
Why You Need Rolling Under Bed Storage
Small apartments can feel crowded fast, especially when closet space is limited. I realized I was wasting valuable storage space under my bed while struggling to fit things into already packed shelves and drawers.
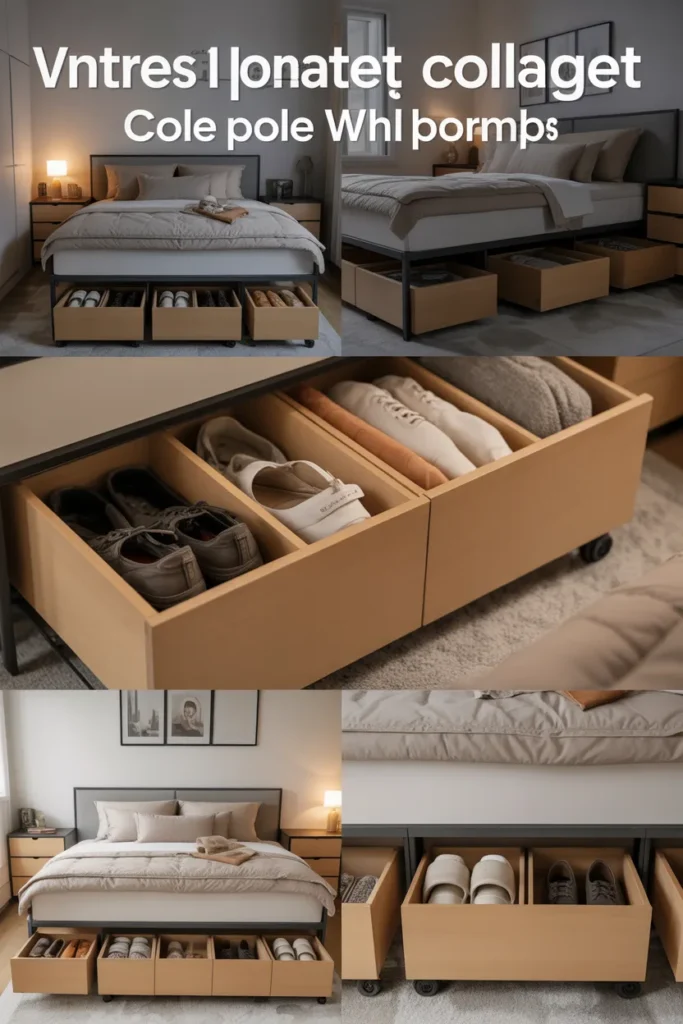
Rolling under bed storage makes it easy to store things without constantly bending down or dragging heavy bins across the floor. I personally use mine for winter clothes, extra bedding, and shoes that I do not wear every day.
One thing I noticed after building my own storage was how much cleaner my room looked. Hidden storage instantly reduces visual clutter, which makes even a tiny bedroom feel more open.
Another reason I prefer DIY over store-bought containers is flexibility. Most ready-made bins are either too tall, too short, or waste awkward gaps under the bed. Building your own lets you use every inch properly.
Pro Tip
If you live in a studio apartment, divide your storage into categories. I keep one rolling box for clothes and another for office supplies so I do not waste time digging through everything.
Tools and Materials You’ll Need
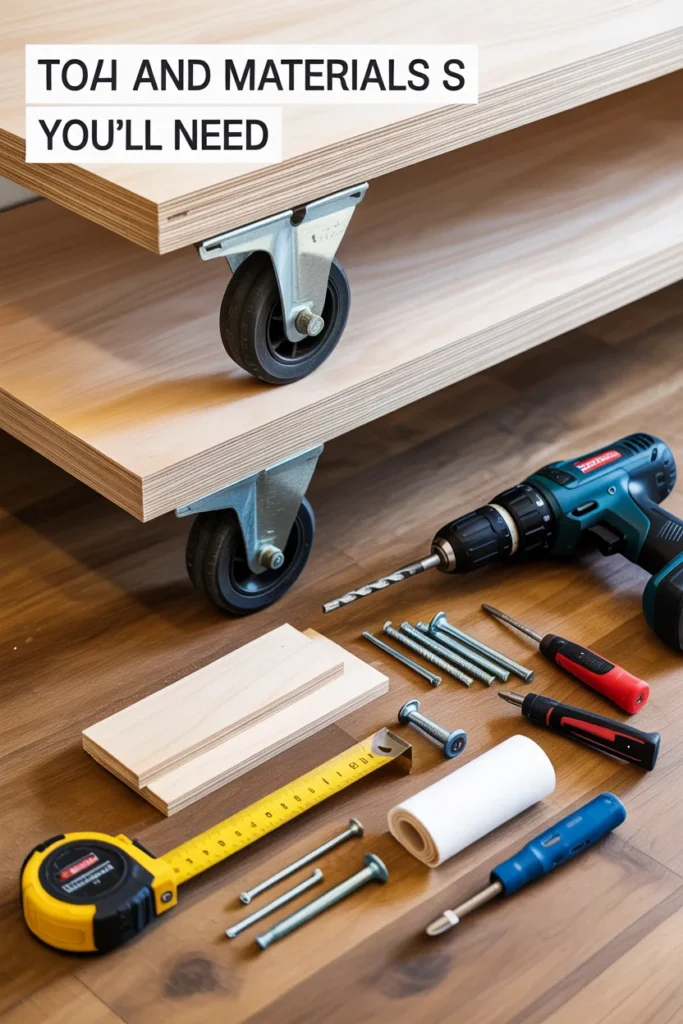
You do not need a professional workshop for this project. I built my first rolling storage box using basic tools I already had at home.
Tools:
- Tape measure
- Circular saw or hand saw
- Drill and screwdriver
- Sandpaper or electric sander
- Pencil
- Paintbrush or foam roller
Materials:
- Plywood or wooden boards
- Four swivel caster wheels
- Wood screws
- Wood glue
- Drawer handle or pull
- Paint, stain, or peel-and-stick wallpaper
I strongly recommend using plywood that is at least half an inch thick. Thin wood bends over time, especially if you store heavier items like books or blankets.
For wheels, rubber casters worked much better for me than hard plastic ones. They roll quietly and do not scratch wood flooring.
How to Measure for a Perfect Fit

This is the step that makes or breaks the project. The first time I built under bed storage, I forgot to account for my bed frame supports, and the box got stuck halfway underneath.
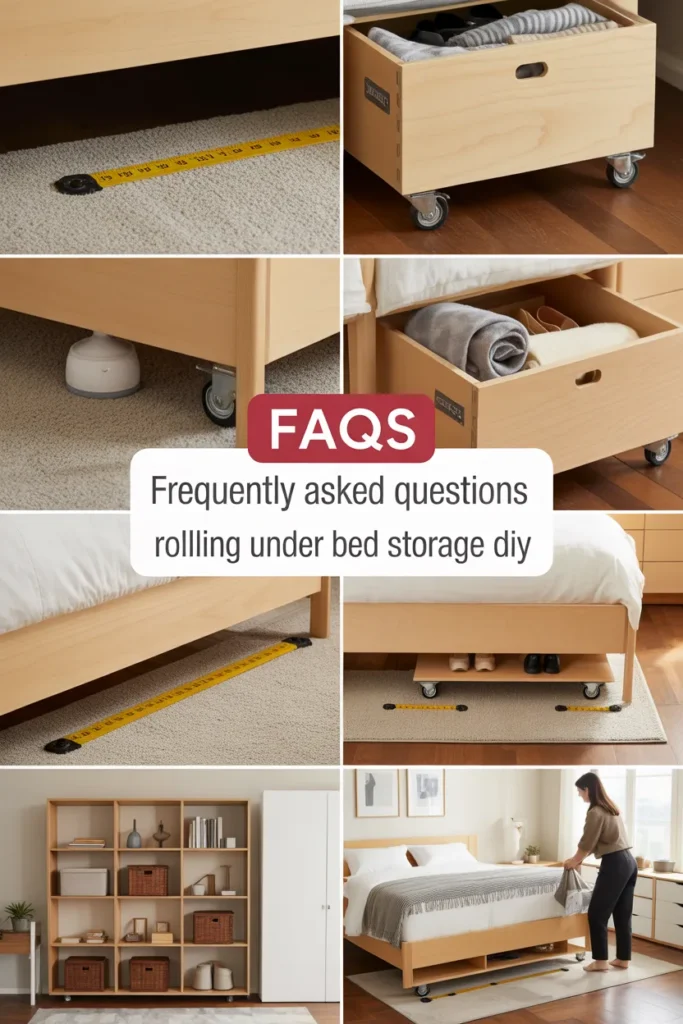
Start by measuring the height from the floor to the bottom edge of the bed frame. Then subtract one inch so the box can roll freely without scraping.
Next, measure the width and depth under the bed. Pay close attention to center support legs or frame bars that might block movement.
I usually sketch a simple layout on paper before cutting anything. It sounds unnecessary, but it helps avoid expensive mistakes later.
Common Measuring Mistake
A lot of people only measure the outer bed frame. The real usable storage area is often smaller because of support beams underneath.
Step-by-Step: Making a Rolling Under Bed Storage Box
Step 1: Cut the Wood
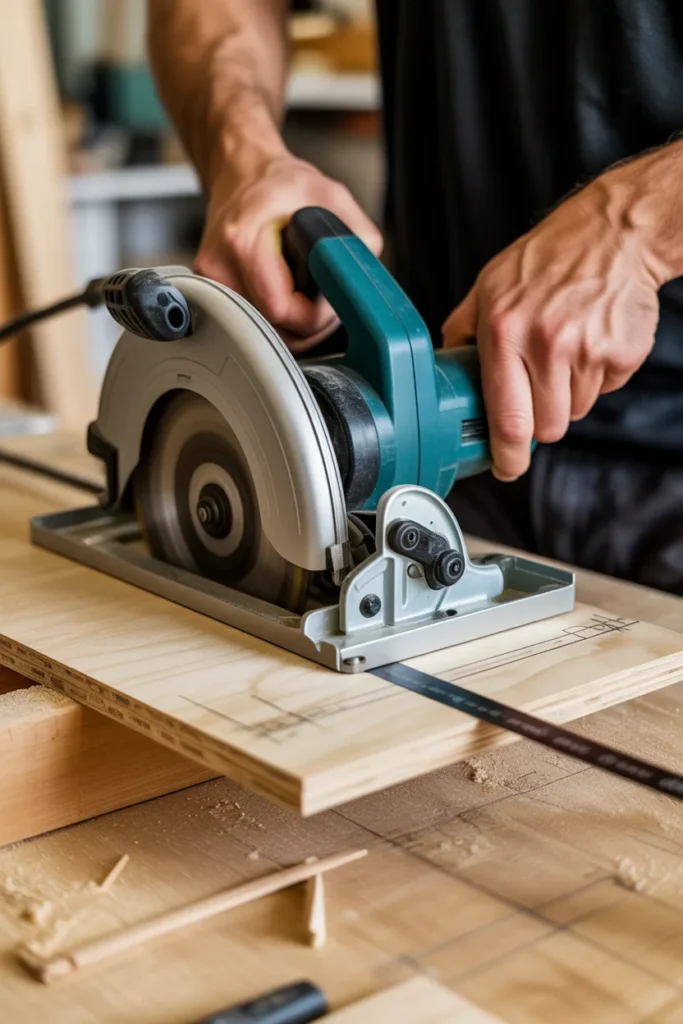
Use your measurements to cut the plywood for the bottom panel and side walls. I like labeling each piece with pencil before assembly because it keeps everything organized.
If you do not own a saw, many hardware stores will cut plywood for you for a small fee.
Step 2: Sand the Edges
Do not skip sanding. Rough wood edges can snag fabric, scratch floors, and leave splinters on your hands.
I usually spend extra time smoothing the corners because those areas get the most wear during daily use.
Step 3: Build the Box
Attach the side panels to the bottom piece using screws. I also add wood glue along the joints because it makes the box feel much sturdier.
Check that the corners stay square while assembling. Crooked boxes tend to wobble when rolling.
Pro Tip
Pre-drill small holes before inserting screws. This helps prevent plywood from cracking near the edges.
Step 4: Attach the Casters
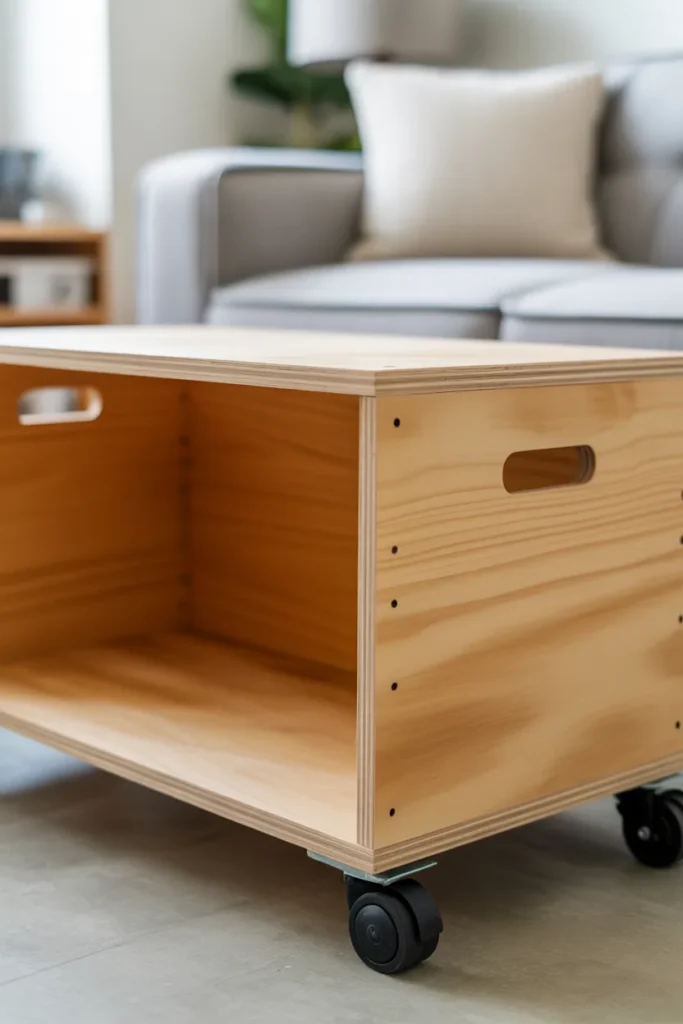
Flip the box upside down and install one caster wheel at each corner. Make sure the screws are fully tightened so the wheels do not loosen later.
I learned the hard way that cheap wheels wear out quickly on carpet. Spending slightly more on quality casters makes a huge difference.
Step 5: Add a Handle
Handles make the storage box much easier to pull out quickly. I used simple black cabinet pulls on mine, but leather straps also look great for a modern style.
Position the handle in the center so the weight stays balanced when pulling.
Step 6: Finish the Look (Optional)
This part is optional, but it really improves the final result. I painted my storage boxes matte white to match my bedroom furniture.
You can also stain the wood for a natural finish or line the inside with wallpaper for a cleaner appearance.
According to home organization experts, matching storage colors to your furniture can make small rooms feel visually calmer and less crowded.
Step 7: Load Up and Roll
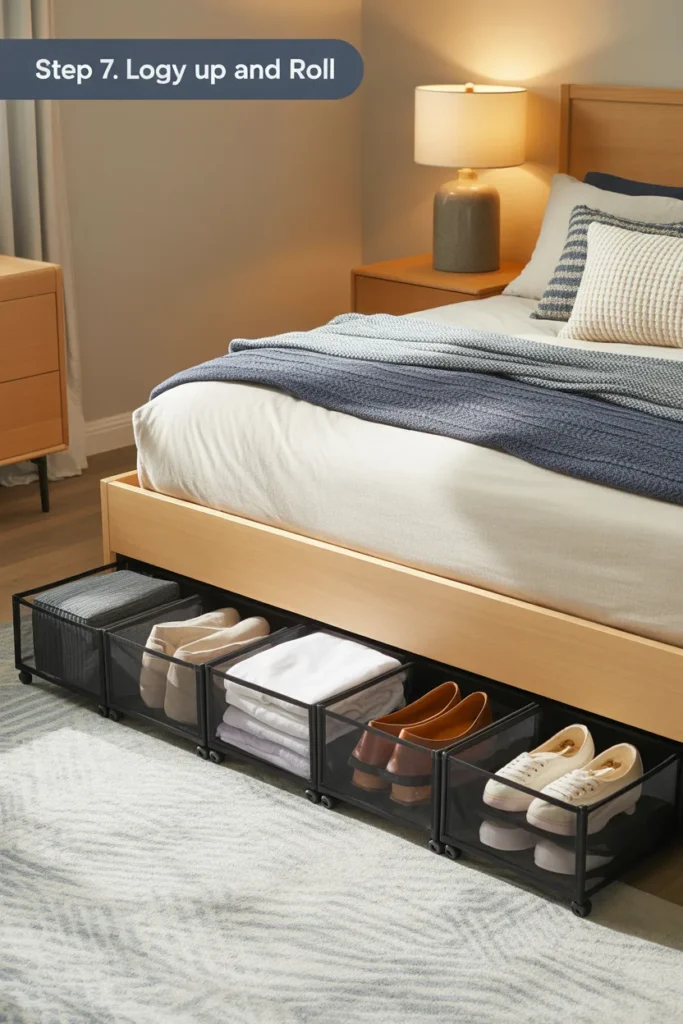
Once everything dries completely, start organizing your items inside the box. I recommend using small fabric dividers or baskets to keep things neat inside.
Slide the box under the bed and test how smoothly it rolls before fully loading it.
Mistakes to Avoid for a Smooth DIY
One mistake I see often is using weak materials to save money. Thin wood and cheap wheels usually fail within months, especially with frequent use.
Another common issue is overfilling the storage box. Heavy loads put pressure on both the wheels and the wood joints.
People also forget about dust buildup. I now place items in soft storage bags before putting them inside the box, which keeps everything cleaner.
Common DIY Errors
- Forgetting to subtract clearance height
- Using wheels that are too small for carpet
- Skipping sanding and sealing
- Making the box too heavy
- Ignoring bed frame obstacles
- Using low-quality screws
Problems People Face With Under Bed Storage
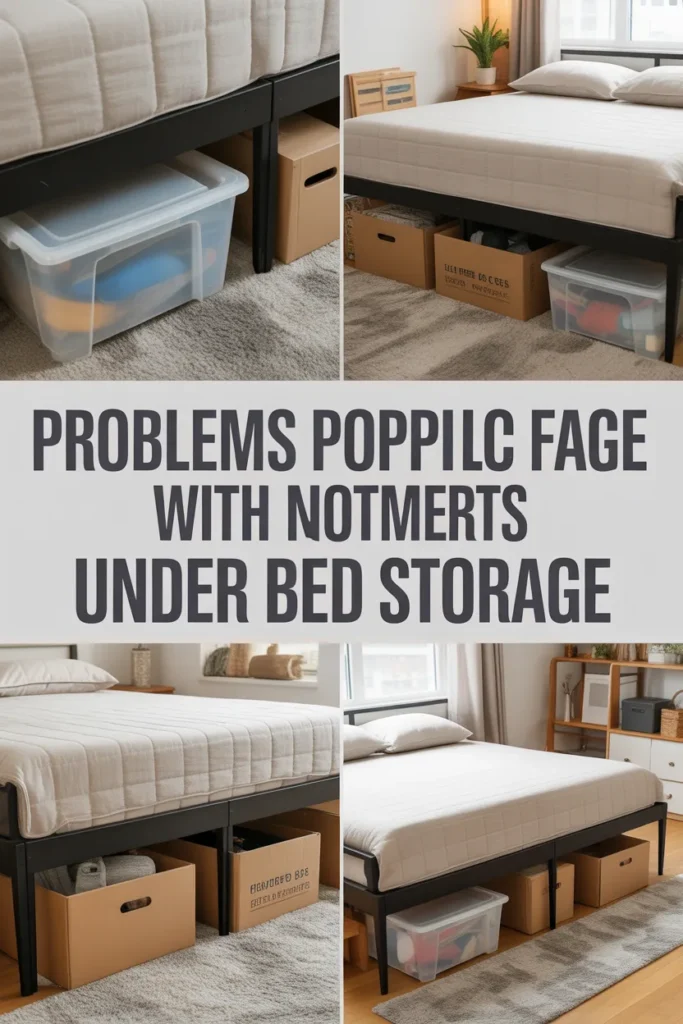
Before building my own rolling storage, I constantly dealt with annoying problems that made organization harder instead of easier.
Plastic bins cracked after a few months, especially during moves. Cardboard boxes collected dust and looked messy almost immediately.
I also hated how difficult it was to pull containers across carpet. Some bins would tilt sideways or get completely stuck under the bed frame.
Low platform beds create another challenge because many store-bought storage options are too tall. Custom DIY boxes solve that issue because you can build them to exact measurements.
Dust is another problem most people underestimate. Under-bed areas collect more dust than expected, so closed or lined storage works much better long term.
Pro Tip
If your apartment gets dusty quickly, attach adhesive weather stripping around the lid edges to help keep dust out.
Conclusion
Building rolling under bed storage completely changed how I organize my small apartment. Instead of wasting hidden space, I now have organized storage that is easy to access and actually fits properly.
This project does not require advanced DIY skills, and the results are far better than most store-bought options. You can customize the size, style, and finish to match your room while making everyday life more organized.
Start with one simple storage box first. Once you see how useful it is, you will probably want to build more for every bed in your home.
FAQs
What is the best wood for rolling under bed storage DIY?
Plywood is usually the best option because it is strong, affordable, and easy to cut. Half-inch plywood works well for most storage boxes.
Can rolling under bed storage work on carpet?
Yes, but larger rubber caster wheels work much better than small plastic ones on carpeted floors.
How much clearance should I leave under the bed?
Leave at least one inch of extra clearance between the storage box and the bed frame for smooth movement.
What can I store in under bed rolling storage?
You can store clothes, shoes, blankets, toys, seasonal decorations, books, and extra bedding.
Is DIY under bed storage cheaper than buying one?
In many cases, yes. DIY storage often costs less while giving you better quality and custom sizing.