


How to Make a DIY Pegboard Tool Organizer
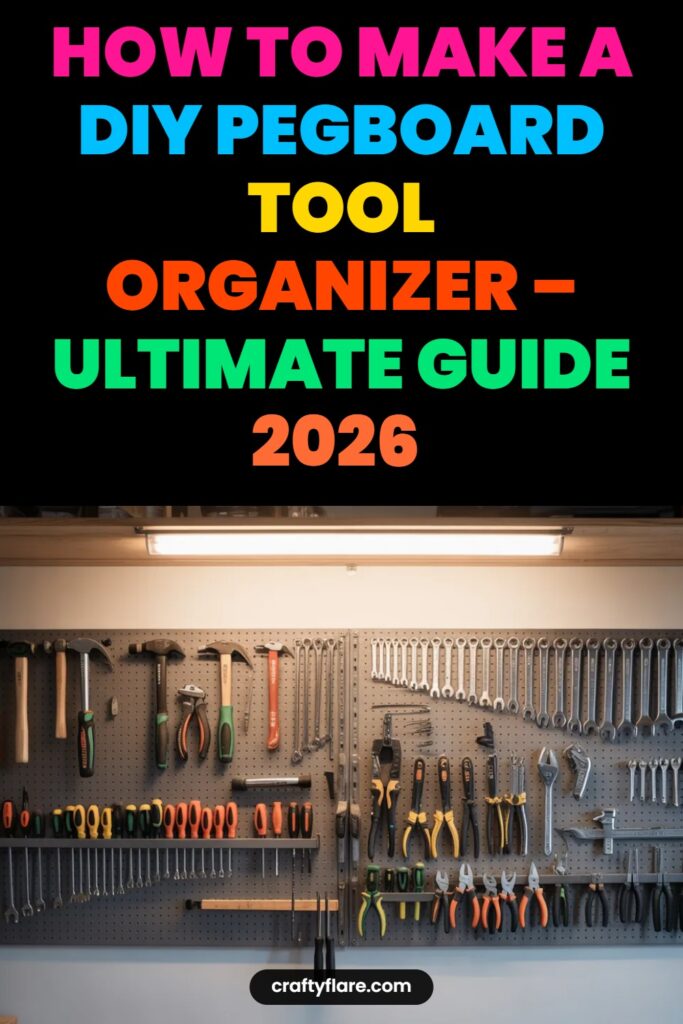
I used to waste more time looking for tools than actually finishing projects. My workbench stayed cluttered, screwdrivers disappeared constantly, and I kept buying duplicates because I could not find the originals. After finally setting up a DIY pegboard tool organizer in my garage, everything changed.
A pegboard system is one of the easiest and most affordable ways to organize tools without needing fancy cabinets or expensive storage systems. It keeps everything visible, easy to grab, and simple to rearrange whenever your collection grows.
The best part is that you do not need advanced woodworking skills to build one. I put my first pegboard together in a single afternoon using basic tools and inexpensive materials from a local hardware store.
In this guide, I will walk you through the exact process I followed, along with practical tips that made a huge difference later.
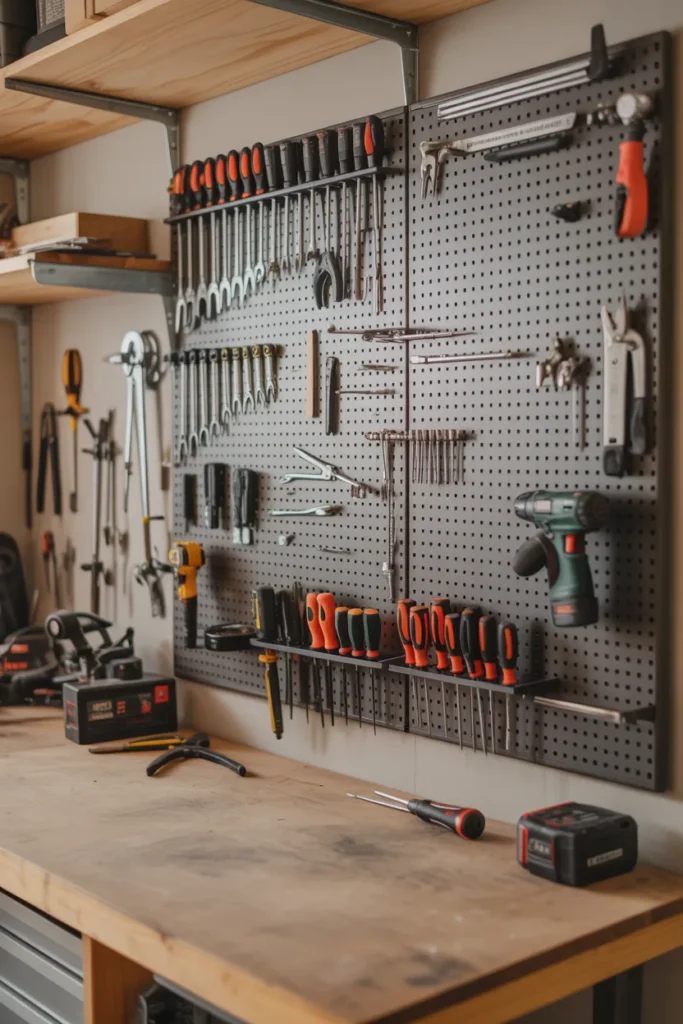
Quick Summary
- Pegboards help organize tools while saving wall and bench space
- Most DIY pegboard setups can be completed in a few hours
- Spacers behind the board are essential for hook support
- Grouping similar tools improves workflow and saves time
- Metal hooks usually last longer than cheap plastic ones
- Regular maintenance keeps the organizer useful long-term
What You Need to Get Started
Before starting, gather all your supplies in one place. I learned the hard way that stopping midway for missing screws turns a simple project into a frustrating one.
You will need a pegboard sheet, wood furring strips or spacers, screws, wall anchors, hooks, and basic tools like a drill, tape measure, pencil, screwdriver, and level.
I personally recommend choosing a thicker pegboard if you plan to hang heavy tools. Thin boards may bend over time, especially in garages where humidity changes throughout the year.
If your workspace gets dusty often, consider painting the pegboard with semi-gloss paint. It becomes much easier to wipe clean later.
Pro Tip
Buy a few extra hooks and small bins even if you think you will not need them. Once you start organizing, you will probably want more storage spots than expected.
Step 1: Choose the Best Spot
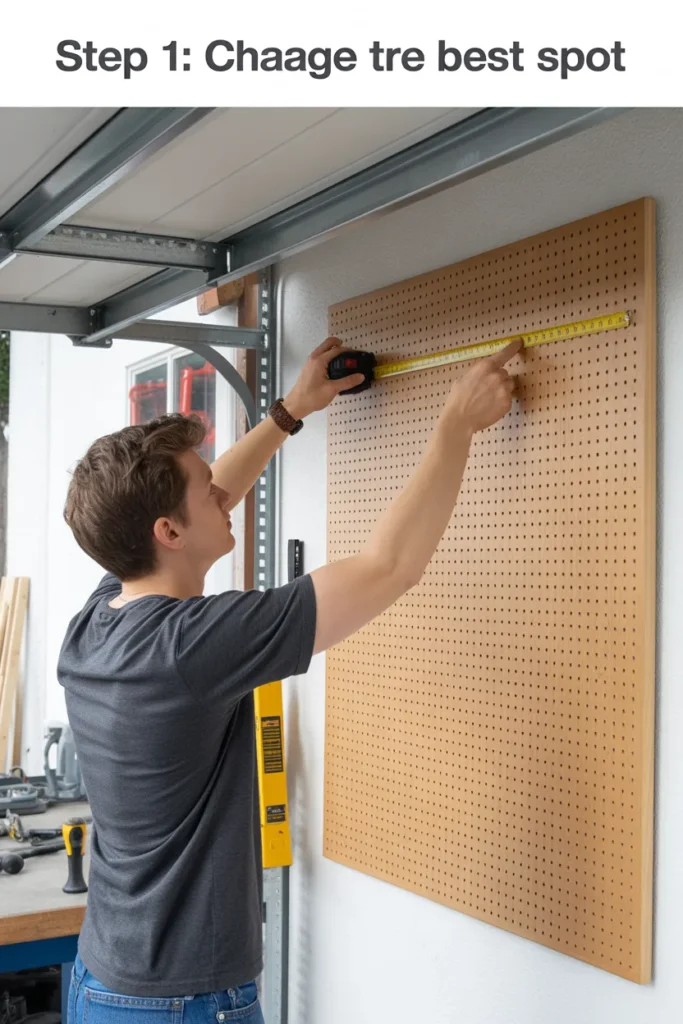
Picking the right location matters more than most people realize. My first attempt was near a side shelf, and I constantly bumped into things while grabbing tools.
Choose a wall close to your main work area so everything stays within reach during projects. Good lighting also makes a big difference because you can quickly spot the exact tool you need.
I always check for studs before mounting anything heavy. A stud finder helps avoid weak spots and makes the pegboard much more secure.
Try to leave enough clearance around the pegboard too. You do not want long tools hitting nearby cabinets or shelves every time you remove them.
Common Mistake
Many people install pegboards too high on the wall. Keep frequently used tools between shoulder and waist height for comfortable access.
Step 2: Prepare Your Pegboard and Wall
Once you choose the location, measure carefully before drilling anything. I usually mark the wall with painter’s tape first because it helps visualize the final setup.
If the pegboard needs trimming, use a circular saw or handsaw slowly to avoid rough edges. Sanding the cut edges afterward gives it a cleaner look.
The spacers behind the pegboard are extremely important. Without them, the hooks cannot slide properly into the holes. I use simple wooden strips attached directly into wall studs.
This is also the best time to paint the pegboard if you want a cleaner workshop appearance. Dark colors can hide dirt well, while white boards make tools stand out visually.
Pro Tip
Label the wall marks lightly with pencil before mounting. It saves time when lining everything up later.
Step 3: Mount Your Pegboard
Mounting the pegboard takes patience more than skill. I always ask someone to help hold the board while I drill because balancing it alone can get awkward.
Use a level before tightening the screws fully. Even a slight tilt becomes very noticeable once tools are hanging across the board.
Place screws evenly around the edges and center sections to prevent wobbling. On my first pegboard, I used too few screws and the board flexed whenever I removed heavier tools.
If your wall is drywall without studs in the right spots, use strong wall anchors rated for extra weight.
Common Mistake
Overtightening screws can crack some pegboards. Tighten them just enough to hold everything firmly without damaging the surface.
Step 4: Pick the Right Hooks and Accessories
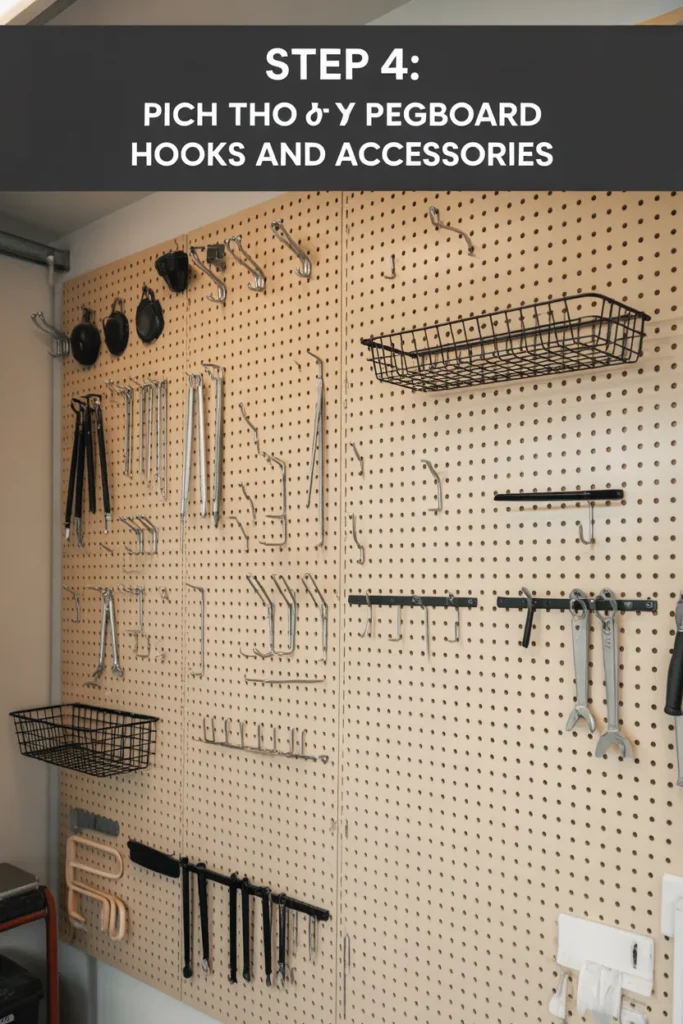
Hooks make or break a pegboard setup. Cheap hooks tend to slip out constantly, which becomes annoying very quickly.
I prefer metal locking hooks because they stay secure when removing heavier tools like drills or mallets. Straight hooks work well for screwdrivers, while curved hooks help hold pliers and tape measures better.
Small baskets and bins are incredibly useful too. I keep screws, wall plugs, drill bits, and utility blades inside labeled containers.
Do not overcrowd the pegboard immediately. Leave some empty sections for future tools or adjustments later.
Pro Tip
Keep duplicate tools side by side. It sounds simple, but it makes work much faster during busy projects.
Step 5: Organize Your Tools
This is where the pegboard finally starts becoming useful. I usually organize tools by category first, then by how often I use them.
Screwdrivers stay together, measuring tools go in one area, and cutting tools stay separate for safety. Frequently used items should stay near the center where your hands naturally reach first.
Heavier tools belong closer to the bottom for better stability. Hanging too much weight high up can strain the board over time.
One trick that helped me stay organized was outlining tool shapes behind each item using a marker. It makes missing tools obvious immediately.
Common Mistake
Trying to hang every single tool at once can create clutter again. Focus on daily-use tools first and store rarely used items elsewhere.
Step 6: Keep It Tidy and Up-to-Date
A pegboard only works if you maintain it regularly. I got lazy after a few months and slowly started leaving tools on the bench again.
Now I make it a habit to return tools immediately after using them. It keeps the workspace functional and prevents unnecessary mess.
Every few weeks, I adjust the layout slightly depending on recent projects. Sometimes certain tools deserve better placement based on how often they are being used.
Dust and debris also build up faster than expected in garages. Wiping the pegboard occasionally helps it look cleaner and keeps hooks from getting loose.
Pro Tip
Take a photo of your organized pegboard after finishing. It helps you remember the ideal layout later if things get messy again.
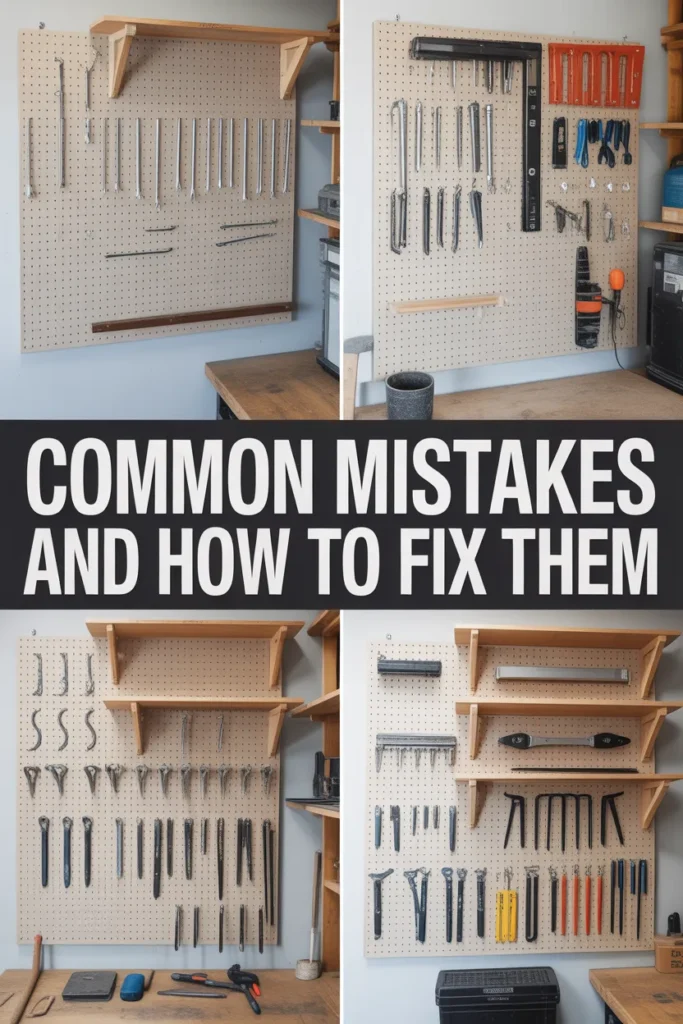
Common Mistakes and How to Fix Them
One of the biggest mistakes people make is skipping spacers behind the pegboard. Without that gap, many hooks simply will not fit correctly.
Another common issue is overloading the board with heavy equipment. Pegboards are great for hand tools, but large power tools may need separate wall brackets.
Crooked installation is another problem I see often. Always double-check with a level before drilling permanent screws.
Loose hooks can usually be fixed by switching to locking pegboard hooks or slightly bending the hook tabs for a tighter fit.
Finally, many people forget future expansion. Leave some open space from the beginning because tool collections almost always grow over time.
Real-Life Benefits You’ll Notice
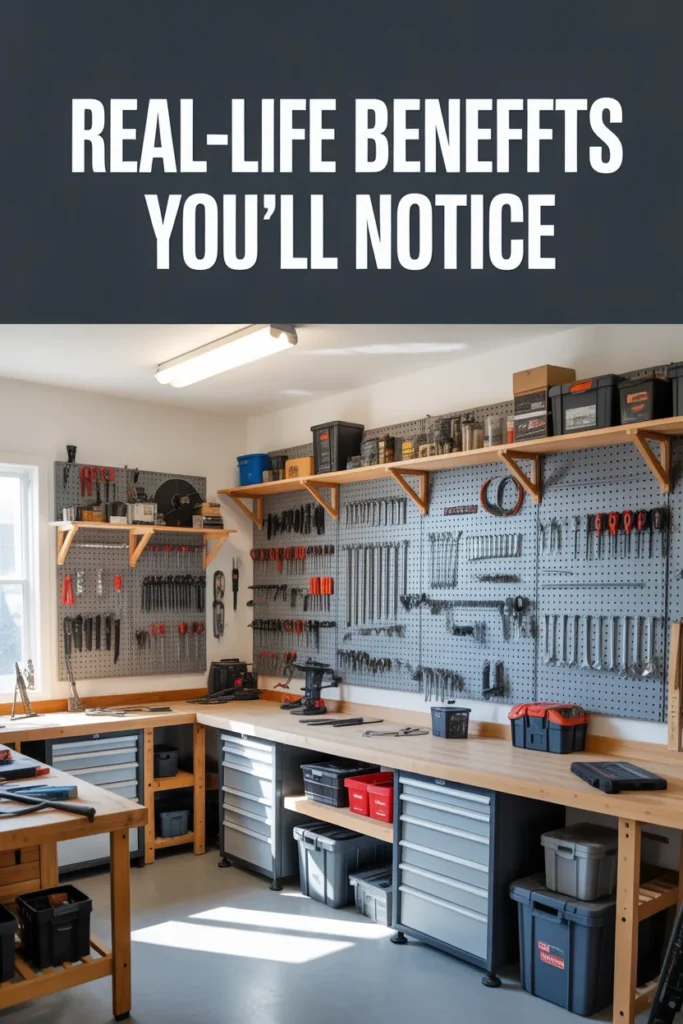
The biggest improvement I noticed was how much faster projects became. Instead of searching through drawers for ten minutes, every tool stayed visible and ready to grab.
My garage also looked cleaner instantly. Even simple pegboard setups make a workspace feel more professional and less chaotic.
I stopped buying duplicate tools too. According to a survey from the National Association of Professional Organizers, people waste valuable time daily searching for misplaced items. A pegboard reduces that frustration significantly.
Another unexpected benefit was motivation. A tidy workspace actually made me want to start projects more often because setup felt easier.
If you work in a small garage or workshop, wall storage also frees up valuable bench and floor space.