
Create Your Dream Makeup Station
Doing makeup in bad lighting with products scattered everywhere used to slow down my mornings more than I realized. I tried balancing mirrors on dressers, storing brushes in random bags, and using tiny bathroom counters that never had enough space. Once I finally created a simple DIY makeup station at home, my routine became faster, cleaner, and honestly more enjoyable.
The good news is you do not need a luxury vanity setup or a huge room to make it work. I built my first makeup station using a secondhand desk, a basic mirror, and a few storage bins from a local dollar store. Even small changes made a huge difference in how organized the space felt.
In this guide, I’ll share practical DIY makeup station tips that actually work for real homes, small bedrooms, apartments, and tight budgets. These ideas are simple, affordable, and easy to maintain long term.
Quick Summary and Key Takeaways
- A good DIY makeup station improves lighting, storage, and daily routine efficiency
- Natural light and white LED bulbs help makeup look more accurate
- Small storage containers work better than one large messy drawer
- Wall-mounted storage saves space in tiny rooms
- Cable management makes the station look cleaner and safer
- Repurposed household items can save money without sacrificing style
- Keeping only daily-use products nearby reduces clutter fast
What You Need (Essentials and Budget Picks)
When I first created my makeup station, I almost wasted money buying trendy organizers I did not actually need. Over time, I realized the basics matter much more than expensive décor.
Start with a stable table or desk that gives you enough elbow room. A narrow console table can work surprisingly well in small bedrooms. I once used an old study desk that was less than 18 inches deep, and it still held everything comfortably.
You will also need:
- A mirror at eye level
- Good lighting
- Simple storage containers
- A chair or stool
- Power access nearby
- Cleaning wipes or cloths
For budget-friendly storage, I like using kitchen trays, clear acrylic cups, and stackable office organizers. They cost far less than makeup-branded products and usually hold more.
Pro Tip: Before buying storage, lay all your makeup on the floor first. Most people overestimate how much organizer space they actually need.
How to Manage Cords and Hair Tools
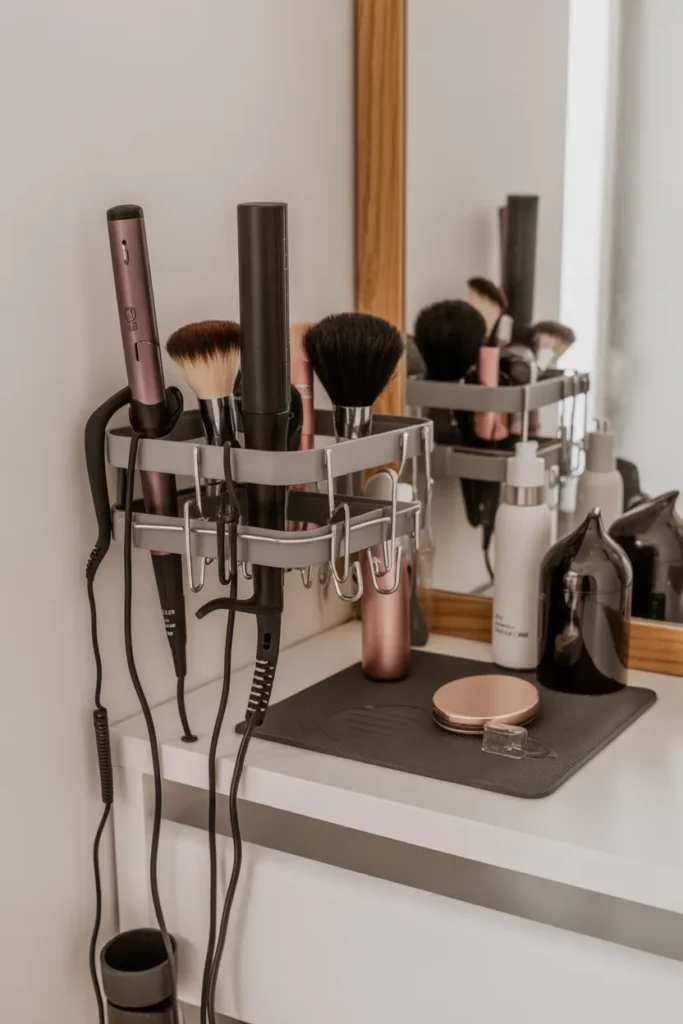
Hair tools can turn a clean makeup station into a tangled mess within days. I learned this the hard way after burning a tabletop with a hot straightener left on a pile of cords.
The easiest fix is using adhesive cord clips along the side of the desk. They keep chargers and tool wires from falling behind furniture constantly.
I also recommend keeping hot tools in heat-resistant holders instead of tossing them into drawers while warm. Silicone mats work well and protect surfaces from heat damage.
If your station is in a small room, vertical storage helps a lot. I added removable hooks inside a cabinet door for my curling wand and dryer, and it instantly cleared desk space.
Common Mistakes to Avoid
- Plugging too many tools into one cheap power strip
- Wrapping cords tightly around hot tools
- Storing tools before they fully cool down
- Leaving wires stretched across walking areas
A cleaner cable setup not only looks better but also makes the station safer and easier to clean.
Step-by-Step: Set Up Your DIY Makeup Station
Creating a DIY makeup station becomes much easier when you focus on one section at a time instead of trying to perfect everything in one day.
Step 1: Choose Your Spot
Natural light makes the biggest difference. I always recommend placing the setup near a window whenever possible because it helps makeup colors appear more accurate.
If window space is limited, choose a quiet corner with easy access to outlets.
Step 2: Set Up the Table or Desk
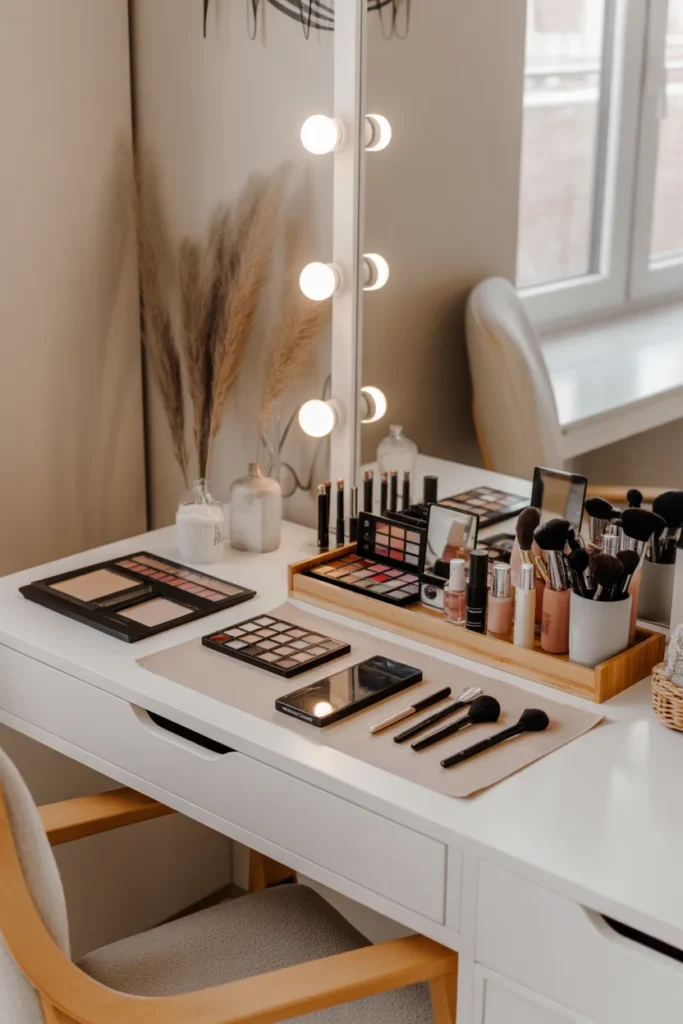
Wipe everything down before organizing products. Dust and makeup powder build up faster than most people expect.
I prefer keeping the desk surface mostly clear because crowded stations quickly start feeling stressful.
Step 3: Add Your Mirror
Your mirror should sit at eye level while seated. If it is too low or too high, getting ready becomes uncomfortable fast.
A medium-sized mirror with a simple frame usually works better than oversized decorative ones in smaller rooms.
Step 4: Arrange Lighting
Front-facing light is always best. I once used overhead lighting alone, and it created shadows that made my foundation look uneven outside.
White LED bulbs or daylight bulbs usually give the most natural result.
Step 5: Organize Storage
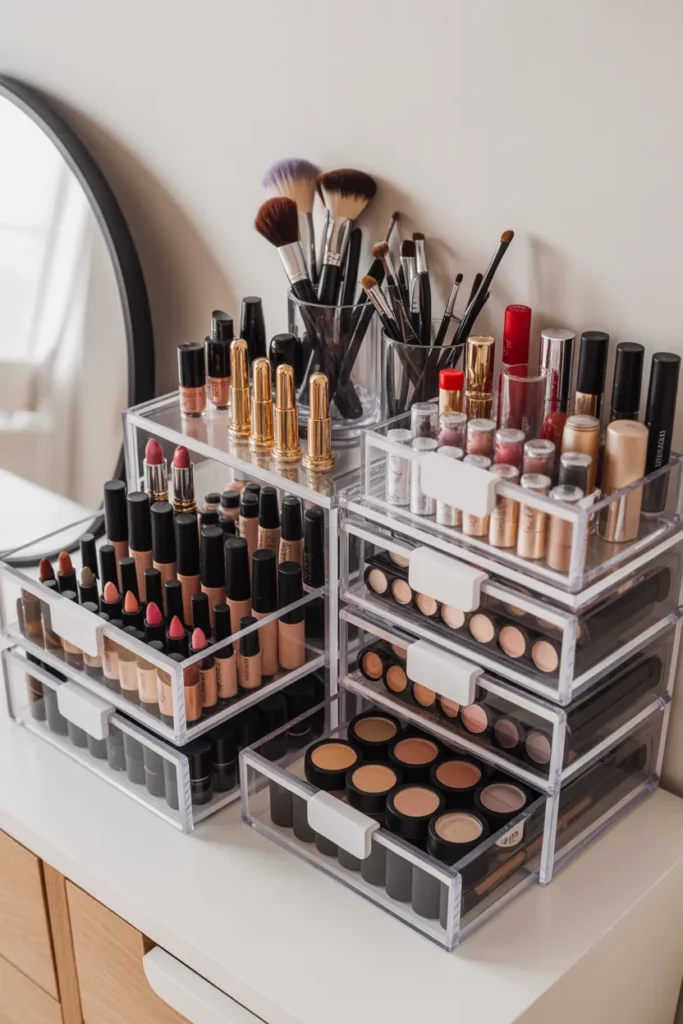
Separate products by category instead of brand. Keeping lip products, brushes, and skincare in their own sections saves time every morning.
I also rotate seasonal or rarely used products into separate bins to avoid overcrowding.
Step 6: Place Your Chair or Stool
Comfort matters more than style here. If your chair height feels awkward, your back and shoulders will notice it quickly during longer routines.
Step 7: Set Up Power Strip
Mount the power strip underneath the desk or along the side if possible. This keeps the floor cleaner and prevents cords from tangling.
Step 8: Add Cleaning Cloth
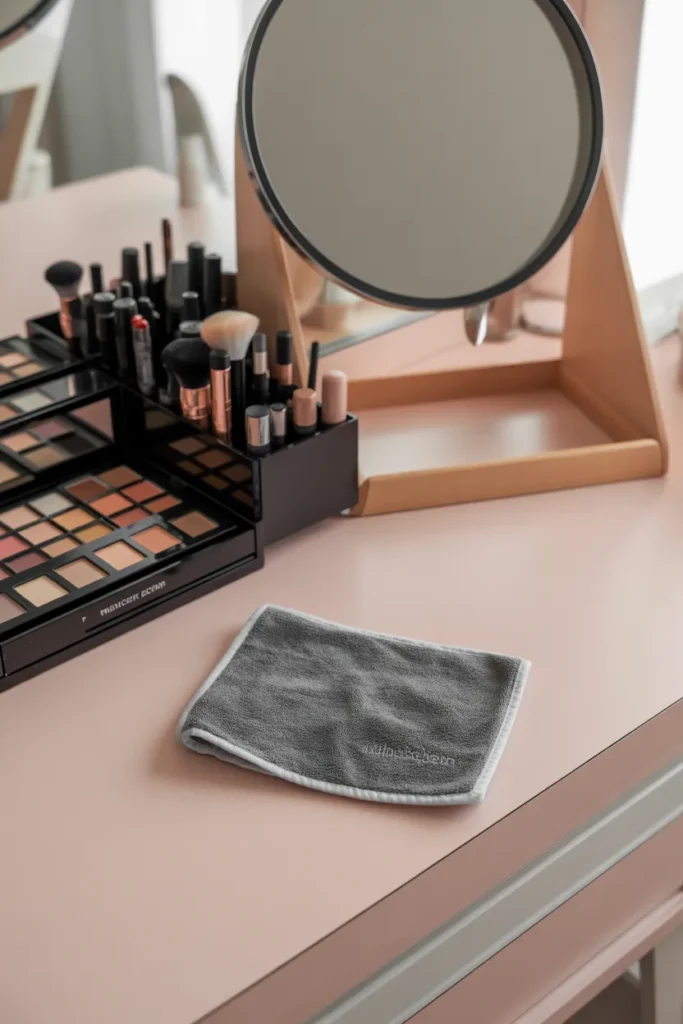
I always keep microfiber cloths nearby because makeup dust collects around mirrors and organizers almost daily.
A quick 30-second wipe-down keeps the entire setup looking fresh.
Personalize Your Makeup Station
Once the functional setup is done, small personal touches make the space feel more relaxing and enjoyable to use.
I like adding one or two decorative pieces without overcrowding the area. A tiny plant, framed print, or candle can soften the look without taking over the desk.
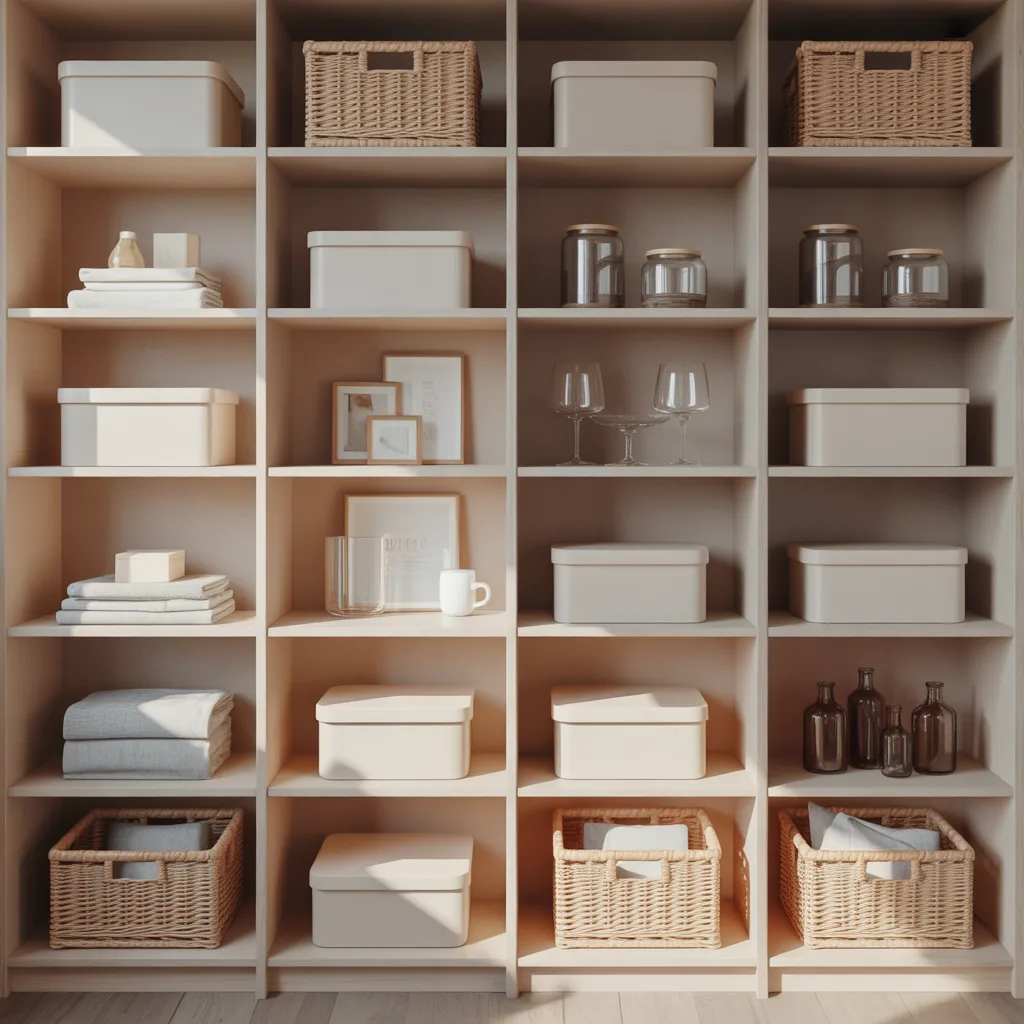
Matching containers also make the station feel more organized visually. Even inexpensive baskets look cleaner when they share similar colors or materials.
You can also personalize your setup with:
- Soft rugs under the chair
- Decorative trays
- Small wall shelves
- Favorite perfumes on display
- Minimal artwork
- LED strip lighting
One thing I avoid now is adding too many decorations. Too much visual clutter can make the station feel messy even when everything is technically organized.
Smart Storage and Organization Tips
Storage can completely change how functional your DIY makeup station feels. The goal is not just fitting everything in one place but making items easy to reach and easy to put away.
I keep daily essentials closest to the mirror and store backup products farther away. This simple habit reduced my morning cleanup time noticeably.
Use Vertical Space
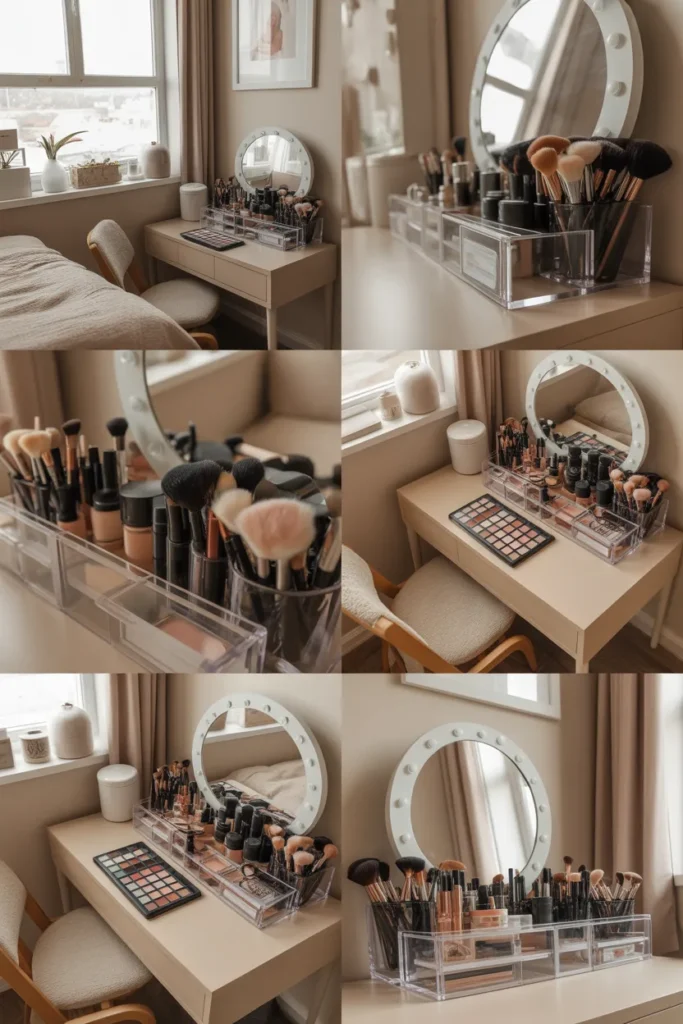
Wall shelves, pegboards, and stackable drawers help maximize small areas. Vertical storage works especially well in apartments where desk space is limited.
Separate Products Clearly
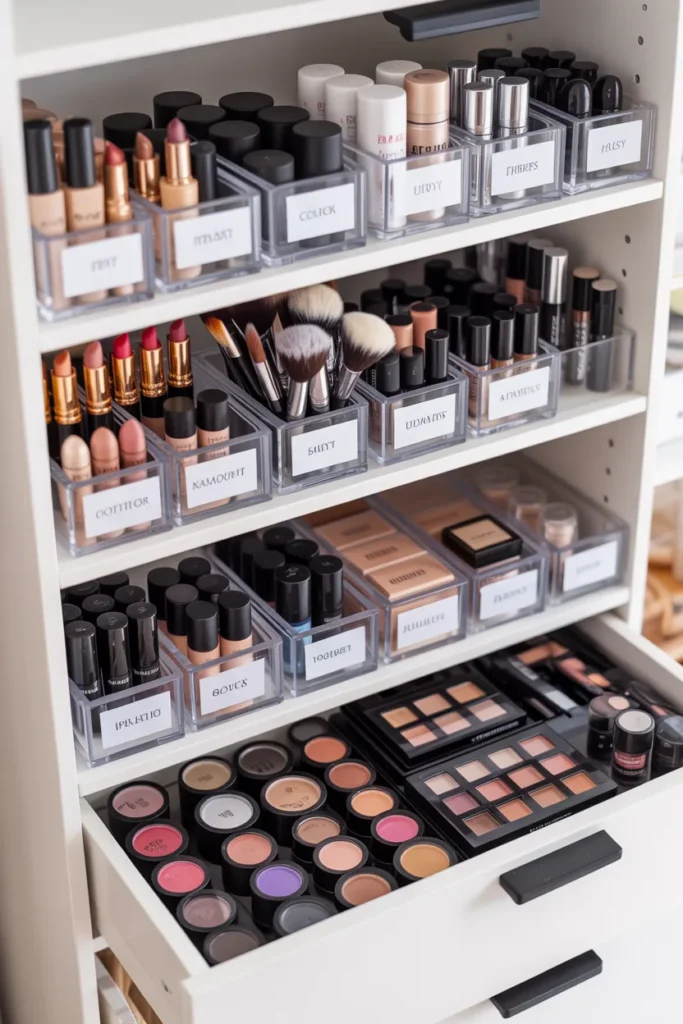
Drawer dividers save a surprising amount of time. I used to dig through one large makeup bin every morning, and it became frustrating fast.
Grouping items by category keeps routines smoother.
Clean Out Old Products Monthly
Expired makeup builds clutter quickly. I now check products once a month and toss anything dried out, broken, or unused.
According to dermatologists, old makeup can collect bacteria over time, especially mascara and liquid products. Replacing products regularly helps reduce skin irritation risks.
Repurpose Household Items
Some of my favorite organizers were never meant for makeup at all. Ice cube trays work well for small items, while office file holders can store palettes vertically.
Pro Tip: Clear organizers help you remember what you already own, which can reduce duplicate purchases.
Lighting and Mirror Solutions That Work
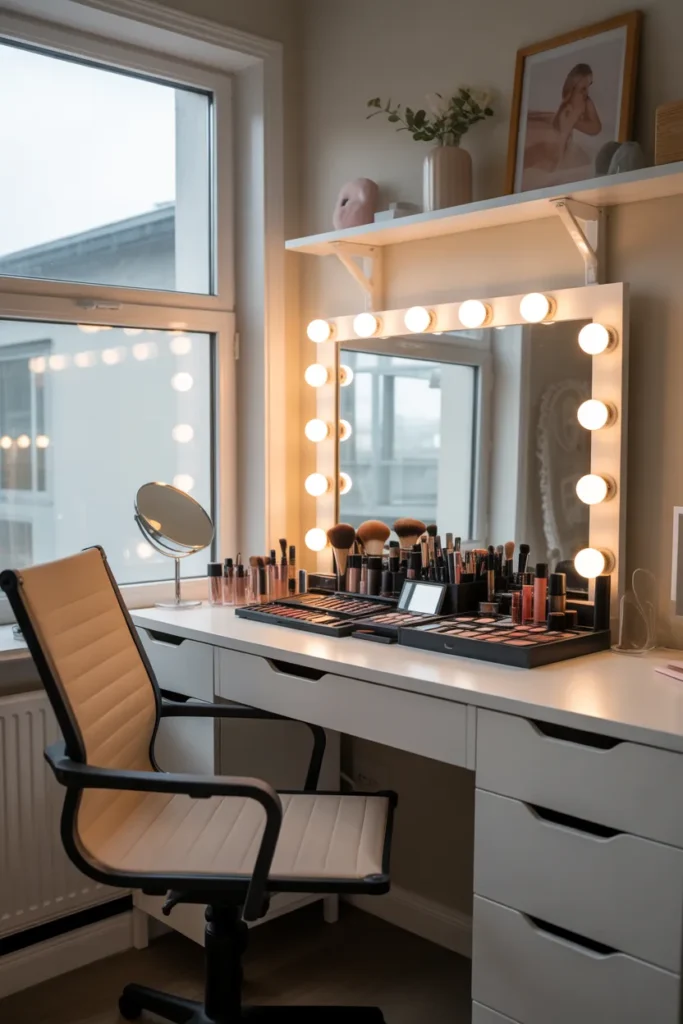
Lighting can completely change how makeup looks both indoors and outdoors. After years of using dim yellow bulbs, switching to brighter daylight lighting instantly improved my application results.
Natural daylight remains the best option whenever available because it shows true color tones. If your room lacks windows, LED ring lights or desk lamps with white bulbs work very well too.
Avoid placing lights behind your head because they create shadows across the face. Front-facing lighting gives the most even result.
For mirrors, I personally prefer simple designs with built-in magnification on one side. They help a lot for eyeliner, brows, and detailed work.
Best Mirror Options for Small Spaces
- Wall-mounted mirrors
- Foldable tabletop mirrors
- Mirrors with built-in LED lights
- Cabinet-door mirrors
Keeping the mirror clean matters more than people think. Makeup dust and fingerprints can affect visibility quickly.
Conclusion
Creating a DIY makeup station does not require a huge budget or professional setup. What matters most is building a space that fits your routine, your room, and your everyday habits.
Once I simplified my setup and focused on practical organization, getting ready became much less stressful. Everything had a place, lighting improved, and cleanup became easier to manage.
Start small, use what you already own, and improve the setup gradually over time. Even a basic makeup station can feel comfortable, organized, and personal when it is designed around what actually works for you.